

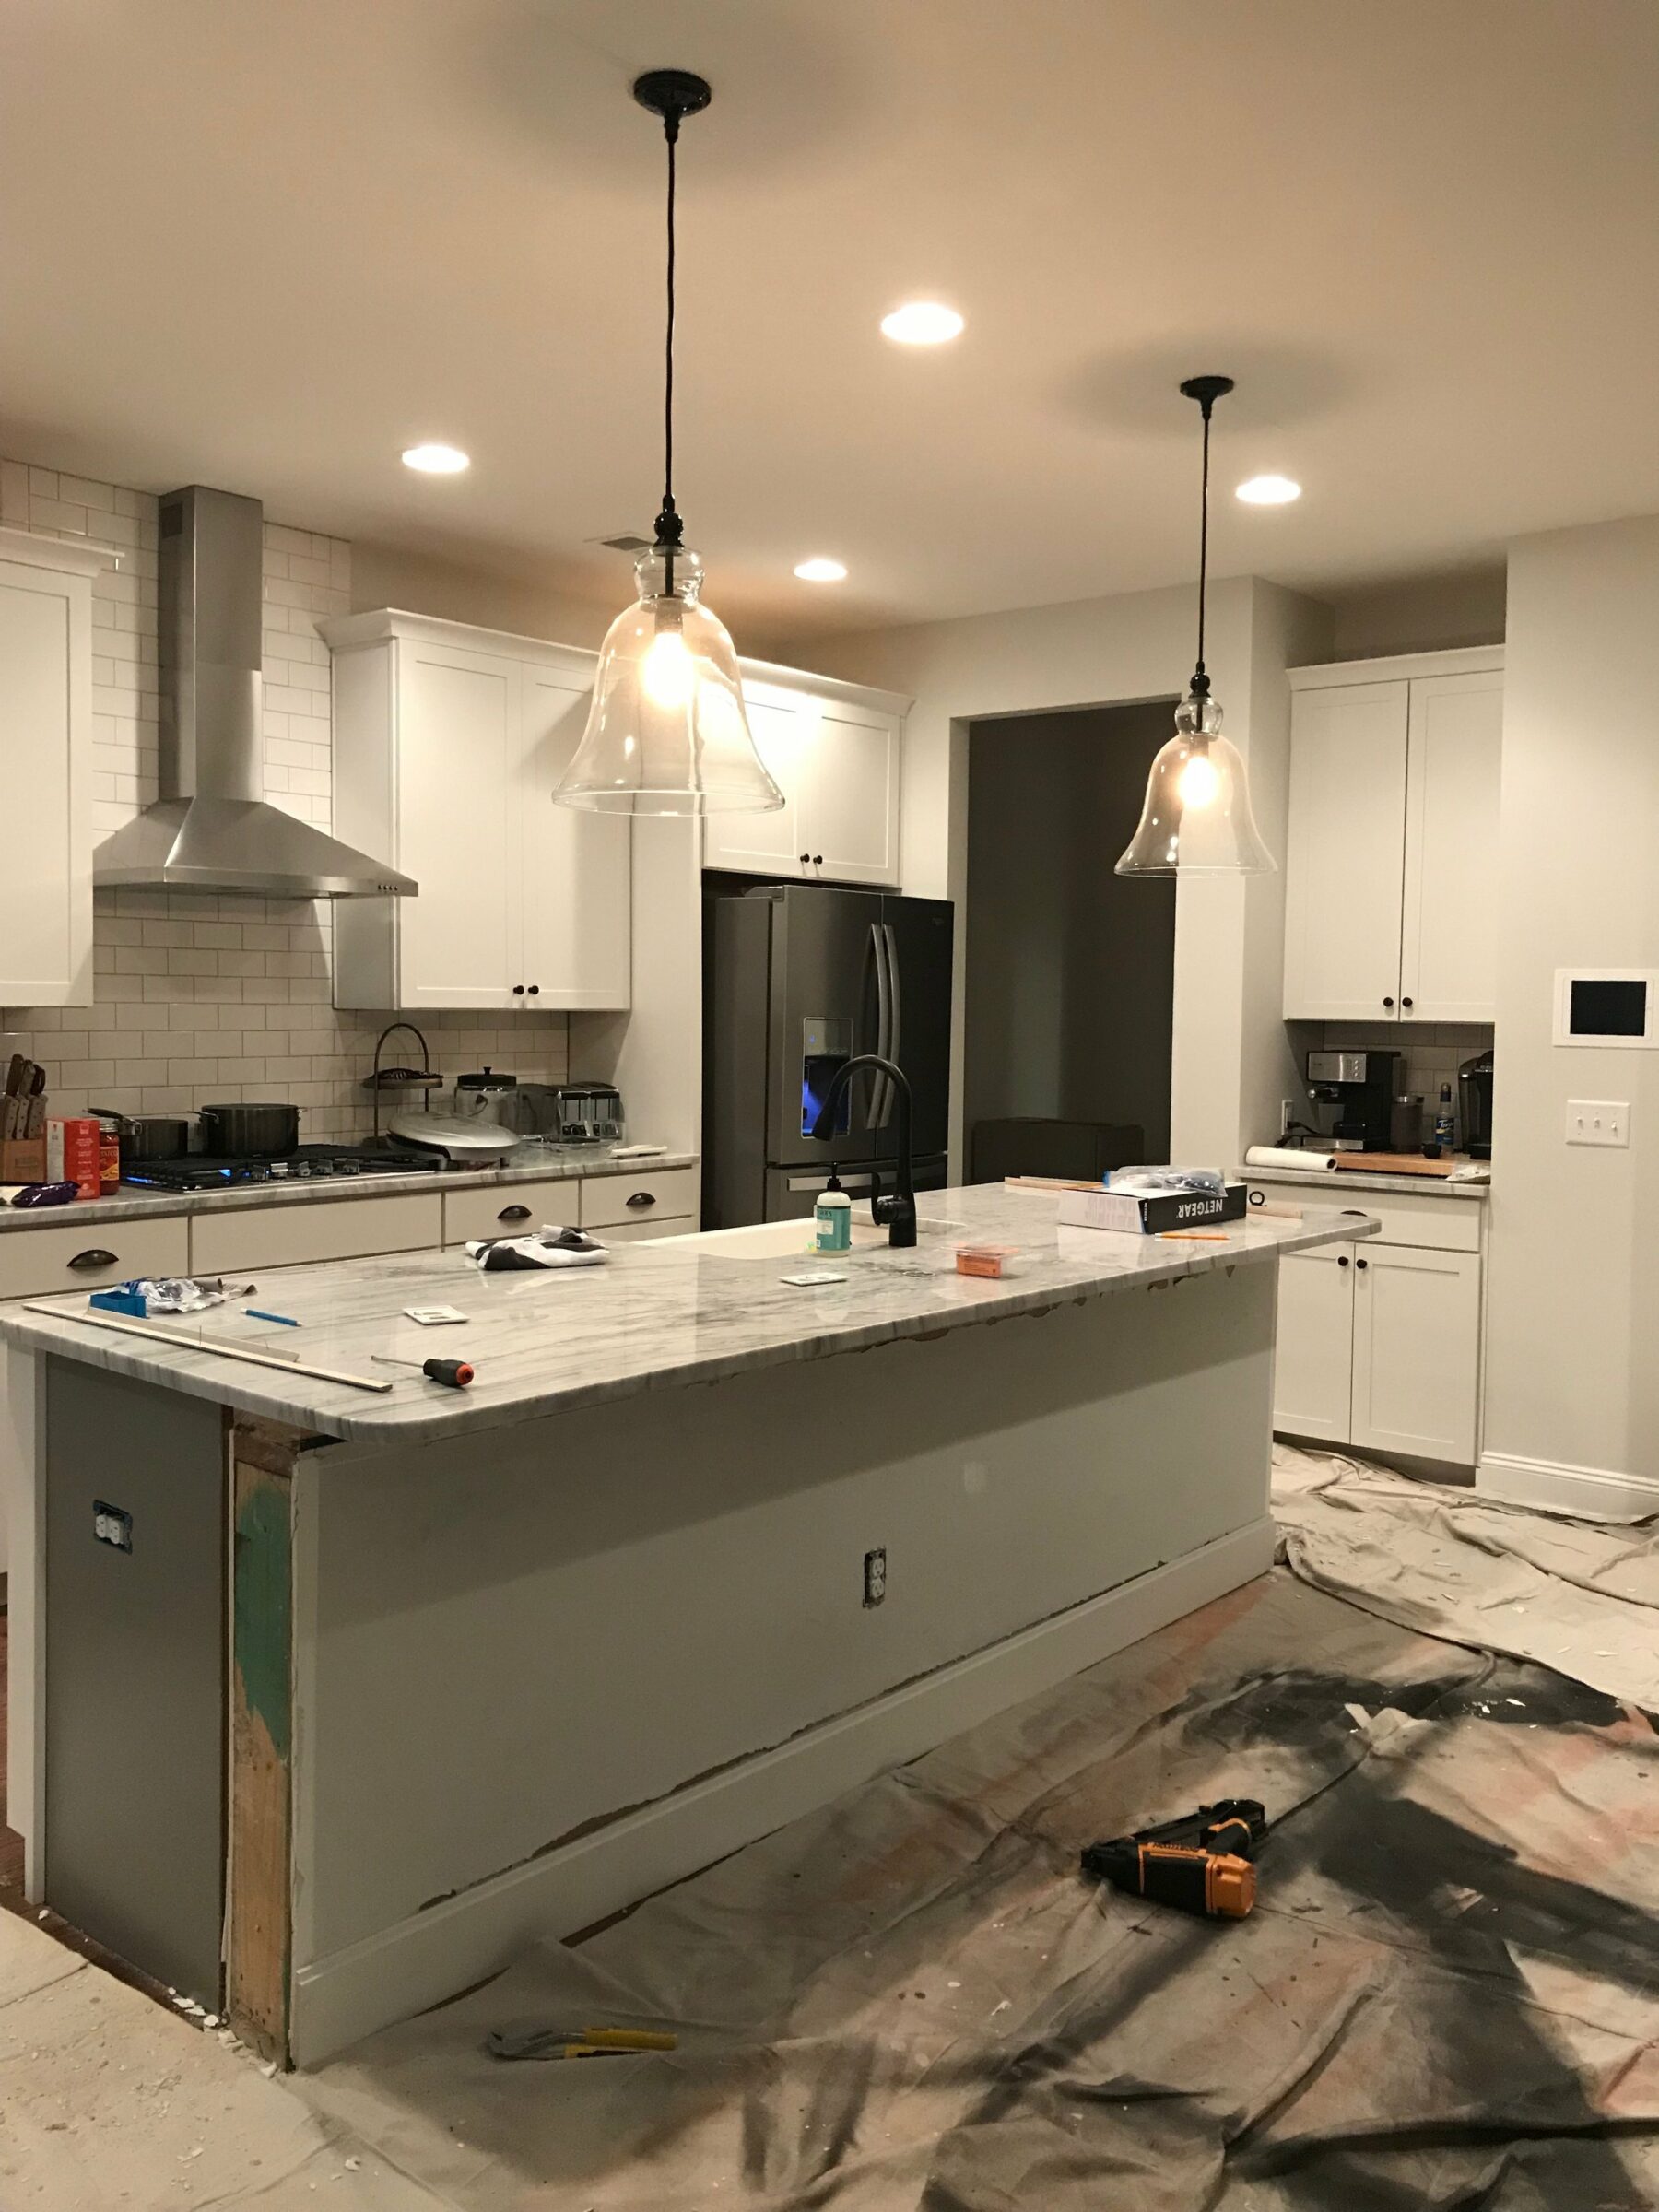
Are you tired of your age-old kitchen island? Has it started to look worn out with all the dents and scratches? But even if it bothers you, you can’t simply replace the island. Renovating the space or installing a new design can be time-consuming and pretty expensive. So then, how else can you get rid of those ugly marks? An efficient solution – adding shiplap to kitchen island.
We have a fairly affordable solution for that. By adding a shiplap to the kitchen island, you can give it a nice makeover without spending a fortune. An island with shiplap doesn’t just add a new look to your kitchen but also protects the surface from getting scratched. Besides, shiplap is durable and can be easily wiped clean with a rag.
The good thing is that you can easily install shiplap around your island if you have the right set of tools. In this article, we’ll discuss how to shiplap a kitchen island and guide you through the process.
List of Materials
Here’s a list of the tools and equipment you’ll need to install a kitchen island with shiplap. Take notes!
- Plywood sheets (available in local hardware stores and will cost you about $50)
- Primed MDF (number of MDF boards will depend on the size of your island)
- Caulk
- Liquid nails and nail gun
- Hammer
- Painter’s tape
- Jig saw
- 1-gallon paint with primer
- Laser miter saw
- Sandpaper
- Nailer and air compressor
- Receptacle spacers
- 6-in-1 painter’s tool
How to Install Shiplap on Kitchen Island
Adding shiplap kitchen island is an easy process that doesn’t require much time or years of experience in construction or installation. In fact, it can be an exciting project for a novice woodworker, provided you follow the steps correctly. So, without much ado, let’s walk you through the steps on how to add shiplap to kitchen island.
Step 1: Pry Away Existing Trim and Outlet Covers
Start by removing the existing trim work and all power outlet covers with a hammer and the 6-in-1 tool. Remember to turn off the electrical breaker before you work on the outlet covers. Once removed, set them aside carefully.
Step 2: Measure the Shiplap Boards and Cut Them
Measure the length of the island to figure out the required length of the shiplap boards. Mark the length with the help of a square layout tool and cut the boards with the miter saw.
Step 3: Sand the Edges of the Boards
The edges of the boards can be splintered, so it’s crucial to sand them. Use medium grit sandpaper and rub the edges until they are smooth.
Step 4: Attach the Boards to Your Island
Once the boards are ready, it’s time to fix them to the island in your kitchen. First, apply liquid nails to the back of your shiplap boards and attach each board directly over the existing sheetrock. You’ll need a nail gun to attach the boards. Start from the bottom and work your way up to the top. To ensure that your boards are all evenly spaced, you can simply use a nickel. Follow the same process to install the island shiplap on all sides.
Step 5: Make Cuts Around Outlets and Corbels
As you move up, you might have to make a few cuts around your outlets and corbels. Use a pencil to mark the area that needs to be carved out and remove it with a jig saw.

Step 6: Add MDF Trims
The next step is to trim the vertical and bottom edges of the boards with primed MDF boards. Mitering the edges can be cumbersome, so be a little careful there.
Step 7: Apply Caulk, Primer, and Paint
As you caulk the vertical edges, remember to stick a painter’s tape across the edge to get a clean line and avoid a messy look. Once you’re done caulking, apply your primer and layer it with your paint of paint. You may use latex paint to achieve a semi-gloss and smooth finish.
Step 8: Add the Outlet Covers Back to the Island
This could be a little tricky as the outlet covers might not fit in properly due to the extra thickness added by the shiplap boards. This is where your receptacle spacers will come in handy. Fold them up and place them behind the receptacle to help your outlet cover it in perfectly into the surface. And you’re done!

Image source: House to Home DIY
Closing Thoughts
That was all about how to shiplap a kitchen island! As you can see, it is affordable and doable with the help of just a few tools. When it comes to the cost of shiplap kitchen islands, it wouldn’t go beyond $60-$70. Besides, since you can do it yourself, you’ll save up on labor costs. If you follow the aforementioned steps, your kitchen island shiplap will simply fall into place.


