
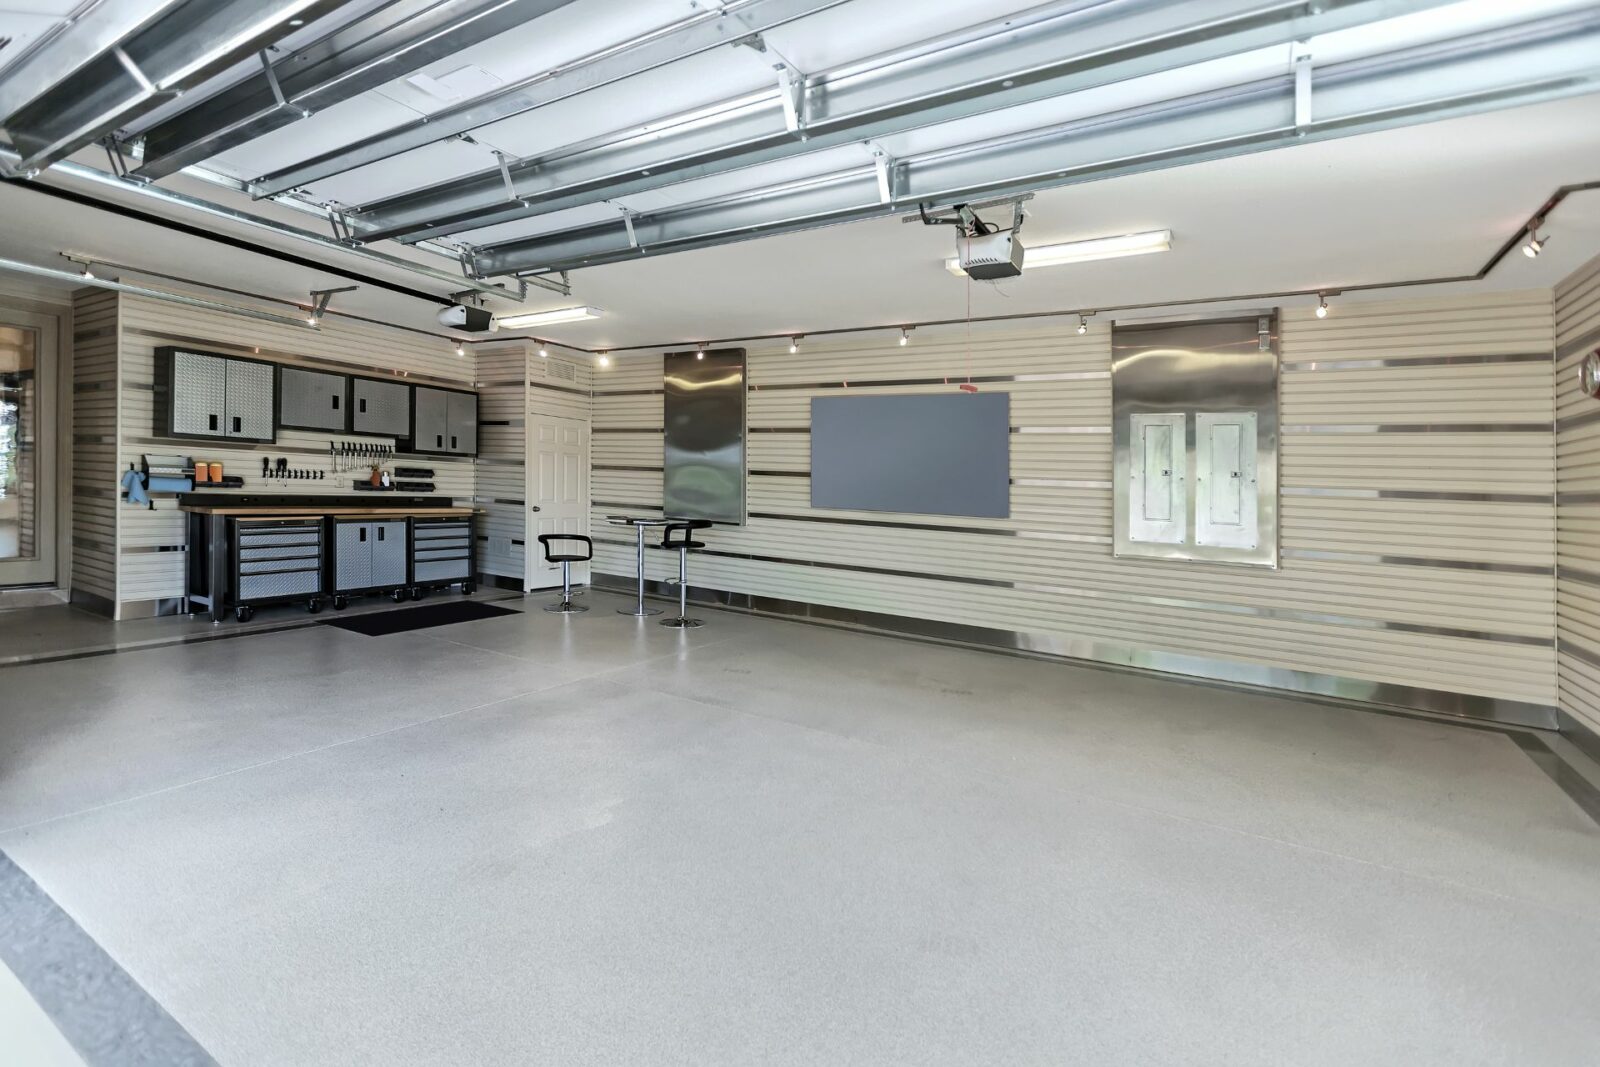
When it comes to home organization, garages often get the short end of the stick. Tools, sports equipment, and seasonal items can quickly clutter your garage, making it difficult to find what you need when you need it. But fear not! Customizable, DIY garage cabinets can be the solution to your storage woes. Here is a detailed, step-by-step guide to help you craft your own garage cabinets and elevate your organization game.
Materials and Tools You’ll Need:
Materials:
- 3/4 inch Plywood or MDF boards
- Screws and nails
- Hinges
- Handles or knobs
- Wood glue
- Paint or finish (optional)
Tools:
- Tape measure
- Circular saw or table saw
- Drill
- Clamps
- Sandpaper
- Level
- Paintbrush (if you plan to paint or finish your cabinets)
Step-by-step DIY Garage Cabinet Building Process:
Step 1: Measure Your Space
Begin by measuring the area where you want to install your cabinets. Consider both horizontal and vertical dimensions. You’ll need these measurements to cut your plywood or MDF boards to the right size.
Step 2: Design Your Cabinets
Decide how many cabinets you want and their dimensions. Consider the size and number of shelves you need. Sketch out a rough plan, including measurements. Typical cabinets are 24 inches deep and 36 inches tall, but adjust as necessary for your space and needs.
Step 3: Cut the Wood
Use a circular saw or table saw to cut your plywood or MDF boards according to your measurements. You’ll need to cut pieces for the cabinet’s top, bottom, sides, back, and shelves.
Step 4: Assemble the Cabinets
Start by attaching the top, bottom, and sides of the cabinet together using wood glue and screws. Make sure to drill pilot holes before driving the screws in to prevent the wood from splitting. Use clamps to hold the pieces together while you work. Once the basic structure is in place, slide in the back piece and secure it with nails or screws.
Step 5: Install the Shelves
Cut additional pieces for the shelves. Fix these inside the cabinet at your desired heights. Secure the shelves using wood glue and screws, making sure they’re level.
Step 6: Attach the Doors
Cut pieces for the doors, making them slightly larger than the opening to ensure a proper cover. Install the hinges on the doors and then attach them to the cabinet. Make sure the doors open and close smoothly.
Step 7: Install the Handles or Knobs
Mark the position where you want the handles or knobs to go on the doors. Drill holes and attach the handles or knobs.

Step 8: Finish Your Cabinets
Finish your cabinets by sanding them smooth and applying paint or another finish if you desire. Allow the cabinets to dry completely before using them.
Step 9: Install Your Cabinets
Finally, it’s time to install your cabinets. Choose a suitable location in your garage, ensuring the area is level. Secure your cabinets to the wall using screws, making sure to drive them into studs for added strength and stability.
Remember to take safety precautions throughout the project, including wearing eye protection and a dust mask when cutting and sanding the wood.
With patience and care, you can build custom DIY garage cabinets that not only serve your storage needs but also stand as a testament to your DIY prowess. Happy building!


