
Do you want to jazz up your driveway or boost its curb appeal in general? One way of doing that is to neatly line up Belgian blocks on each side of your asphalt driveway. A Belgian block edging will not only enhance the aesthetic of the entryway but also provide a clear visual aid while you’re pulling into the driveway or reversing your car. It is an excellent home improvement idea as well.
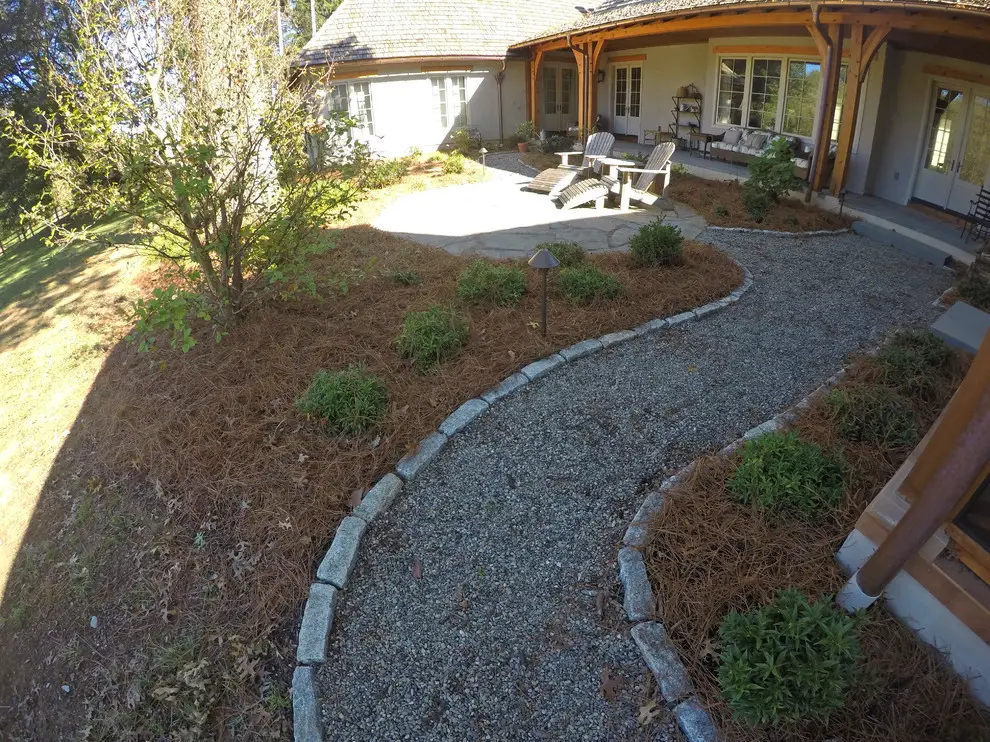
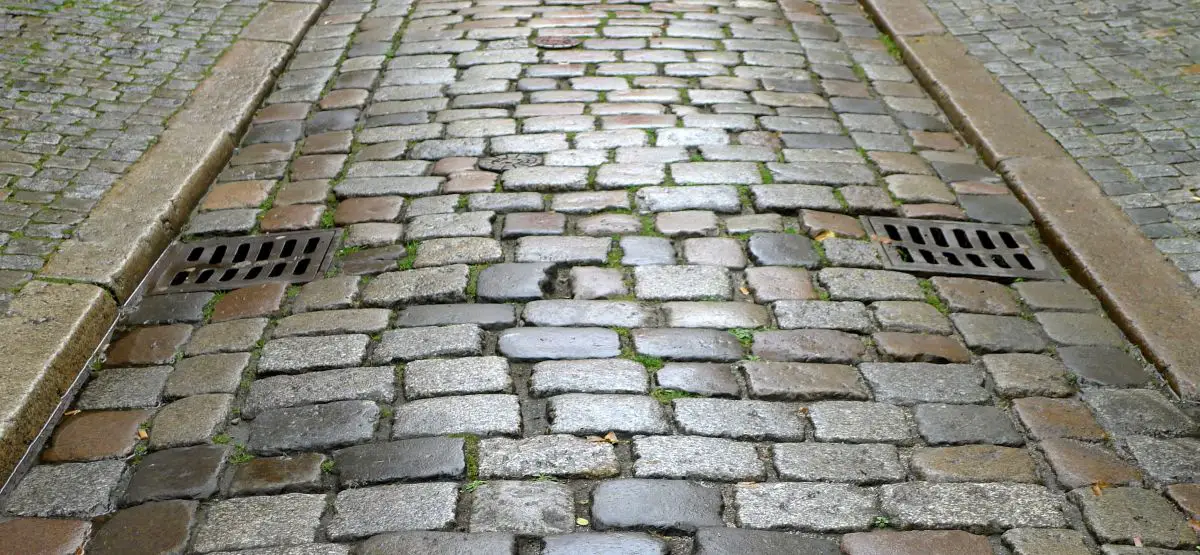
Before we move ahead, let’s get to know more about Belgian block edge. Belgian blocks, commonly referred to as sett stones, are rectangular blocks of stones extracted from quarries. They are rough to the touch and are usually not polished. Centuries back, these stones were used to pave streets but over time, they came to be used mainly for decorative purposes. One example could be Belgian block garden edging. Homeowners like to use these blocks around flower beds, walkways, in their yards, and flank their driveways.
That sounds like a nice idea, right? This brings us to the next question – how to install Belgian block driveway edging? Well, this article intends to answer the question in the best way possible. It might take you a couple of days but installing Belgian block edging is not a Herculean task. With the right guidance and necessary tools, anyone can add a neat row of Belgian blocks to their driveway. To help you through the process, we have come up with a simple installation guideline below.
Steps to Follow
Here are the steps that you need to follow to install Belgian block edging.
Step 1
Start by drawing a line along the edge of your driveway on one side. Hammer nails, with a gap of about 5 meters, along the edge halfway into the asphalt. Now, tie the chalk line to the nail at one of the ends and pull it so it’s taut before you tie it to the rest of the nails to form a line. Follow the same process on the other side of the driveway.
Step 2
The next step is to mark the cut line. Snap the chalk line tied to the two ends so that it leaves a straight mark on the asphalt. You’ll follow this line to cut through the asphalt.
Step 3
The job of cutting could be bulky, considering that you’d have to use a concrete saw. Asphalt drives are ideally 3-4 inches thick, so be careful not to push your saw deep into the soil beneath the base. Constant exposure to soil might make the blade go blunt.
Keep your protective gear handy to protect your nose, eyes, and mouth from all the dust. You can let the saw sit on the asphalt and push it ahead to slash small sections. If you’re not comfortable with dust, you can connect a hose to the fitting of the saw. The running water from the hose will keep the dust down.
Step 4
Once you’re done cutting the asphalt on both sides of the driveway, take a spade and remove the extra asphalt. You might need to pry a little to get it all out. If it’s difficult to remove the entire line of asphalt, cut them into small chunks.
Sometimes, the asphalt in some areas won’t be cut clean. If this happens, you can use a brick set and a maul to get rid of the loose chunks. Hold the brick set at a slightly vertical angle so that there’s better support to undercut the surface.
Tip: The asphalt waste will be difficult to dispose off. Trash collectors often refuse to such waste. In such cases, consider getting in touch with local asphalt producers who can use it to recycle.
Step 5
Then comes the crucial step of digging the trench by the sides of your driveway. The trench needs to be wider than your blocks so that there’s enough space to hold the concrete that’ll go in later. The depth of the trench should be at least half the block’s height. You can also dig it deeper to facilitate drainage during frosty winters. Remove any excess soil within the trench to make sure the base is as flat as possible.
Step 6
After digging a trench on either side, you now need to decide how tall the blocks should be. Drive a stake at each end of the trenches and tie a mason’s line to mark the desired height. If your driveway is slightly uneven, you might want to place stakes somewhere in the middle of the trench with some gap. Mark the desired height above the asphalt along each side.
Step 7
When it’s time to lay the blocks, you can install the edging in small sections. First, place 5-10 blocks next to the trench to gauge the length of the first section. Then you start placing them in the trench and filling the sides with concrete as you go.

Step 8
As you set the first block, try wiggling it into the concrete so it sits flat against the edge of the driveway. Use a rubber mallet to level the block with the height that you’d earlier marked with the mason line. Place the remaining blocks and see if they are all at the same level. Repeat this process in every section.
Step 9
Stabilize the blocks by filling the extra spaces in the trench with concrete. The concrete should be stiff in consistency and it should fill up to the level of the asphalt surface. Smooth the concrete against the back of the blocks with a pulling motion. Ideally, the top of the concrete should sit about 2 inches lower than the top of the blocks.
Step 10
When you have placed the blocks on both sides of the driveway, sweep off the paver base into the gaps between the blocks and the asphalt and the space between each block. Add topsoil over the concrete to let it dry slowly. Concrete usually takes about a week to fully cure and be adequately rigid. If the edging is installed along a lawn or a flower bed, use mulch from the flower bed to refill the back of the trench.
That’s all about the installation of Belgian block edging.
Cost of Belgian Block Driveway Edging
We have created our guide visualizing Belgian block edging as a DIY project. However, if you’re too busy or you lack the technical know-how, you may also hire contractors to get the job done. So, the cost to install Belgian block driveway edging in both cases will differ.
If you’re planning to hire a contractor, the entire project will cost somewhere around $1,800-$2,600, depending on the length of your driveway. But if you want to do it on your own, you will save on labor costs. You’ll of course need the raw materials and the necessary equipment. If you’re wondering about the price of blocks, it starts at $4-$5 per block and you can get them from stone yards. The prices might vary in different regions but that wouldn’t make a huge difference. The cost of Belgian block driveway edging for a DIY project is mostly affordable, but the process can be a bit time-consuming. You can make the decision, based on your convenience and budget.
Closing Thoughts
Installing Belgian block edging can be an exciting home improvement project as it doesn’t require heavy-duty equipment while also adding aesthetic value to your home. We hope this article is helpful to you if or when you decide to amp up the look of your driveway with Belgian blocks.


