
Creating an accessible bathroom that adheres to the guidelines of the Americans with Disabilities Act (ADA) is more than just a legal requirement; it’s a step towards inclusivity. Designing an ADA-compliant bathroom can seem complex, especially in a small space. However, with the right planning and understanding, it’s entirely possible. This guide offers tips on how to design a small ADA bathroom layout, providing comfort, safety, and accessibility for all.
Understanding ADA Guidelines for Small Bathrooms
ADA guidelines are designed to ensure that individuals with disabilities have full and equal access to public facilities, including bathrooms. The key elements to consider when designing a small ADA bathroom include:
Doorway Widths
According to the ADA, the clear width of the door opening must be at least 32 inches. This measurement allows enough space for individuals using wheelchairs or other mobility aids to enter the bathroom comfortably.
Turning Space
There should be a turning space with a diameter of at least 60 inches to allow a wheelchair to make a 180-degree turn.
Sink Accessibility
ADA-compliant sinks should be mounted no more than 34 inches above the floor, with knee and toe clearance to accommodate wheelchair users.
Essential Components of an ADA Bathroom Layout
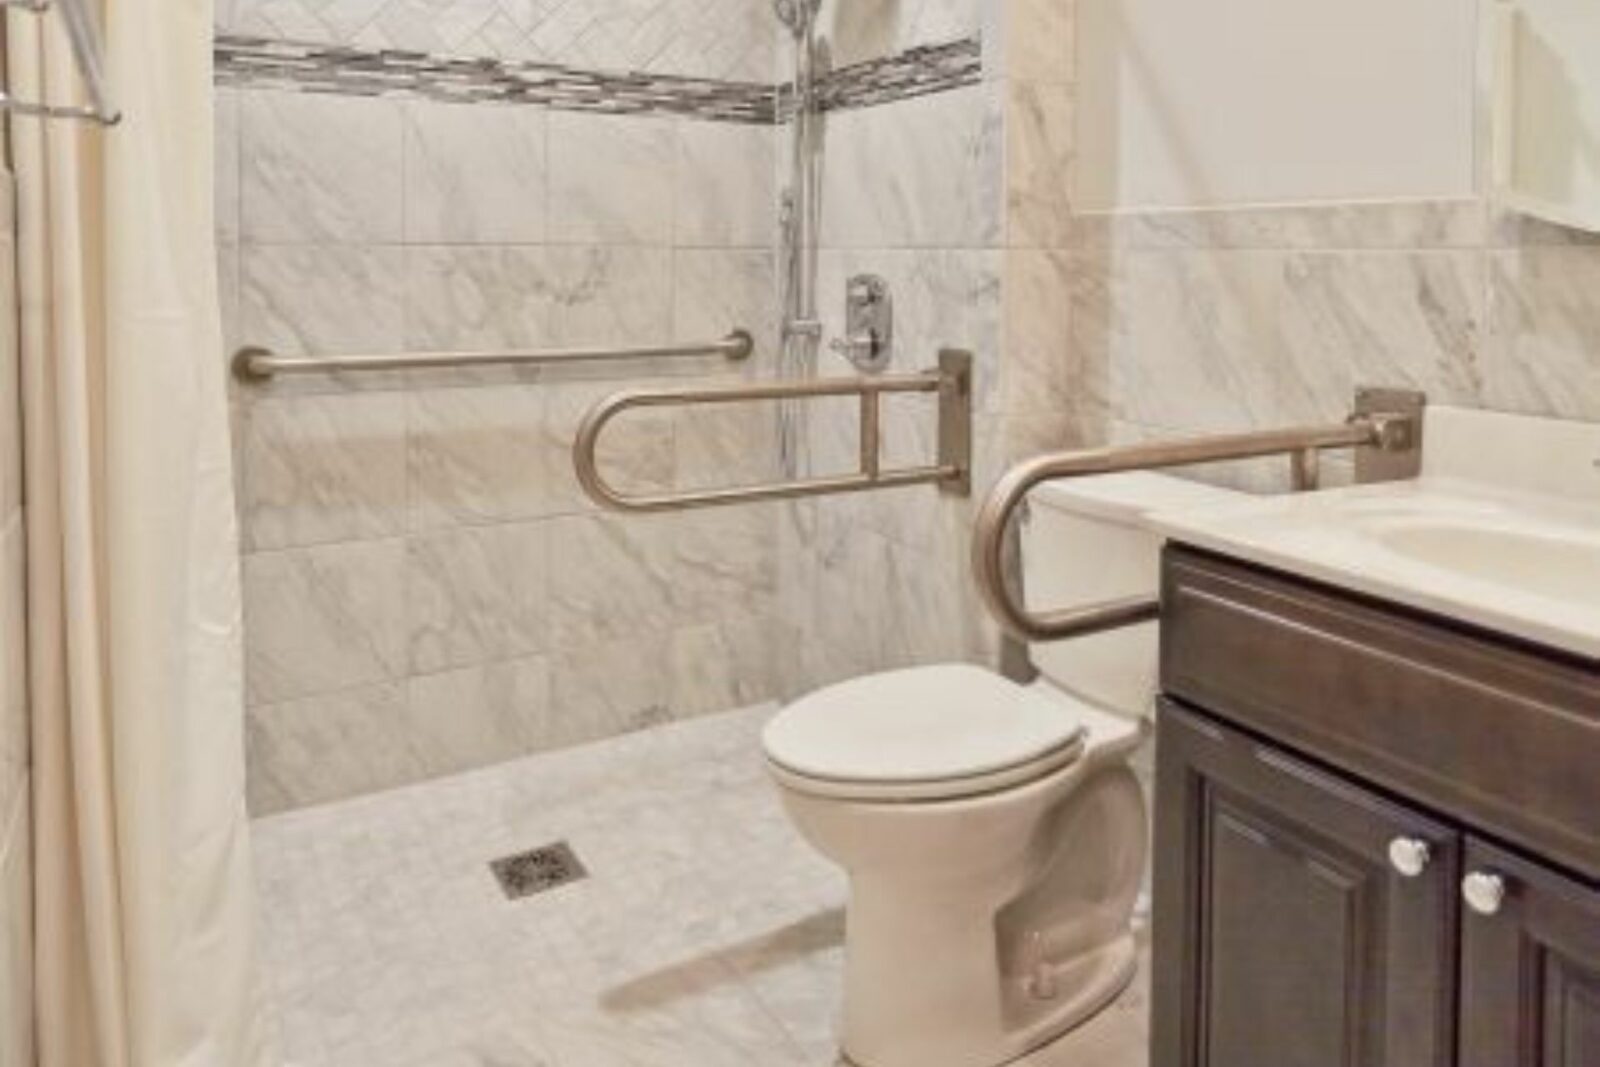
ADA-Compliant Toilet
The height of an ADA-compliant toilet seat must be between 17 and 19 inches from the floor. Additionally, there should be grab bars installed on the adjacent walls to assist individuals in transferring to and from the toilet.
Accessible Shower
A roll-in shower is a popular choice for an ADA-compliant bathroom. It allows a wheelchair user to roll directly into the shower area without needing to step over a threshold. The shower area must also include grab bars for safety and a hand-held showerhead for convenience.
Accessible Sink
For sinks to be ADA compliant, they should be mounted with the counter or rim no higher than 34 inches from the floor. The knee and toe clearance under the sink must be at least 27 inches high, 30 inches wide, and 19 inches deep.
Smart ADA Bathroom Design Ideas for Small Spaces
Install a Pocket Door
Pocket doors slide into the wall when open, creating more maneuverable space inside the bathroom. They’re also easier for individuals with mobility issues to operate than traditional swinging doors.
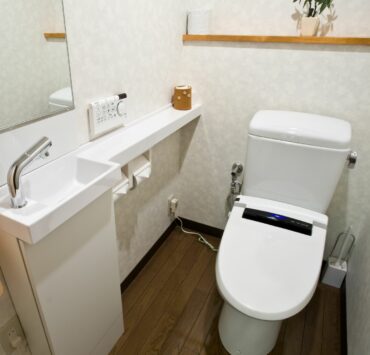
Opt for Wall-Mounted Sinks
Wall-mounted sinks are great for small ADA bathrooms as they offer clear space underneath for wheelchair users. They also help to make the bathroom feel more spacious.

Use Fold-Down Grab Bars
Fold-down or flip-up grab bars near the toilet provide necessary support when needed but can be folded away when not in use, maximizing space in a small bathroom.
Importance of the Right Finishes
Non-Slip Flooring
Safety is paramount in an ADA-compliant bathroom. Choose non-slip flooring materials to minimize the risk of slipping when the floor is wet.
Lever Handles
Lever-style door and faucet handles are easier for individuals with limited hand strength to operate. Avoid knobs that require grasping or twisting.
Conclusion
Designing a small ADA bathroom layout that is compliant, functional, and stylish can be a challenging task. However, with careful planning, thoughtful design choices, and an understanding of ADA guidelines, it’s entirely possible. The goal is to create a safe and accessible bathroom environment that offers independence and comfort to all users, regardless of physical ability. Remember, an inclusive design is always a good design.


