
Designing a bathroom that meets the requirements of the Americans with Disabilities Act (ADA) ensures accessibility and inclusivity for individuals with disabilities. In this detailed blog, we’ll explore the essential elements and considerations of ADA bathroom layout, providing guidance on creating functional and accommodating spaces for all.
Understanding ADA Guidelines
Familiarize yourself with the ADA guidelines for accessible bathrooms, including specific requirements for clearances, fixtures, grab bars, and maneuvering space. Understanding these guidelines is essential for creating a bathroom that meets accessibility standards.
Assessing Your Space
Evaluate your available space to determine the feasibility of implementing ADA requirements. Consider factors such as overall dimensions, entryway width, and existing plumbing and electrical configurations. This assessment will guide your decisions when planning the layout.
ADA Bathroom Layout Ideas
Spacious Layout and Maneuvering Space
Design a spacious layout that allows for easy maneuverability of individuals using mobility aids such as wheelchairs or walkers. Ensure there is ample clear floor space for turning, reaching fixtures, and transferring onto toilets or benches.
Wide Entryways and Doorways
Widen entryways and doorways to meet ADA standards. A minimum width of 32 inches is recommended for wheelchair accessibility. Consider using sliding doors or pocket doors to maximize space and ease of use.
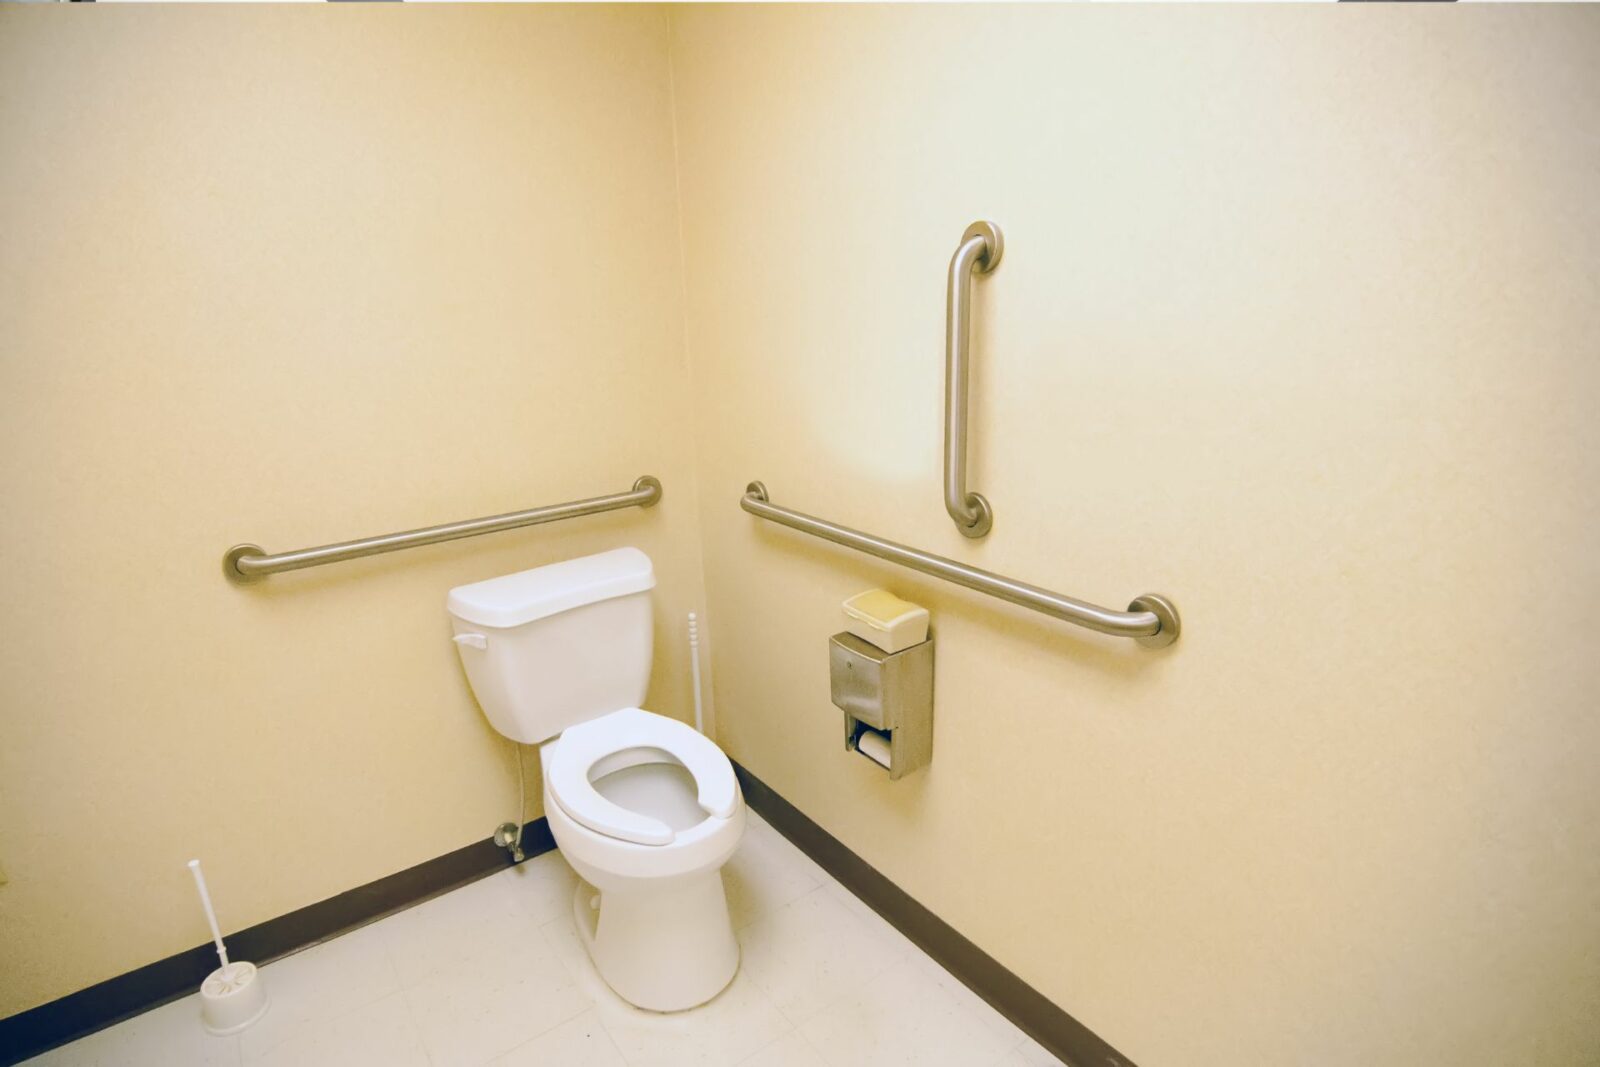
Accessible Fixtures and Accessories
Install ADA-compliant fixtures and accessories. This includes a raised toilet seat with grab bars, a roll-in or transfer shower with grab bars, and a sink with knee clearance. Install faucets with lever handles for easy operation.
Proper Height and Reach Ranges
Ensure that fixtures, controls, and accessories are installed at appropriate heights and within reach ranges specified by the ADA. This allows individuals with disabilities to comfortably use the bathroom without straining or requiring assistance.

Non-Slip Flooring and Thresholds
Choose non-slip flooring materials to prevent accidents and ensure safety. Eliminate or minimize thresholds to facilitate smooth transitions for individuals using mobility aids.
Adequate Lighting and Signage
Provide ample lighting to ensure visibility, particularly for individuals with visual impairments. Incorporate braille signage and visual contrast for easy navigation and accessibility.
Conclusion
Designing an ADA-compliant bathroom is a testament to creating an inclusive and accessible space for individuals with disabilities. By understanding ADA guidelines, assessing your available space, and implementing appropriate layout ideas and fixtures, you can create a bathroom that accommodates everyone’s needs. Embrace the principles of accessibility and inclusivity, and create a bathroom that ensures dignity, independence, and comfort for all individuals.


