
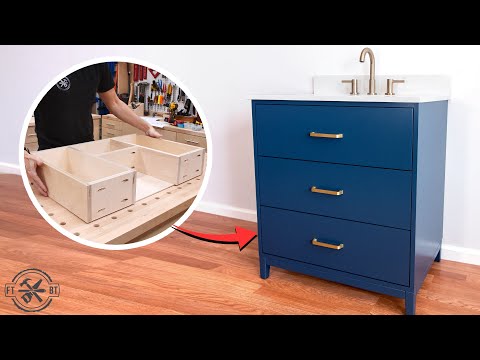
One way to improve the look and usefulness of a bathroom is to invest in a useful vanity. Bathroom vanity cabinets are expensive and may not fit everyone’s budget. In such a case, you should build a vanity for yourself. But, you probably may not know how to build a bathroom vanity by yourself.
Here are step-by-step guidelines on how to build a bathroom vanity, which is easy to follow, and helps you build a custom vanity suitable for your bathroom. These guidelines cover the basics of bathroom vanities. Once you understand these, it will be easier for you to build any cabinets as per your need.
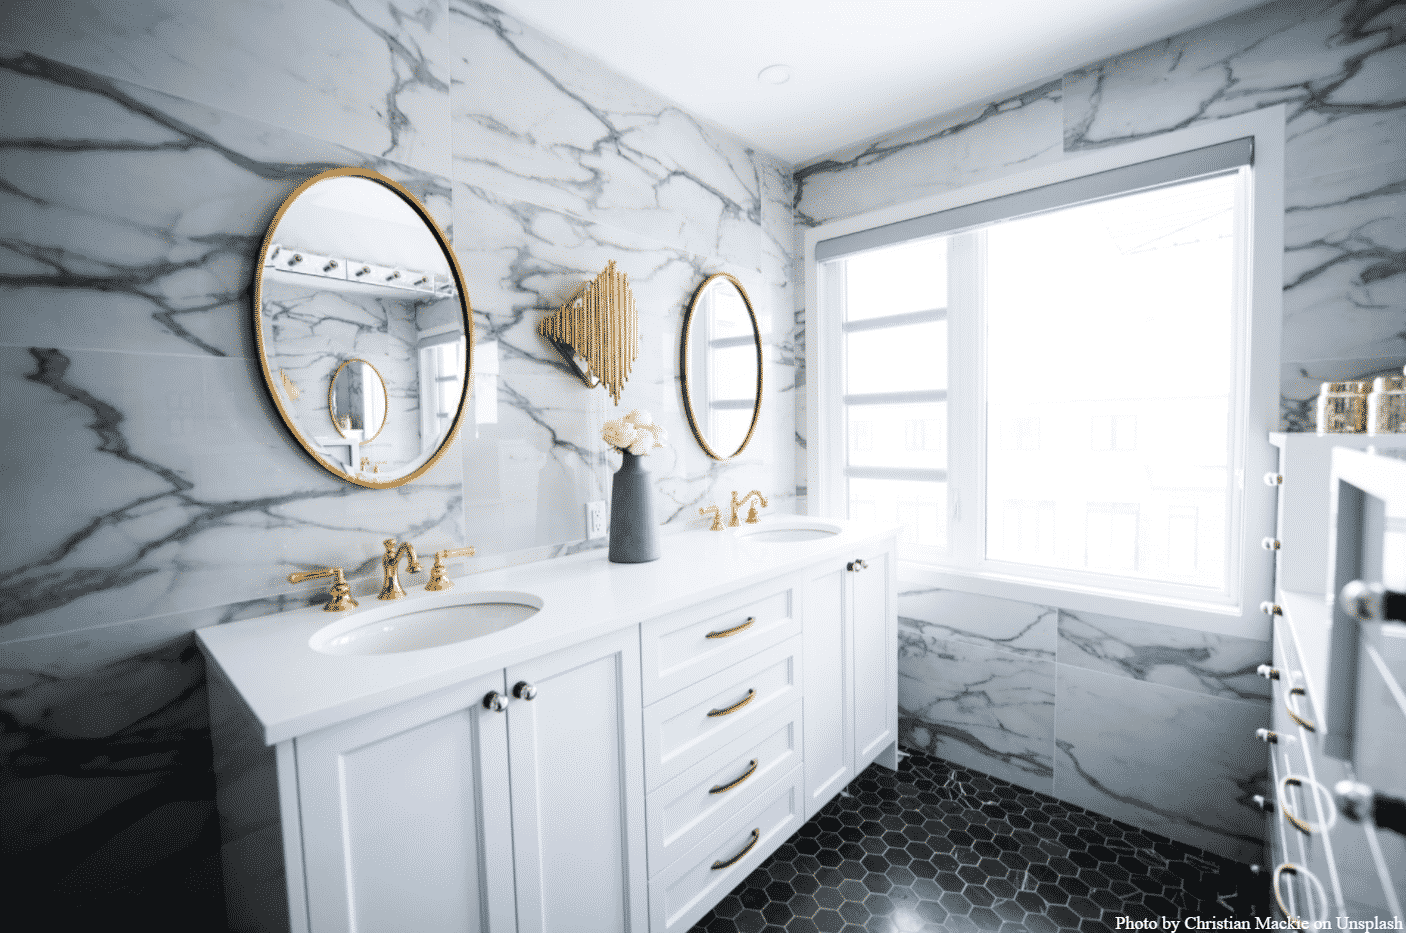
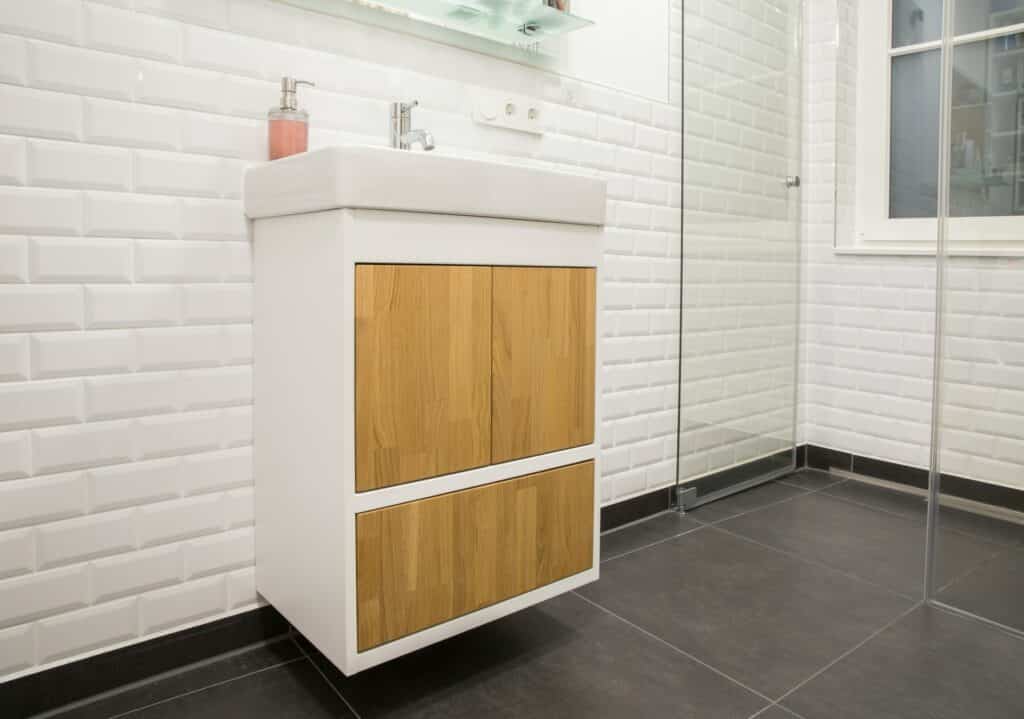
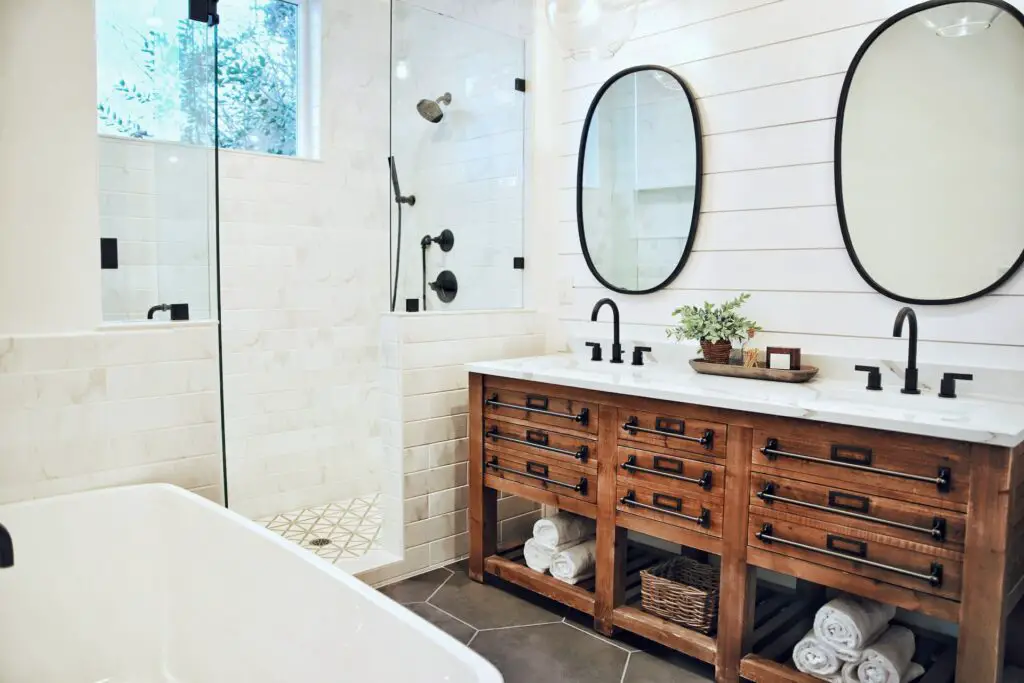
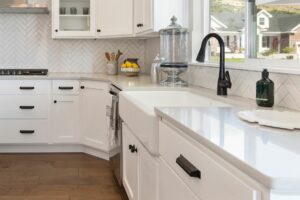
For a good upgrade and better functionality, you must switch to vanity in your bathroom. There are several different types of vanities: mission, rustic, farmhouse, shaker, vintage, and contemporary. The sizes of these vanities differ too and can accommodate both one, as well as two sinks. There are drawers, cabinets, and vessels in the vanity for storage also.
There are materials that you will need to build a vanity for yourself at home if you do not wish to buy one. Building a vanity is easy and helps save a lot.
Once you have acquired all the materials and tools to build yourself a vanity, you can begin the process. So here are the detailed guidelines on how to build a bathroom vanity to upgrade your bathroom and give it what it deserves!
Step 1: Build the Drawer
If you’re figuring out how to build a bathroom vanity, the first step is to build the drawer around the sink. A bathroom vanity is nothing but the storage space under the sink. So when you are starting to build the cabinet, you must figure out how the sink is going to fit into the cabinet and if any drawers are going to come in the way.
With that thought in mind, build the dovetailed drawer with the help of the plywood, jig, and router. The measurement, height, and width of the vanity drawers will be as per your convenience and your bathroom’s size.
Step 2: Assemble it
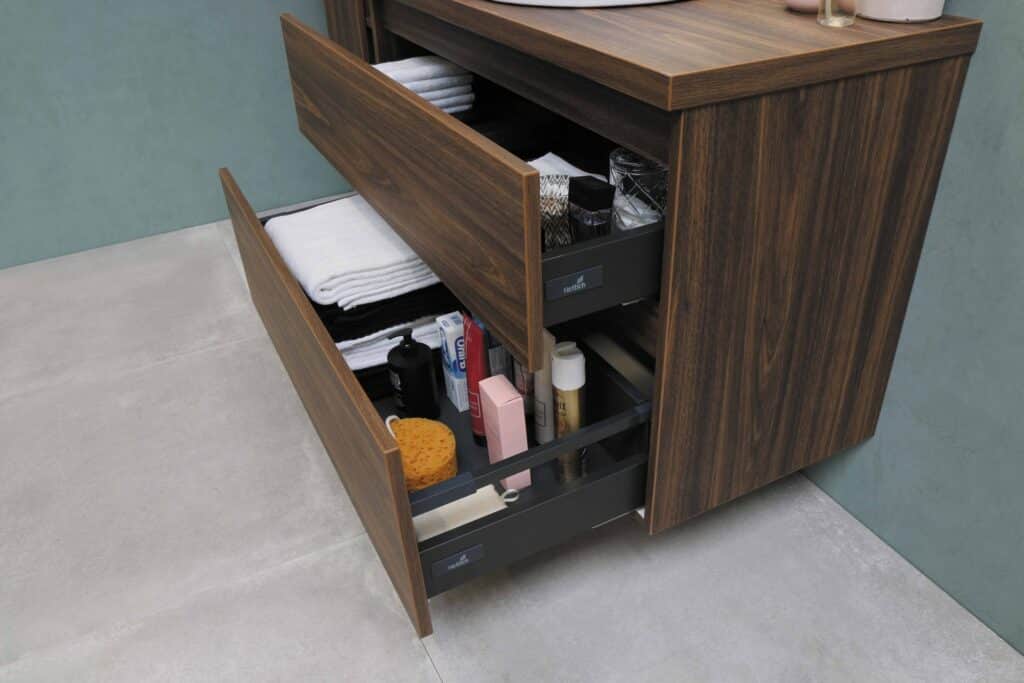
Once you have cut the drawer’s dovetails successfully, it is time to make the drawer bottom and start assembling it. To build the base, you will need sanded plywood. Make sure to sand the entire wood, along with the other four sides too, properly so that there are no cuts and sharp edges.
Once that is over, brush off the sawdust, place a drop of glue between each side of the tails, and spread it. When the glue has evenly distributed, slide the front board into place. The joint should be loose enough to glide smoothly without force.
Step 3: Cabinet Base
Once the glue has set up the dovetail drawers and the cabinet doors, move your attention to the cabinet base. You need to finish nails or a pneumatic finish nail to connect the pieces of the hardwood. You will not require glue for this step since you have to nail it down.
Step 4: Cut the Side Panels
Once you have built the cabinet base, you must move onto the side panels of the cabinet. Either you can go for glued-up hardwood panels or build these plywood panels. By cutting the two cabinet sides, you begin the cutting of the sanded plywood.
Cut a notch from a corner using a jigsaw and a layout square. Following that, cut out two shelves of a suitable measurement. With the remaining plywood, cut out two pieces to support the structure of the cabinet.
Step 5: Assemble the Carcass
It is time to assemble the cabinet carcass by attaching both the sides of the cabinets to the cabinet base with some finish nails, either by hand or by a pneumatic nailer. Build a rabbet before you start this process of assembly.
Next, adjust the bottom shelf onto the plywood base with the help of some nails. Add a few nails from the side for strength. After this, attach the rear piece to the rabbet and on top of the cabinet base with the help of nails and glue. And finally, attach the front piece by nailing it to the two corner sides using finish nails.
Step 6: Complete the Carcass Assembly
While you complete the cabinet carcass assembly, you have to add the shelf that is going to act as the bottom of the main enclosure, positioned just above the drawer. You can assemble this shelf and hold it in place with the help of finishing nails. Once the carcass is complete, you must dress it up a little.
Cover up the exposed plywood edges in the front panels and cabinet shelves. Apply some adhesive edge banding to these plywood edges using a simple iron as a heat source. Once the adhesive has cooled down, trim off the excess from the sides. Now you may sand the entire carcass to prepare for the finish.

Step 7: Doors and Drawer Fronts
Once the cabinet carcass woodwork is complete, you can move on to building the doors of the vanity and the drawer fronts. To make the drawer front, cut a nice and clean section of the plywood and sand it properly. You must then cut the door panels from another plank down to their finished size.
Now set up the router and route the front edges of the drawers and doors. Do not route the back edges as they should remain square. Sand the doors and the drawer fronts with the help of finer grits of sandpaper. Once that is over, use small spring clamps and screws to attach the drawer front to the drawer assembly.
Step 8: Finishing
At this point, the woodwork is complete, and you have to fill the nail holes with wood filler. After that, sand each of these fillers. Dust off the sawdust and apply any finish of your choice, such as paint or stain it. The finishing is vital as the vanity will be exposed to high humidity, and therefore, you need to protect it from moisture.
Once the finishing is over, attach the drawer slides, insert the drawers, connect the doors to the carcass using hinges. When you have attached all of this, try it out to see if it opens and glides smoothly. Now, the final step is to secure the handles on the doors with the help of screws. You can then attach the sink to this vanity.


