
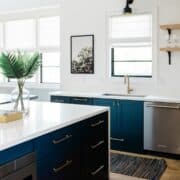
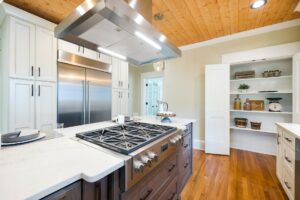
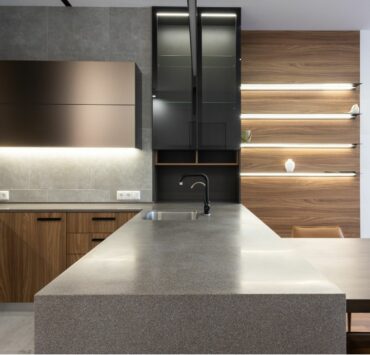
Cabinet doors play a crucial role in the overall appearance and functionality of kitchen or bathroom cabinets. If you’re looking to give your cabinets a personal touch or replace old doors, making your own cabinet doors can be a rewarding DIY project. In this detailed guide, we will walk you through the step-by-step process of making cabinet doors that are customized to your desired style and size.
Materials and Tools You’ll Need:
Materials:
- Plywood or solid wood boards
- Wood glue
- Cabinet door hinges
- Cabinet door handles/knobs
- Sandpaper
- Wood filler (optional)
- Paint or stain (optional)
Tools:
- Tape measure
- Table saw or circular saw
- Miter saw or miter box
- Router or router table
- Clamps
- Drill
- Screwdriver
- Sanding block or electric sander
Step-by-Step Cabinet Door Making Process:
Step 1: Measure and Calculate
Measure the opening of the cabinet where the doors will be installed. Calculate the dimensions for the doors, ensuring they overlap the opening by about 1/2 inch on all sides.
Step 2: Select the Wood and Prepare the Material
Choose plywood or solid wood boards that suit your desired style and durability. Cut the wood to the dimensions calculated in Step 1. If using plywood, cut two pieces for each door and glue them together to create a thicker panel.
Step 3: Determine the Door Design
Decide on the door design you want to achieve. Popular options include flat panel doors, raised panel doors, or shaker-style doors. Research and sketch out your chosen design to guide your work.
Step 4: Cut the Door Components
Using a table saw or circular saw, cut the main door panel and the rails and stiles according to your desired door design. Ensure the rails and stiles fit together with precise and tight joints.
Step 5: Shape the Door Panels (If Desired)
If you’re aiming for a specific cabinet door design such as a raised panel or shaker-style, use a router or router table to shape the door panels. Follow the appropriate router bits and techniques for your chosen design.
Step 6: Assemble the Door
Apply wood glue to the joints of the rails and stiles and assemble them together, ensuring they are square. Use clamps to hold the pieces in place until the glue dries. Check for any excess glue and wipe it off with a damp cloth.
Step 7: Sand and Smooth the Door
Once the glue is fully dried, use sandpaper or an electric sander to smooth the entire surface of the door. Pay attention to the edges and corners to achieve a uniform and polished look.
Step 8: Fill any Imperfections (Optional)
If there are any small gaps or imperfections, use wood filler to fill them. Allow the filler to dry completely before moving on to the next step.
Step 9: Finishing Touches
Decide whether you want to paint or stain the doors. Apply the chosen finish following the manufacturer’s instructions. Let the finish dry thoroughly before handling the doors.
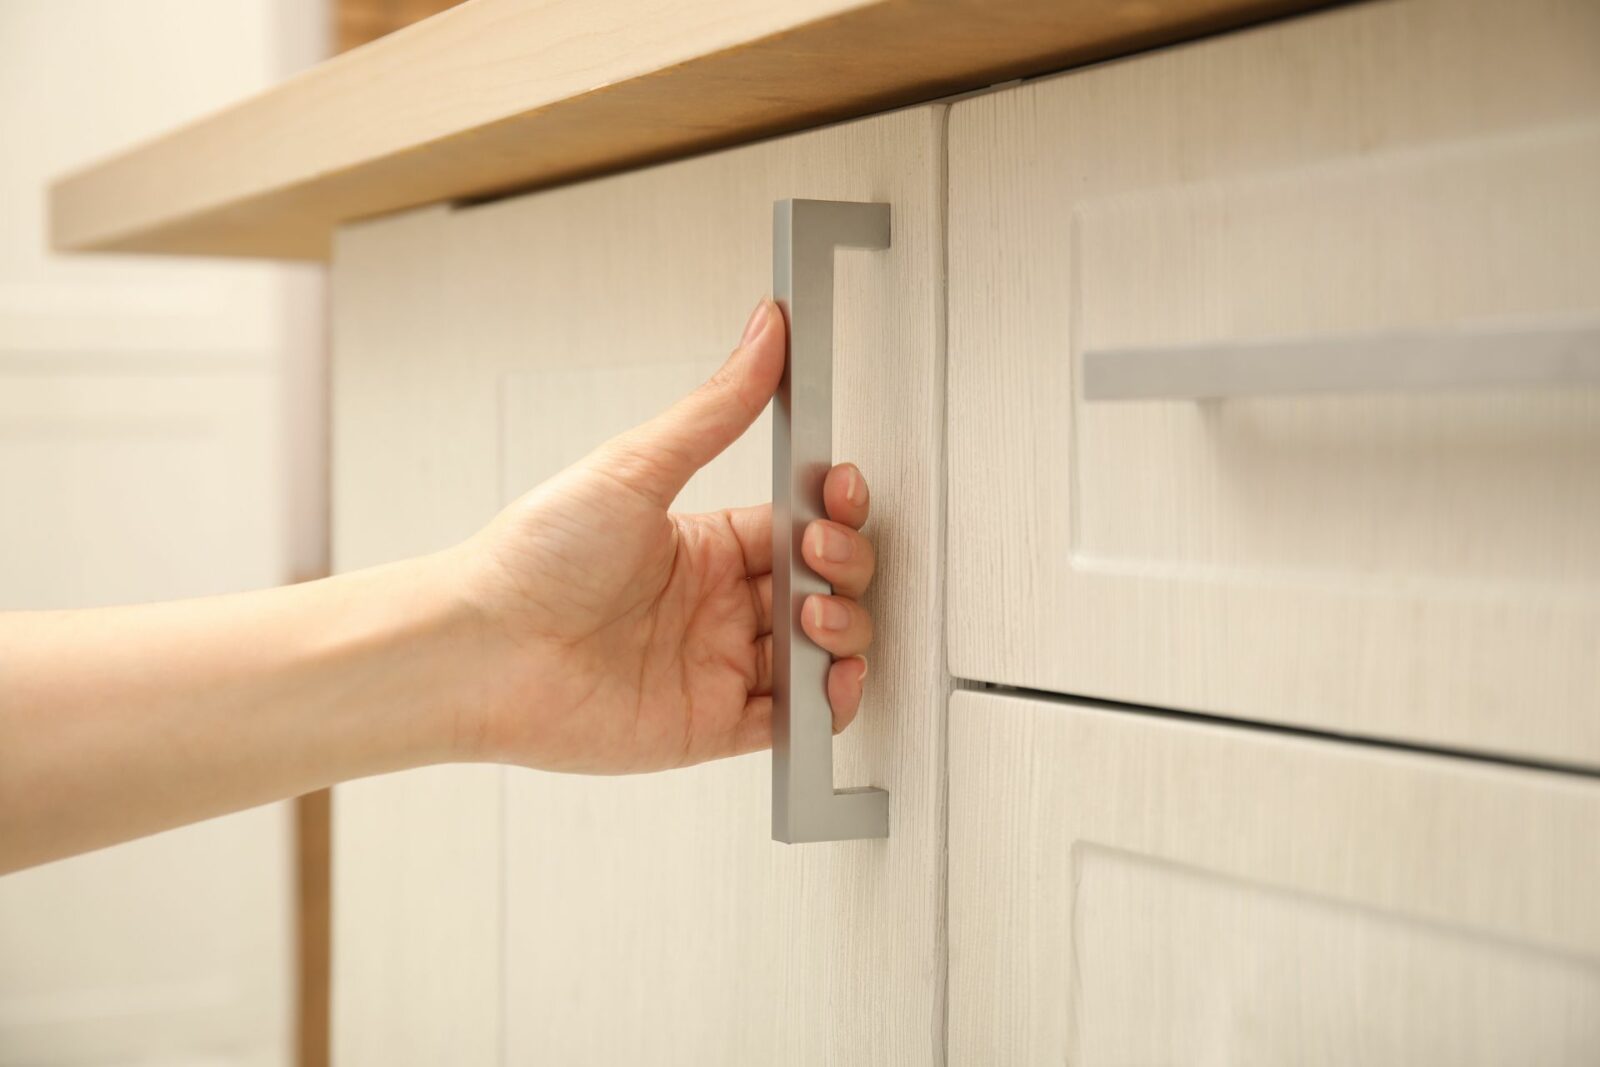
Step 10: Install the Cabinet Door Hardware
Measure and mark the positions for hinges on the cabinet frame and corresponding positions on the doors. Pre-drill holes for the hinges and attach them using screws. Install the cabinet door handles or knobs following the manufacturer’s instructions.
Step 11: Hang the Cabinet Doors
Using the hinge mechanism, hang the doors onto the cabinet frame. Adjust the hinges as needed to ensure the doors open and close smoothly.
Congratulations! You have successfully created and installed your own cabinet doors, adding a personal touch to your cabinets and enhancing the overall aesthetic of your space.
Remember to take necessary safety precautions when working with power tools and wear appropriate protective gear.
By following this step-by-step guide, you can create custom cabinet doors that match your style and fit perfectly into your home. Enjoy the satisfaction of a DIY project well done!


