
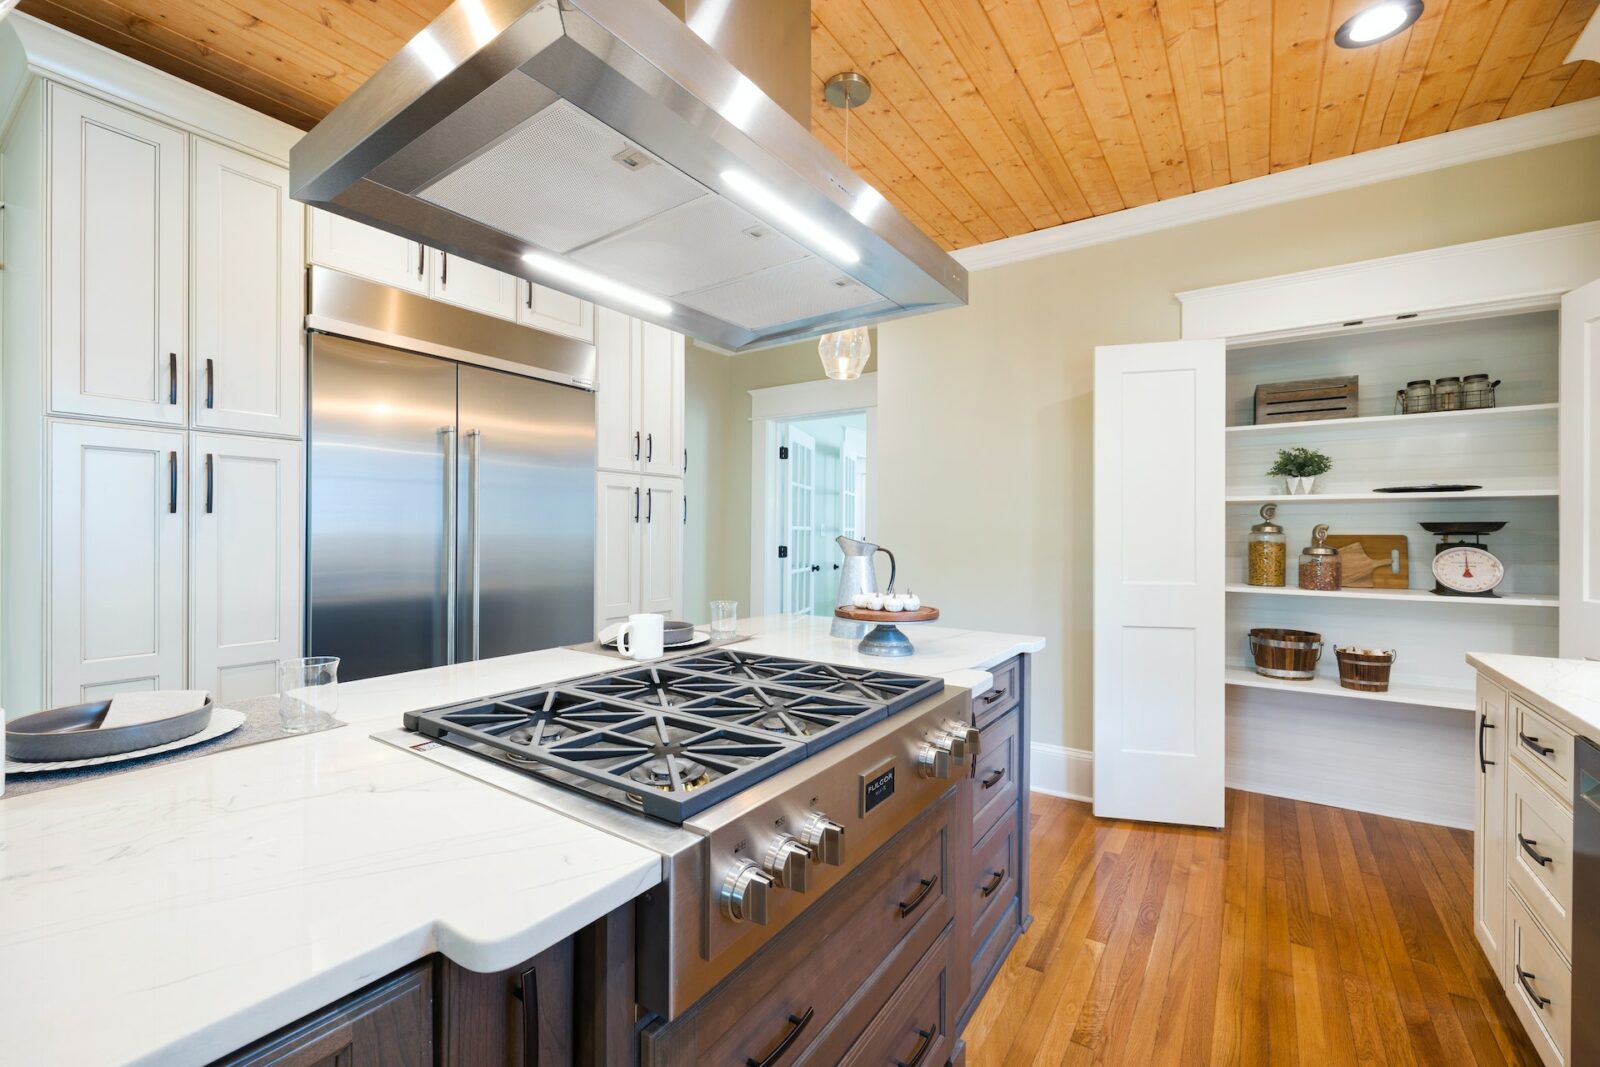
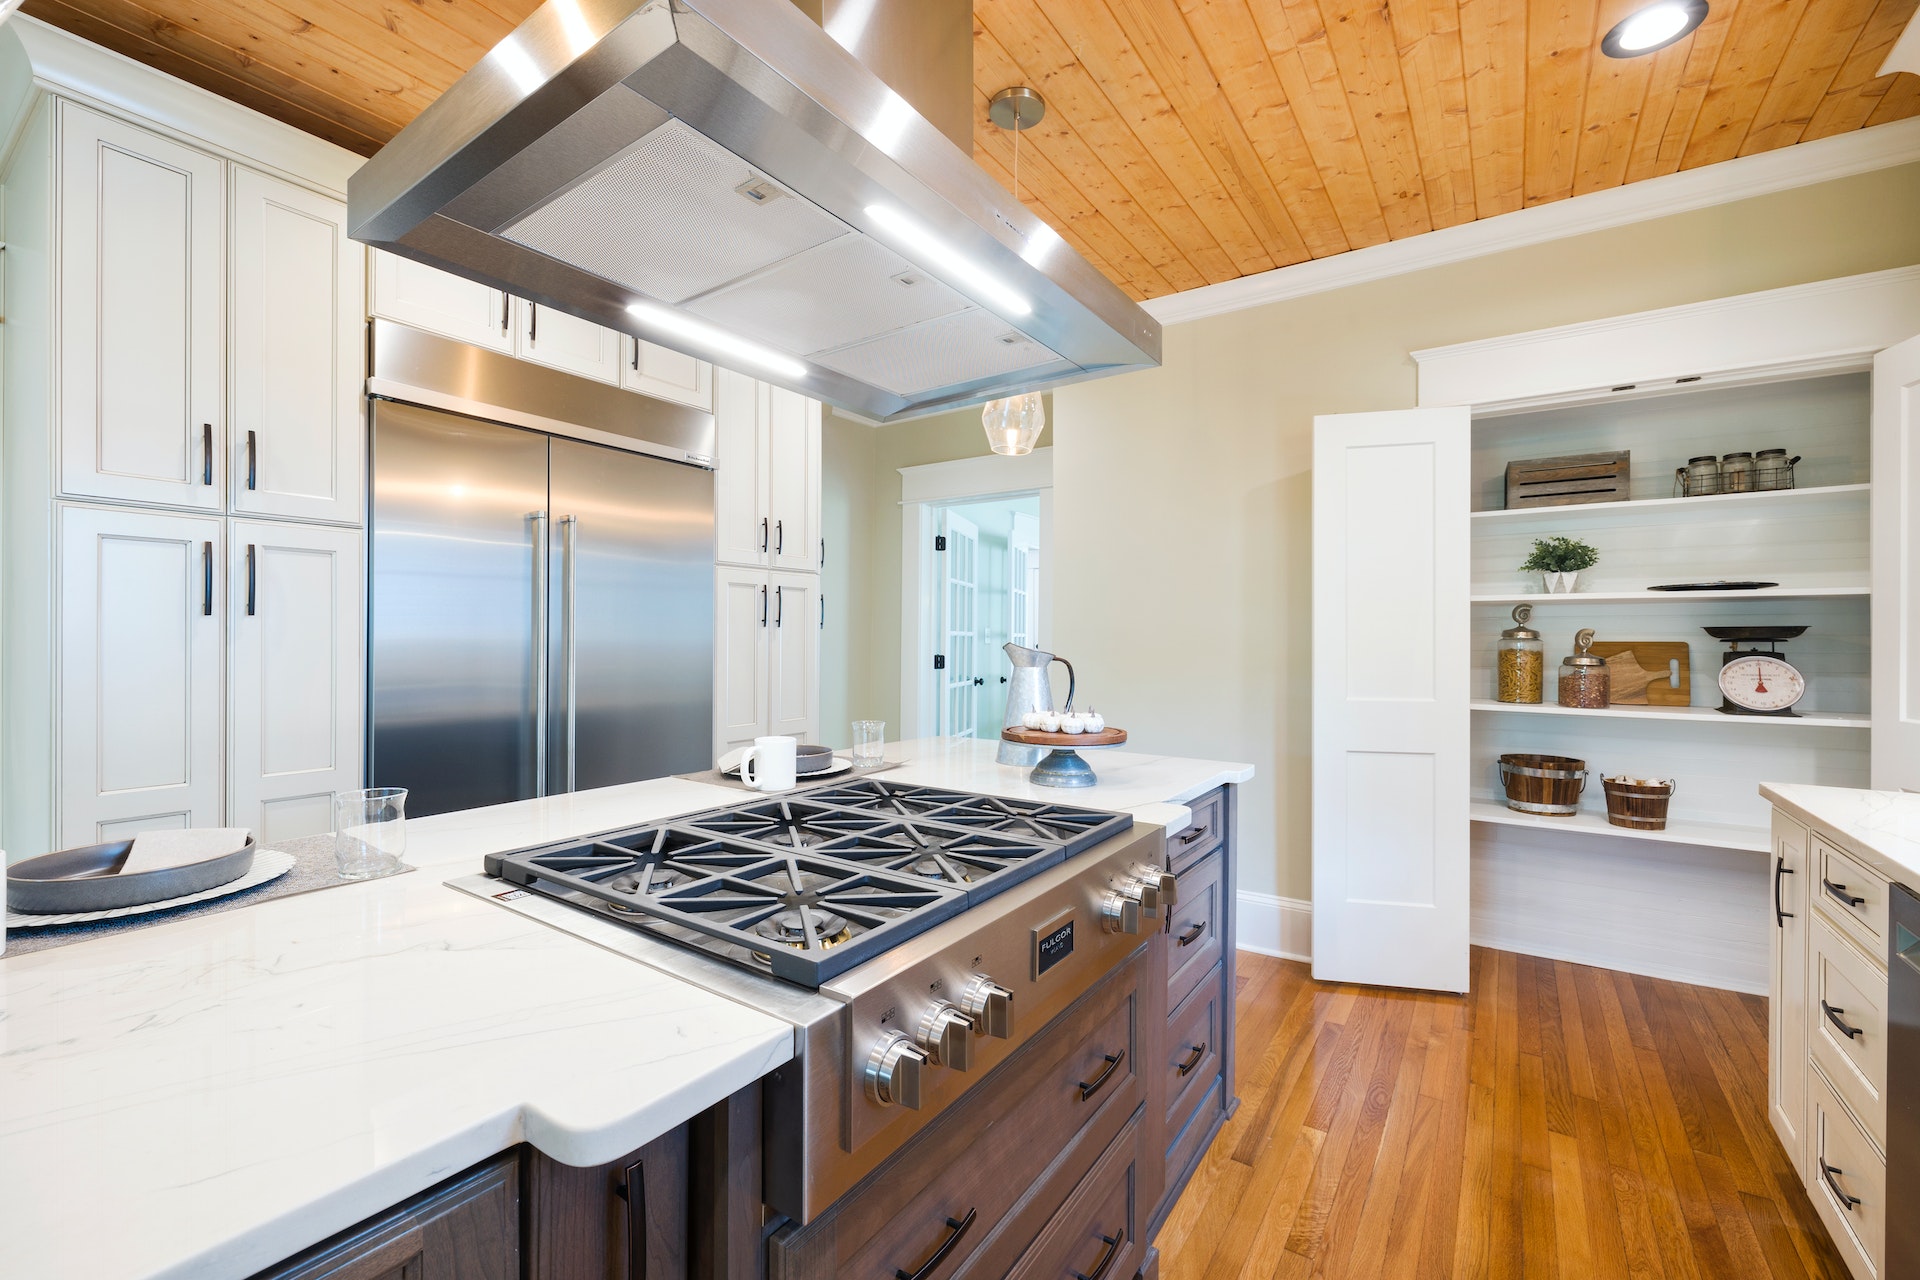
It’s true that venting a range hood vent through ceiling is not an easy job. But if you have the necessary equipment and the right guidance, it could be a fulfilling DIY project. You’d ideally install a range hood through the ceiling if your cooktop is on the kitchen island. It’s a freestanding ventilation fan that you mount above your island. Since the island is usually posited somewhere in the middle of the kitchen, the duct system has to pass through the ceiling to the outside of your home.
If you’re planning to get a range hood installed in your kitchen and wondering how to fix it, you’re at the right place. In this article, we are going to provide you with a comprehensive guide on how to install a kitchen island range hood.
Equipment You’ll Need to Install Range Hood Vent Through Ceiling
Make sure you have these tools handy before you start working on the installation.
- Tape measure
- Marking pen or pencil
- Aluminum duct tape
- Level
- Utility knife
- Plumb line
- Drill or screwdriver
- Drywall saw
- Stud finder
Steps to Follow
Before you get to the installation bit, you first need to inspect the range hood. Go through the package to see if all the parts are there in the box. Check if there are any dents or scratches on the surface of the hood. If so, contact the manufacturer immediately asking for a replacement. Once you’re sure that everything is intact, you can start with the installation.
Below is a step-by-step guideline to help you go through the process.
Step 1
Start with tracing a circle onto the drywall with a marker pen. Try to keep it slightly larger than the duct. Before making the cut, use a stud finder to ensure there are no studs in and around the circle.
Step 2
Now, use a drywall saw to cut through the circle. While sawing, be careful not to damage any electrical wiring or other utilities.
Step 3
The next step is to provide ceiling support for the range hood to hang safely. Make wooden support and attach it to the top of the joists and studs in the ceiling. After you’re done with this, you need to secure the metal ceiling bracket. This is where you need to screw the bracket into the ceiling support. Make sure you tighten the screws properly so that the bracket and support are joined sturdily.
Step 4
The vent duct for the range hood usually runs from 6 to 8 inches and is flexible. So, you need to connect this duct to the exterior vent hose using aluminum duct tape.
Step 5
Now, you need to install the four upper support brackets to the ceiling. Line all the brackets and fit them to the corners with screw holes. Use a drill to screw through these holes to fix the brackets into place. Fasten the screws and give the brackets a tug to ensure that they sit firmly.
Step 6
Measure the distance from the cooktop to the bottom of the range hood to get the accurate length of the lower support frame brackets. The following step is to join the lower frame to the upper frame. This could be a little tricky and you might need a helping hand here. Align the holes at the bottom of the support bracket with those of the range hood. Once aligned, attach the two using screws provided with the hood.
Step 7
Once the hood is set into place, you need to take care of the wiring. Ideally, you can pull the power cord through the drywall cutout into your attic. But if your home doesn’t have an attic, you’ll have to wire the hood into a junction box. We recommend that you let a professional handle this job.
Step 8
When the electrical connection is settled, you can install the inner duct cover. First, undo the tongue and groove clip to separate the inner duct cover from the outer one. Then, slide the inner cover over the ceiling mount. Check to ensure that the tongue and groove clip fit it perfectly. The inner cover halves must be aligned with the ceiling mounting bracket. Now, tightly screw the two pieces together.
Step 9
Connect the flexible hose to the bottom of the vent hood and then to the round flap at the top of the hood using aluminum tape. The process of installing the outer duct cover is similar to that of the inner cover. Start with undoing the groove and tongue clips, then attach the two halves of the outer cover onto the support frame brackets. The outer cover is placed over the inner duct cover.
Realign the groove and tongue clips and fasten the two halves with the given screws. The bottom of the outer duct cover must be linked to the grooved slot above the vent hood.
Step 10
Lastly, you’ll need to install the grease filters. Start by removing the plastic film from the filters and glide them into the hood. Place the backend at an angle and then keep pulling it upward until the filter is completely flat. If there are baffle filters, put them in vertically. In case they are horizontal, you put them in from sideways. Screw the range hood filter into the bottom of the outer duct cover and you’re done!
Closing Thoughts
Installing a range hood vent through your ceiling should take you a few hours if you’re not a professional. But it is not a Herculean task and can be accomplished if you’re well-equipped and possess basic technical know-how. We’ve kept our guide simple and comprehensive so that the process seems doable even to a first-timer. We hope this guide comes in handy when you decide to install a range vent hood in your kitchen and you get the job done without any hassle.
Related posts:
 The Power Of Home Renovation On Your Mental Health
 Master Bedroom Additions: Types and Tips for a Successful Project
 Creating an Indoor Succulent Garden: Tips and Benefits
 Mudroom Benches: Top 5 Ideas and Best Materials for Your Entryway
 Hot Tub vs Jacuzzi: Unveiling the Relaxing World of Water Therapy
