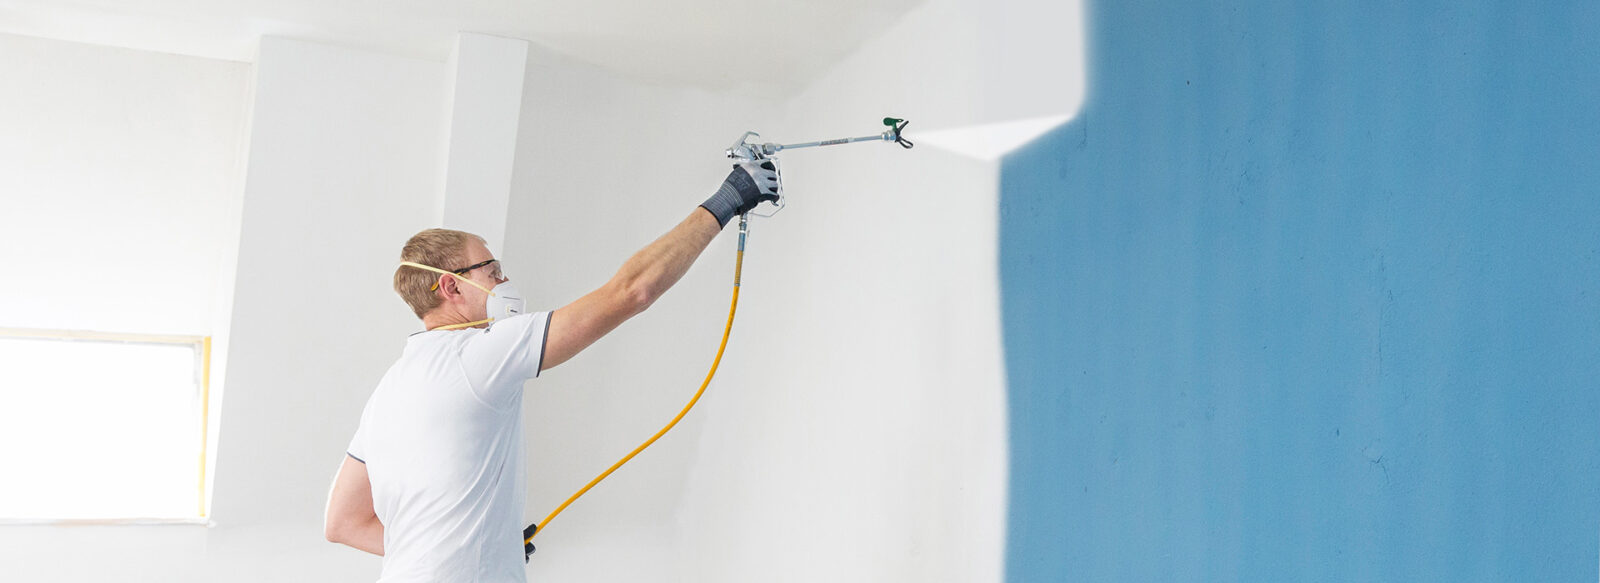
Get to know the basics of how to use spray paint on the wall with our quick guide recommended by paint industry experts.
If you have the experience of painting your home interiors, you’d know that it takes quite some effort. From figuring out the right consistency to waiting for the paint to dry, the process can take longer than you might expect.
When you use a paint roller, you need a lot of time as the process is manual. You start with one patch of your wall and gradually move to another patch. Besides, wall paints require more than one coat, which means several repetitions of the same task.
For busy people and DIYers, painting walls with a roller might not always be feasible. So, then the question is — how would you manage time and get the job done?
A simple answer to this is wall spray paint. It’s a much quicker process than painting your walls with a roller.
Let’s dive deeper to know all about spray painting and how to execute it.
What is Wall Spray Paint?
As the name suggests, it means using a spray to cover your walls in your desired shade of paint. You wouldn’t need to climb ladders or maneuver brushes across tight corners with a paint sprayer. Besides, the spray delivers a smoother finish than a roller or paintbrush.
However, like every other thing, spray painting also comes with its share of cons. A significant drawback of spray painting is that you might over-spray a surface and then compensate on sections where the coating is lighter.
Another thing to note is excessive consumption of paint. Spraying requires a higher amount of product than used with a paintbrush or roller. But the time saved is worth the extra expenditure.
Things to Consider Before Using Wall Spray Paint
Painting home exteriors don’t involve a lot of masking as you usually have fewer furniture and belongings outside the house. However, when we consider painting the interiors of our homes, we need to take many things into account. Besides preparing the surface, here are a few things you will need to take care of.
Masking
Unlike painting rollers, spraying paint can easily spill over onto areas that don’t require painting. To avoid spillage, you must cover every square inch that you don’t want to be painted with a plastic sheet or drop clothes.
A good time to spray paint home interiors is before you move in. That way, the space will be empty, and you wouldn’t have to move stuff or cover up your belongings.
Cleaning
As spray paints have a smooth finish, they can show blemishes easily. Preparing the surface and having it squeaky clean before you use the spray is crucial.
Even a tiny layer of dust can ruin the look of your walls after being sprayed on.
Experience
Most DIYers usually have experience in using rollers or brushes but might lack skills in spraying. If you have never used spray paint on the wall, it’s recommended that you hire a contractor to handle the job.
If you still wish to do it on your own, you should first try and practice spraying over a test patch. You must get on with the real task only after you meet the desired consistency.
Budget
As mentioned earlier, spray painting requires extra paint, which will cost you more than regular painting. This is feasible when you have less time but more money to spend.
However, if you’re on a tight budget, spray painting might not be the best idea.
Process
With rollers and paintbrushes, you can pause your painting job when you’re tired and resume it later. But spray painting is a get-it-done-at-once process, where you can’t drop the task halfway and come back when you feel like it.
You might have to commit to the task for an entire day, without long breaks.
If you’re okay with these conditions, you may try the method because it is fun.
Get the Right Equipment
Two paint sprayers are available at affordable rates for home use; High-Efficiency Airless Sprayer or HEA and High Volume Low Pressure or HVLP handheld paint sprayer. Both these types work efficiently for interior wall spray painting and are readily available in the market. An air sprayer works with oil-based stain. On the other hand, an HVLP sprayer also works with oil-based paint however, thicker paints such as water-based latex ones can clog the equipment.
You can make your choice depending on how big your project is. Most people usually go for the Airless Sprayer as it is easy to use, durable and affordable.
Photo by Blue Bird/Pexels
How to Spray Paint Walls?
Before we present you with our beginner’s guide for spray painting walls, you need to know the required tools and equipment. Below is a list of the basic things you’ll need for painting your interiors.
- Spray painting machine (HEA or HVLP)
- Paint in your choice of shade
- Primer
- Plastic films, drop clothes, newspapers, or something similar to cover up the floors and items in the room
- Painter’s tape
- Protective gear for eyes, disposable gloves, and a ventilator mask
Once you have all the necessary equipment, you can move on to the main job. Check out the step-by-step guide below.
Step 1: Preparing the Area
Before applying the paint, the critical step is to clean and wash the surface. Any trace of dirt or dust particles can affect the texture and look of the color on your walls. The easiest way to wipe off the dirt from walls is by scrubbing them with a mixture of Trisodium phosphate (TSP) and water.
If there’s no TSP at your home, try using dish soap. Gently scrub the dirt patches and then rinse off the surface with clean water. Thoroughly pat the surface dry and it’s all set to be painted.
Step 2: Masking
Use a plastic sheet or drop clothes to cover up every bit that doesn’t need to be painted. If your space is empty, newspapers are enough to do the job.
Cover your doors and windows with painter’s tape. Don’t forget to mask the ceiling too, unless you want to paint it.
Step 3: Ready Yourself
Apart from preparing the space, it would help if you also prepared yourself for the job. Change to old clothes, and wear your protective gear, respiratory mask, and disposable gloves.
Step 4: Applying Primer
The good news is you can use an air sprayer to prime your walls. Apply an even coat of primer over the desired area and let it dry completely.
Ideally, one coat of primer is enough before applying the paint.
Step 5: Applying Paint
When the primer dries out, you can spray the paint over it. You may first do a spot test on a scrap of wood or cardboard to get an idea of how the shade looks. If your shade matches your expectations, you may start spraying the actual surface.
An easy way to attain evenness is by sweeping the spray from left to right. Try not to aim the nozzle at just a single spot. Hold the sprayer around 8 inches from the surface and move the can gradually at a foot per second. Let the first coating dry completely, and then apply a second coating similarly. Don’t mind if the first coating is splotchy.
Step 6: Applying Top Coat (optional)
Get a clear spray paint top coat and apply it in the same process as the paint. While using a top coat is unnecessary, you can do it to get a seamless finish. You may apply a light coat and cover it with a second coat if desired. Let the first coat dry completely before jumping on to the next coating.
Having gone through the discussion, we can deduce that spray paint is a great way to attain a sleek finish and save hours of hard work. At the same time, spray painting also requires some prior experience so you can gain control over using the spray evenly. But an easier solution is to hire a professional to get the job done. Choosing the right material and shade can definitely convert your space into a work of art.


