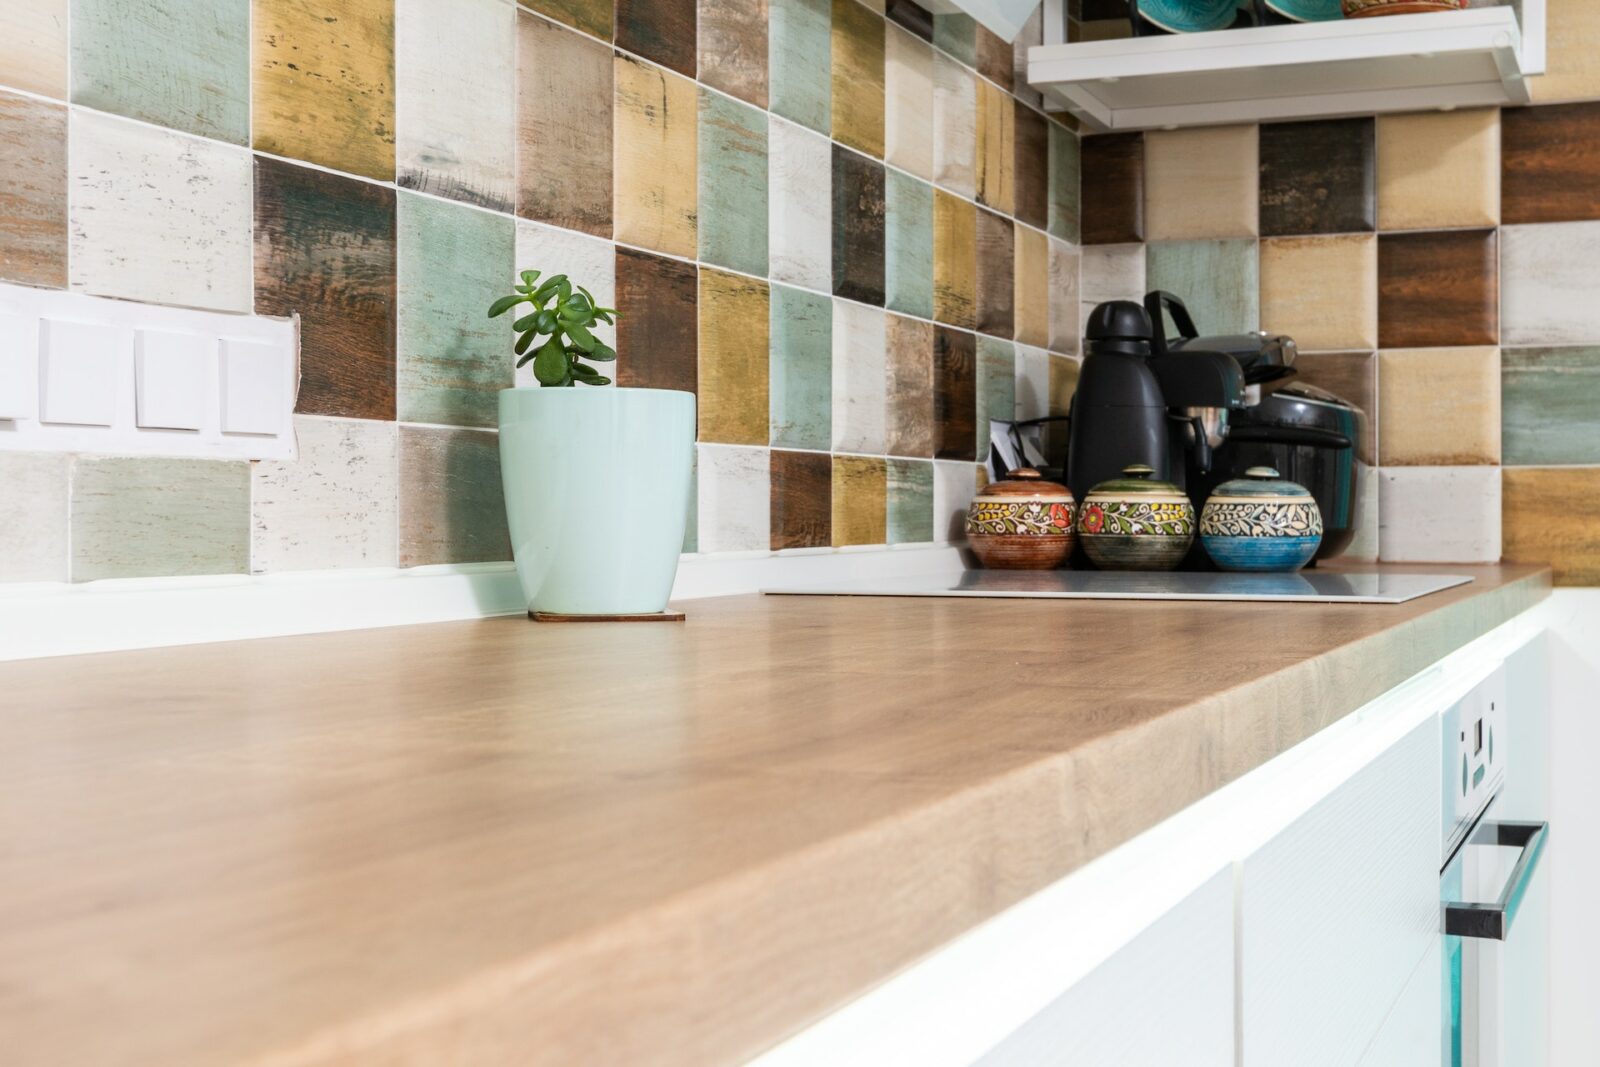
Yes, it is absolutely possible to paint tile backsplash. In fact, it’s a budget-friendly way to give your kitchen a much-needed upgrade. It’s a pretty easy and fun DIY project, which does not involve long durations.

Now the question is — how do we paint a tile backsplash? That’s precisely what we’ll guide you on in this article. But before moving on to the guideline, there are a few things that you might want to know. Read on to find out.
Is Painting Tile a Good Idea?
The answer is a resounding yes. The backsplash in your kitchen is probably the most untouched area. It often goes unnoticed and hardly makes a difference on most days.
But you’d change your mind if you knew that painting the backsplash can actually give your kitchen a major facelift.
Painting is a more feasible way to upgrade your tiles than tearing them out completely. It saves you time and effort to reinstall new tiles.
How Long Does It Take To Paint Tile Backsplash?
On average, painting tile backsplash will take you a day or two. The duration depends on the size of the area and how much time you can squeeze in from your daily schedule.
Each layer of primer and paint will take about a half hour or 45 minutes. The only part that requires a long time is drying. You need to let the primer sit well and dry completely before applying the second coating. The same goes for the paint.
If we consider a 20 sq. ft. backsplash, it should ideally take you 2 days to get the job done. A smaller size will take less time and vice versa.
Supplies That You’ll Need
Now that we have our questions answered let’s get to the main task. You’ll need a few necessary tools and equipment to paint the backsplash. Below is a list of all the materials.
- Plastic film or canvas drop cloth
- Painter’s tape
- Trisodium Phosphate (TSP) and rubber gloves
- Electric sander
- Putty knife
- Acrylic caulk
- Epoxy or tile paint
- Interior/exterior high-bonding latex primer
- Angled paintbrush
- Foam paint rollers and tray
Steps to Paint Tile Backsplash
Step 1: Prepare your Space
Before any DIY project, prepare your space by covering up furniture or any items in the room. In this case, you’d need to shield your cupboards, floors, and cabinets with a plastic sheet or canvas drop cloths.
If there are electric switch plates near your backsplash, you’ll also need to remove them. Do not forget to turn the electricity off for the time being. Another thing to take care of is to border the backsplash with painter’s tape.
Step 2: Cleaning
The next step is thoroughly cleaning the tiles with TSP to wipe off tough grease and provide a blank slate for painting. Remember to wear rubber gloves to protect your hands.
Since TSP is heavy-duty and a harsh chemical, be careful when you use it with kids around.
If your tiles are not greasy, you can also make do with a simple mixture of dish soap and water. After properly washing the area, pat it dry with a clean rag.
Step 3: Repair Damaged Tile
This step isn’t mandatory as you might have perfectly installed tiles. However, if you notice chipping on the edges or hairline cracks, you need to fix them before painting.
Over the years, it has been natural for any material to wear out. Use a putty knife to remove chipped particles and apply acrylic caulk to cover up blemishes.
Let the caulk dry completely before you move on to the next step.
Step 4: Sand the Surface
It’s crucial to lightly sand your backsplash with grit paper or a sander to smooth out the surface and remove the existing glaze. This helps the new paint to settle and grip the surface.
Once you’re done sanding, take a damp rag and wipe off the tile to eliminate all the dust.
Step 5: Apply Primer
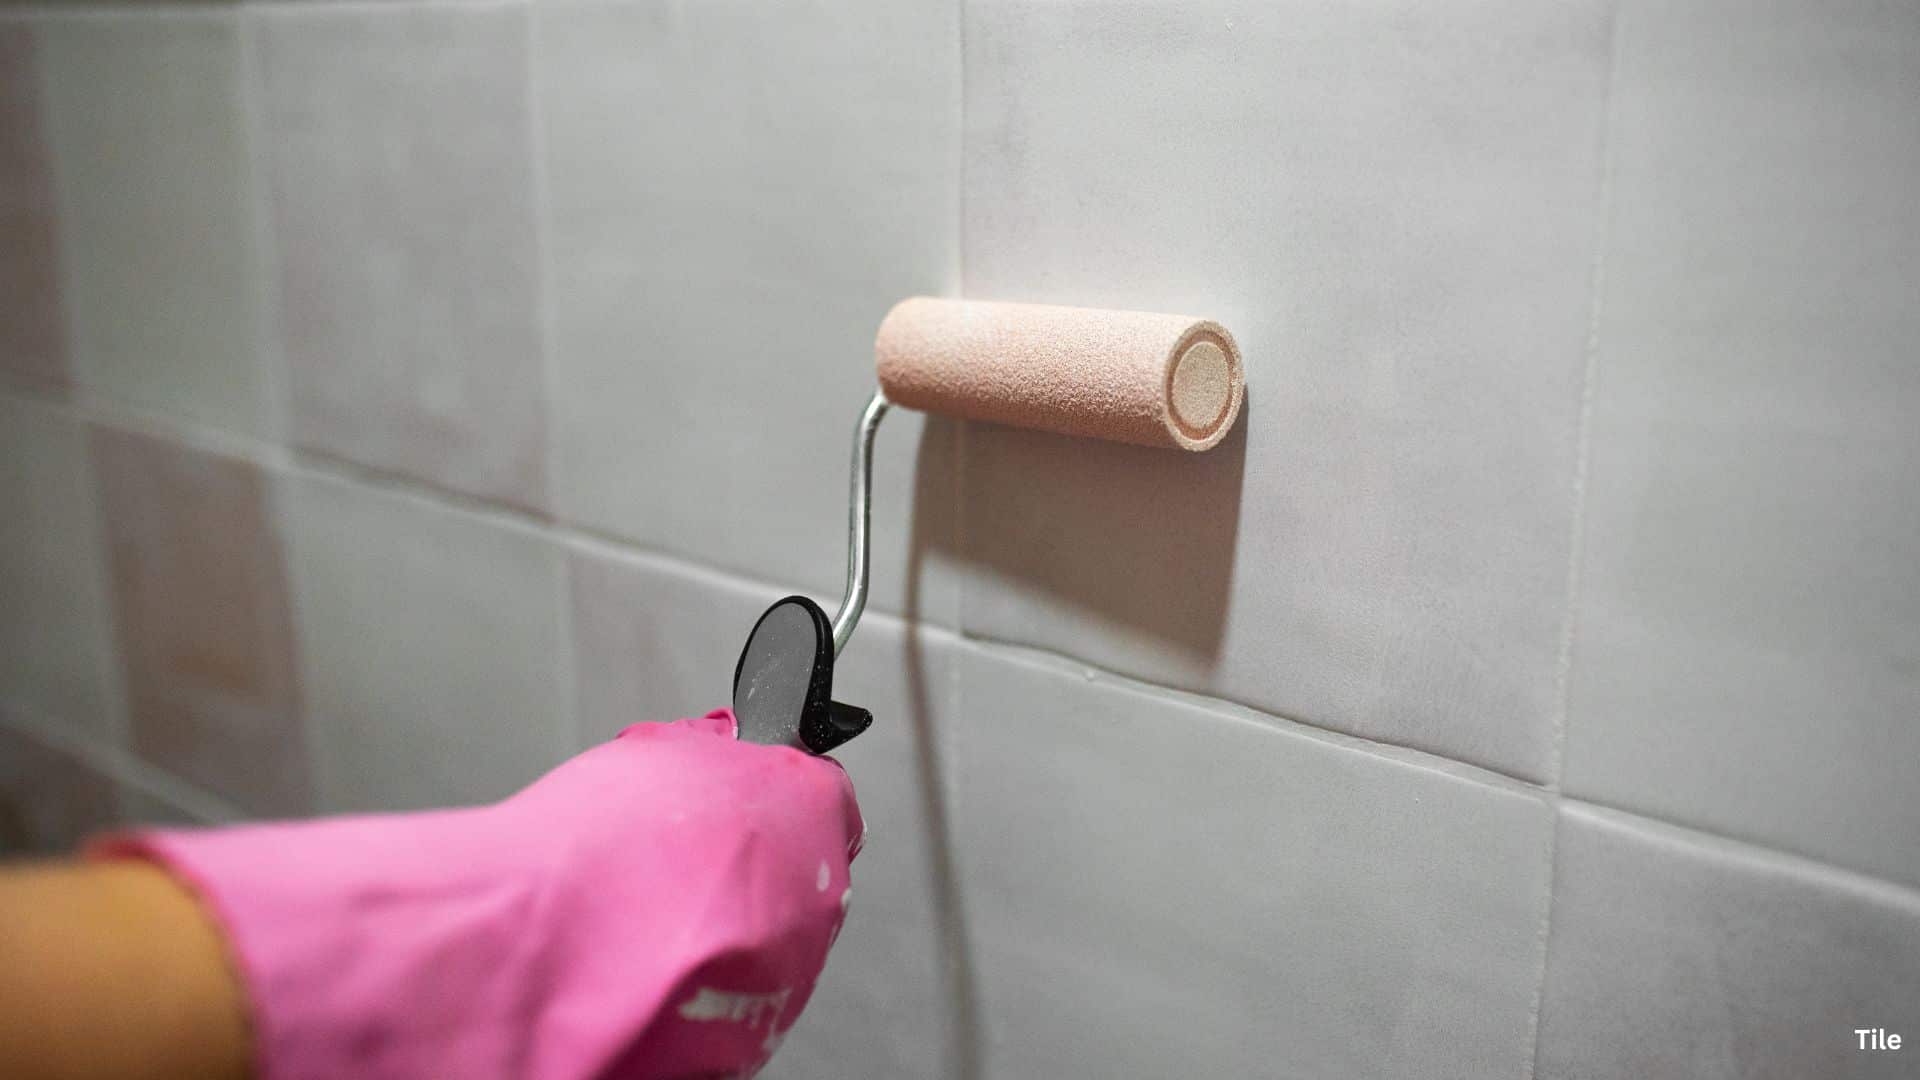
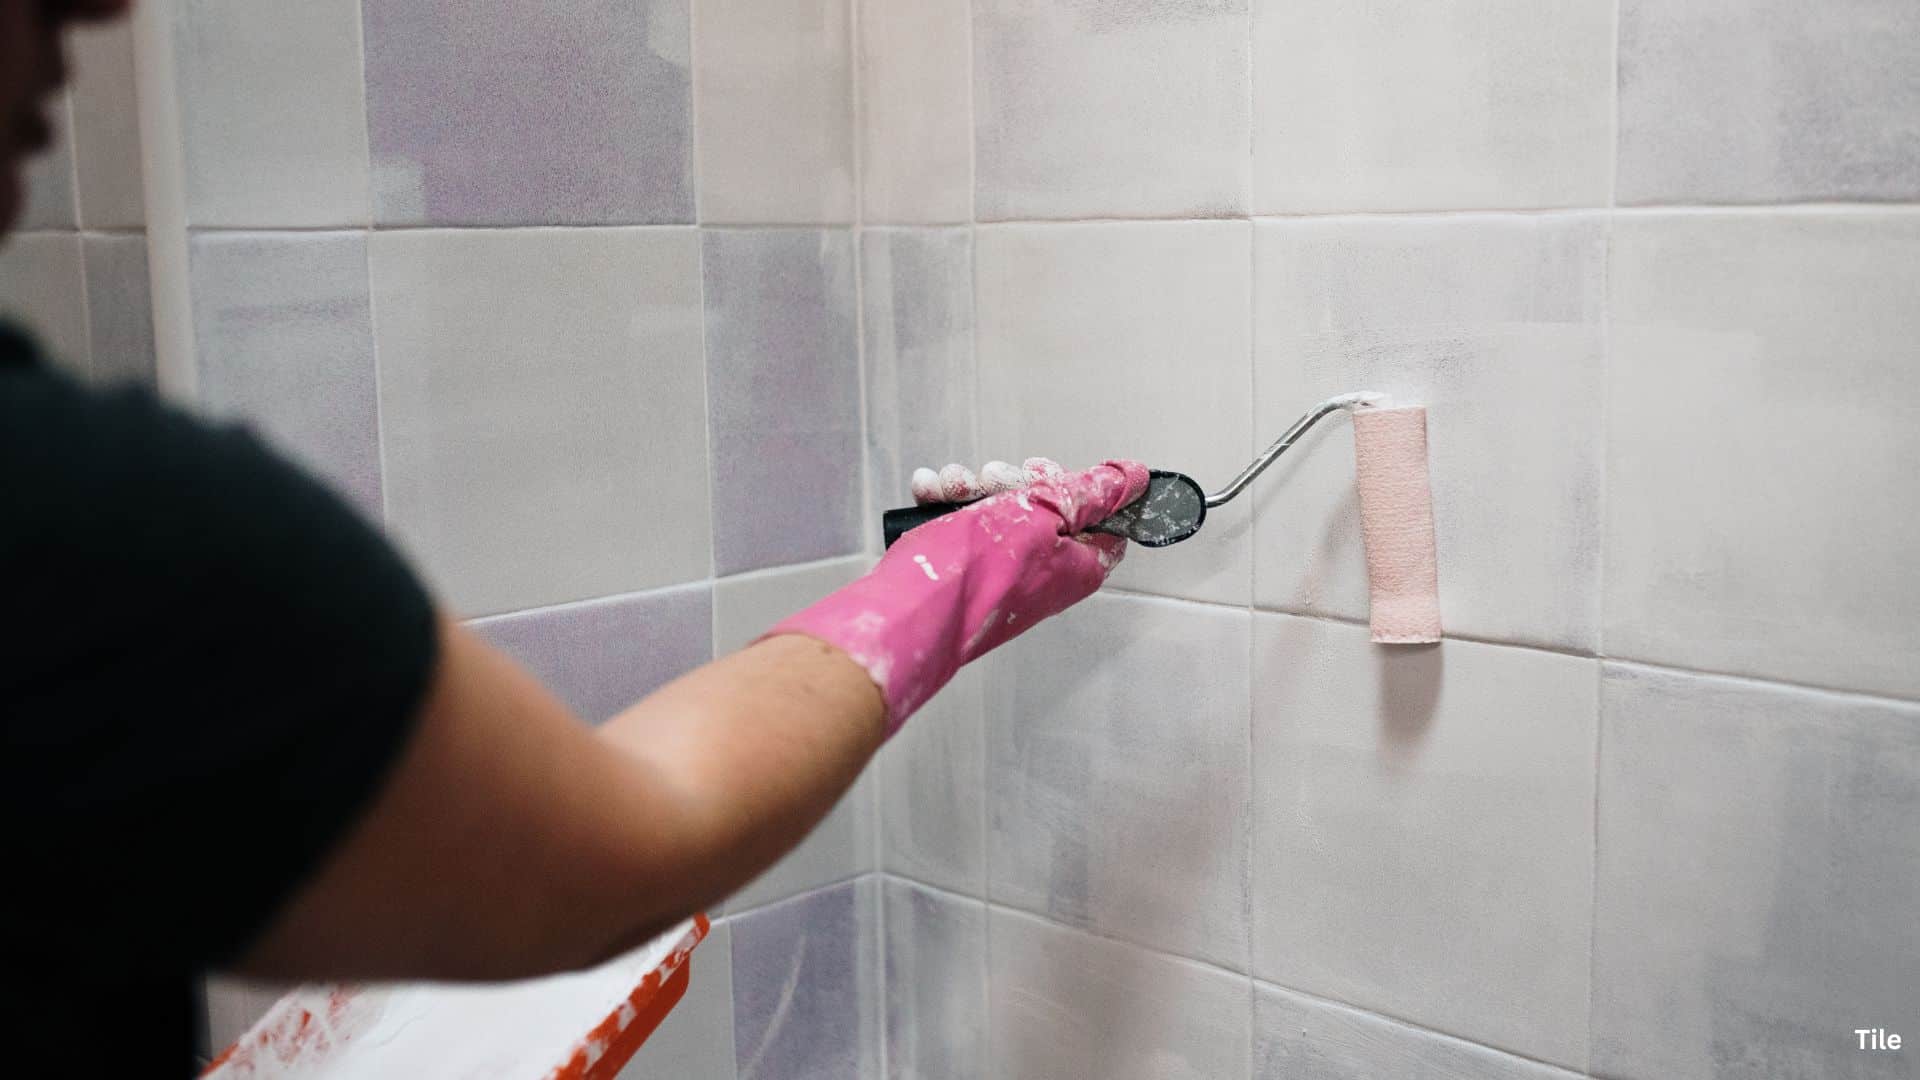
This is when you can finally crack open the can of primer. Gently apply a thin coat over the surface using a flat paintbrush or a foam roller. Let each coat of primer dry completely before adding a new layer.
Two layers are enough unless you feel that the primer looks too faded or light.
Once you get the desired consistency and thickness, you can move on to the paint.
Step 6: Apply Paint
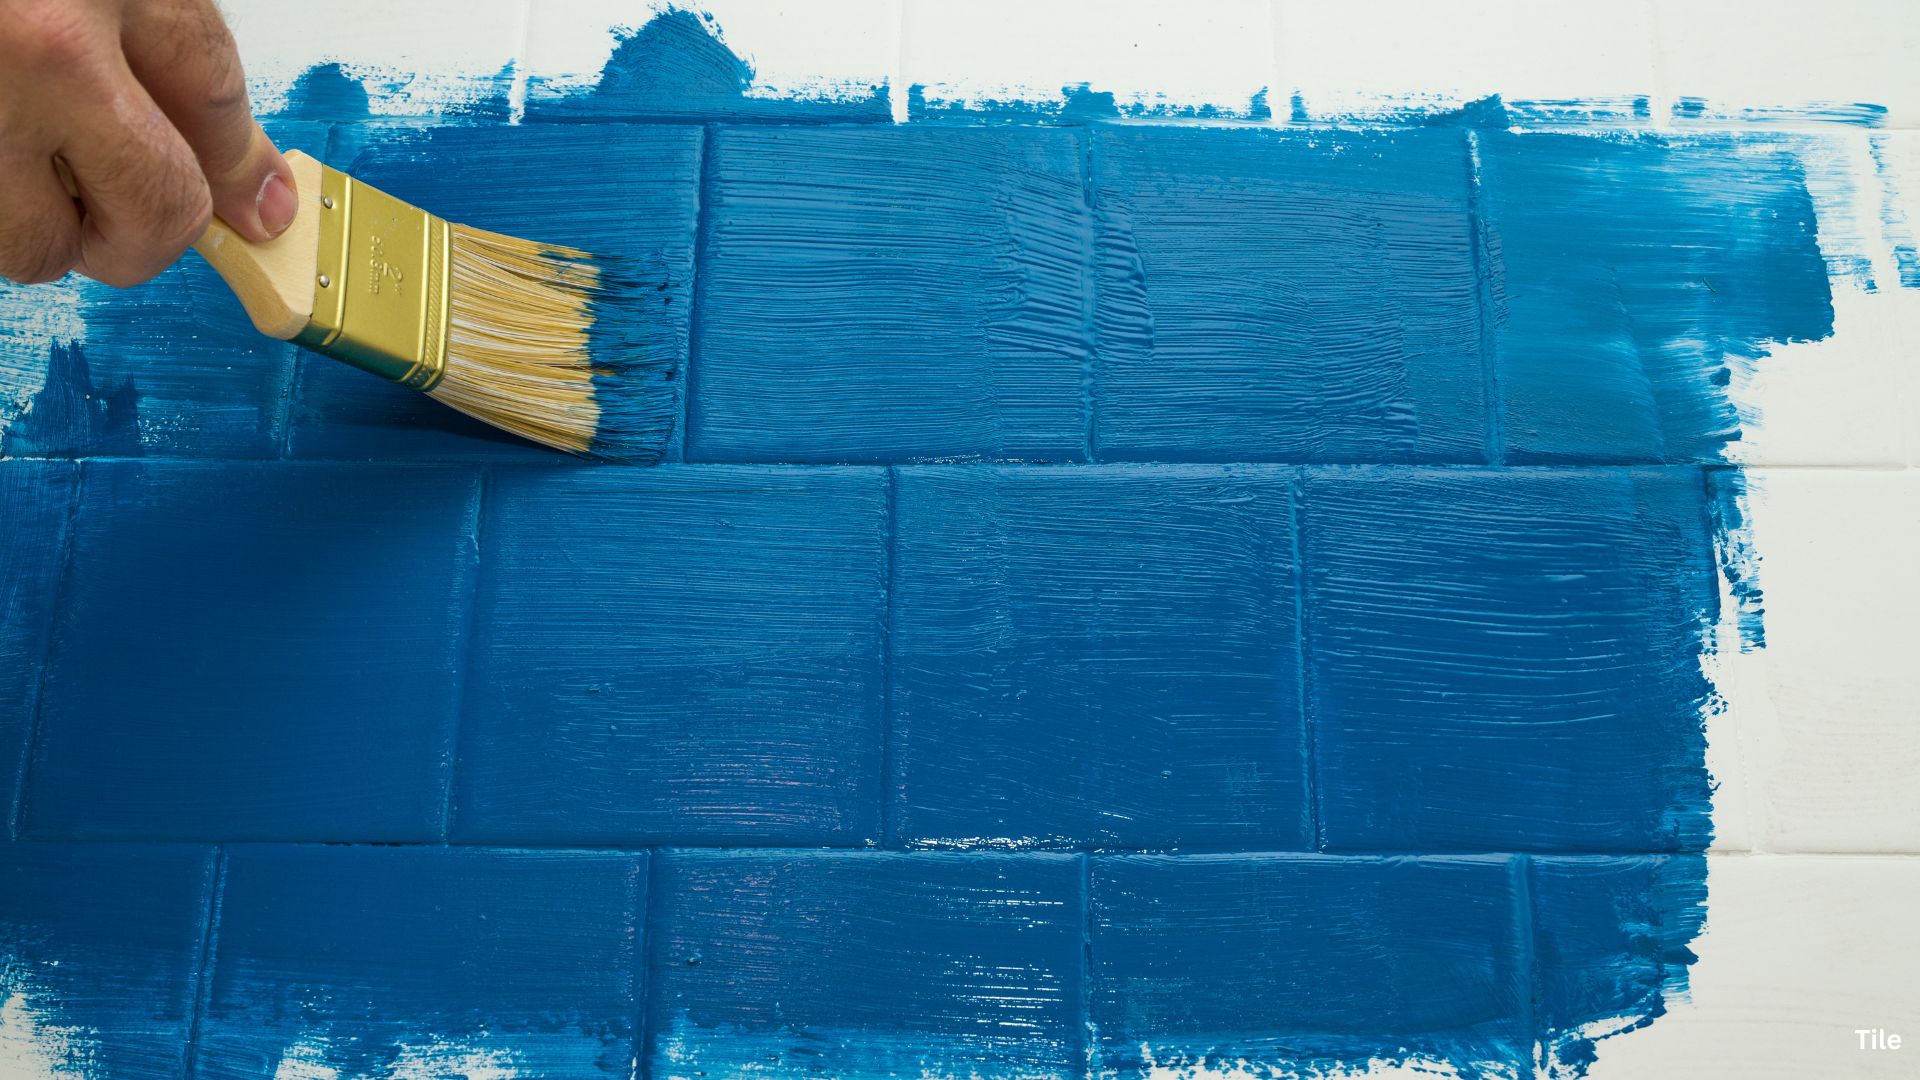
We’ve reached the last and main step, i.e., paint. Epoxy paint is ideal for applying over tiles. It’s important to use tile-specific paint to avoid chipping or uneven strokes. The process is similar to that of applying primer. Layer your tiles with one coat, let it dry completely, and then apply a second or third coat.
It’s recommended that you use a foam roller if you want to achieve a smooth consistency. To save time, you can apply right over the grout, and you will be left with eye-catchy patterns.
So, that’s all about painting your kitchen backsplash to give it a fabulous makeover.
Once you’re done painting, you can stand from afar and soak in the beauty. One thing to consider is the type of paint you pick. Tile paints are specifically created to withstand wear and tear. They are also easier to clean than paints used on walls and furniture.
Choose a color palette that complements the room’s overall decor, and you’re done! The new look of your kitchen is ready!
