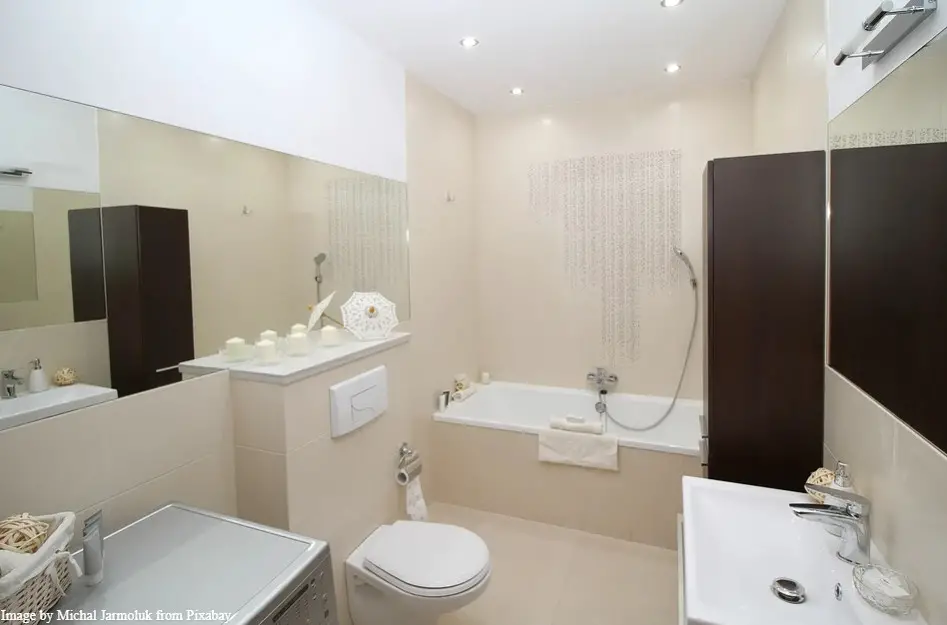
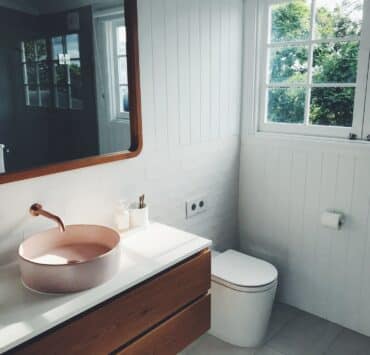
When you are remodeling your bathroom, you avoid messing around with the bathroom’s basic footprint to cut down the efforts and cost that will go behind it. But sometimes, a remodeling project may require you to change the layout of the area. This includes moving the toilet location. It may take around 8-10 hours and cost you about $500.
The toilet’s massiveness and shape leave many homeowners with a lot of questions. How to move a toilet without chipping or breaking it, is a common one.
Moving one’s toilet around can drastically improve the look and function of their bathroom and add to their home improvement. If you want to use the limited space to your best advantage, you must carefully plan the process of bathroom remodeling.
Either you move the toilet around in the same bathroom or lift it and bring it to another bathroom. You can easily accomplish it with a bit of plumbing and peripheral work that it involves.
It is best to rely on professional workers to do this job, but sometimes skilled DIYers can do it too if they know the necessary steps on how to move a toilet.
Steps to Move a Toilet
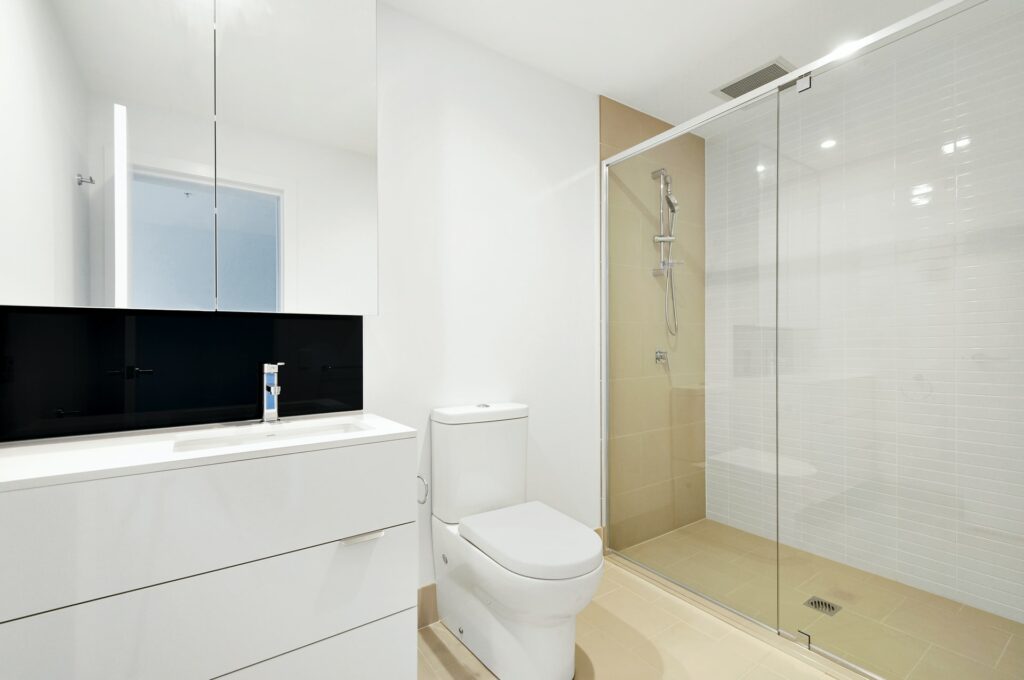
Moving a toilet is not about installing the toilet in a new location but about shifting the drainage and plumbing to a new place. Once you master that, installing a toilet is relatively easy.
Remove Your Toilet
The first step of this process is to remove the toilet from its existing place. Carefully keep the toilet aside to avoid any cracking or chipping of the porcelain since you need to reinstall the toilet in another place. Stuff a rag in the drainpipe to restrict the sewage gases from spreading in the house.
Gain Access to the Drainage Pipe
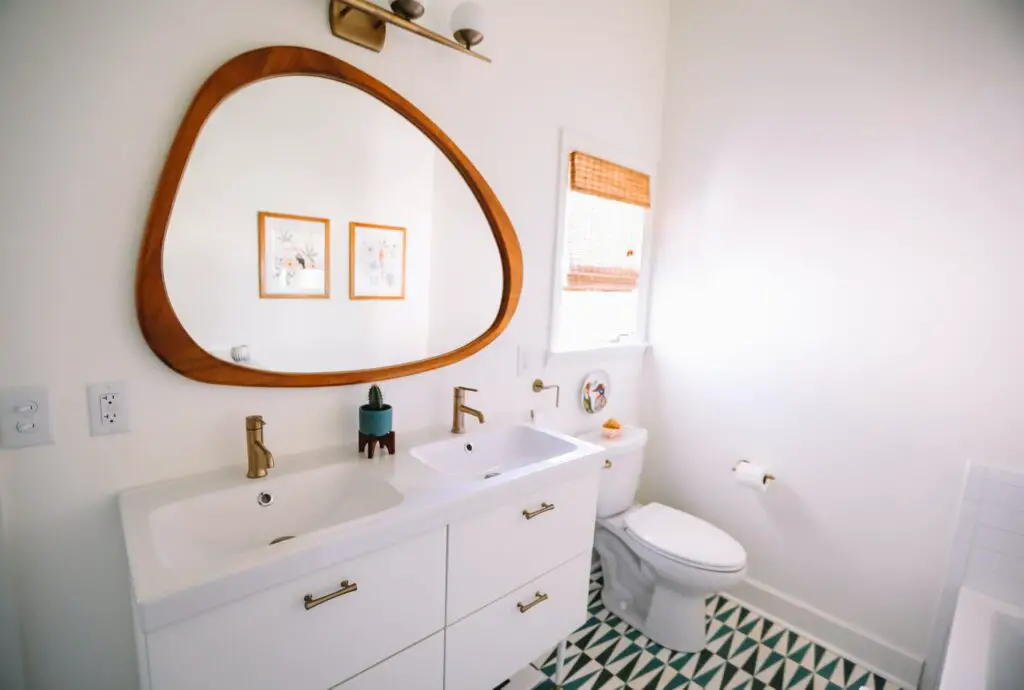
Once you have removed the toilet, you must gain access to the drainage pipes below the toilet, either by cutting open your flooring or if you have a basement or a room below, you can cut open the drywall ceiling.
Removing your flooring is easier if you have loose-lay flooring. You can then easily cut up the subfloor with a circular saw to gain access to the drainage lines. While you are sawing, avoid damage to the joists. If not this, you can demolish the room’s drywall ceiling below the bathroom to gain access to the toilet pipes.
Remove the Flange
Take a screw or drill driver, and go on to unscrewing the toilet flange from the bathroom floor. Once you unscrew it, you must remove it from the drainage pipe. If your flanges are of cast iron, it will be better to break them up with a hammer. Similarly, if they have initially stuck it in place with solvent glue, you can cut it with a reciprocating saw.
Cut up the U-Bend
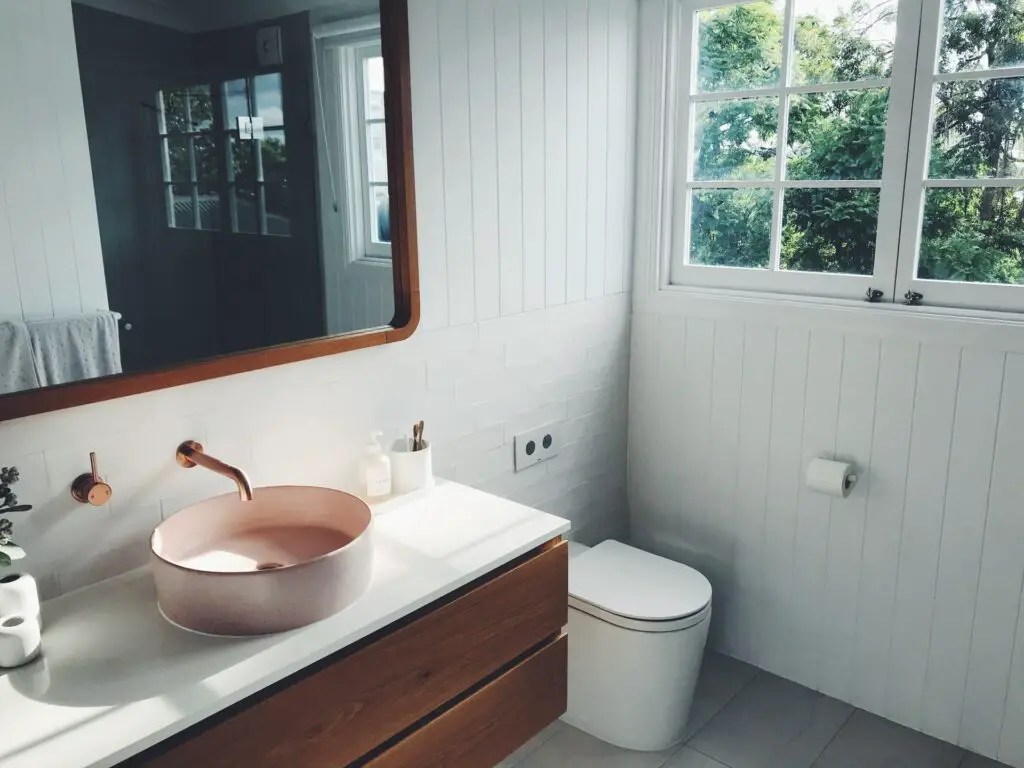
The fourth step in the guide on how to move a toilet for bathroom remodeling is to cut the toilet U-bend. With the help of a reciprocating saw, cut the U-bend of the toilet carefully, as close to the waste vent stack as possible. You will interweave the new toilet drain into this bend.
Plan and Position its New Location
It is now time to position the new toilet drain location. The new site must have at least 15 inches of space from the drain center to all sidewalls, including the shower and the tub. This provides enough space and ensures that the new, or existing, toilet you install will clear all obstacles, including the walls.
New Drain
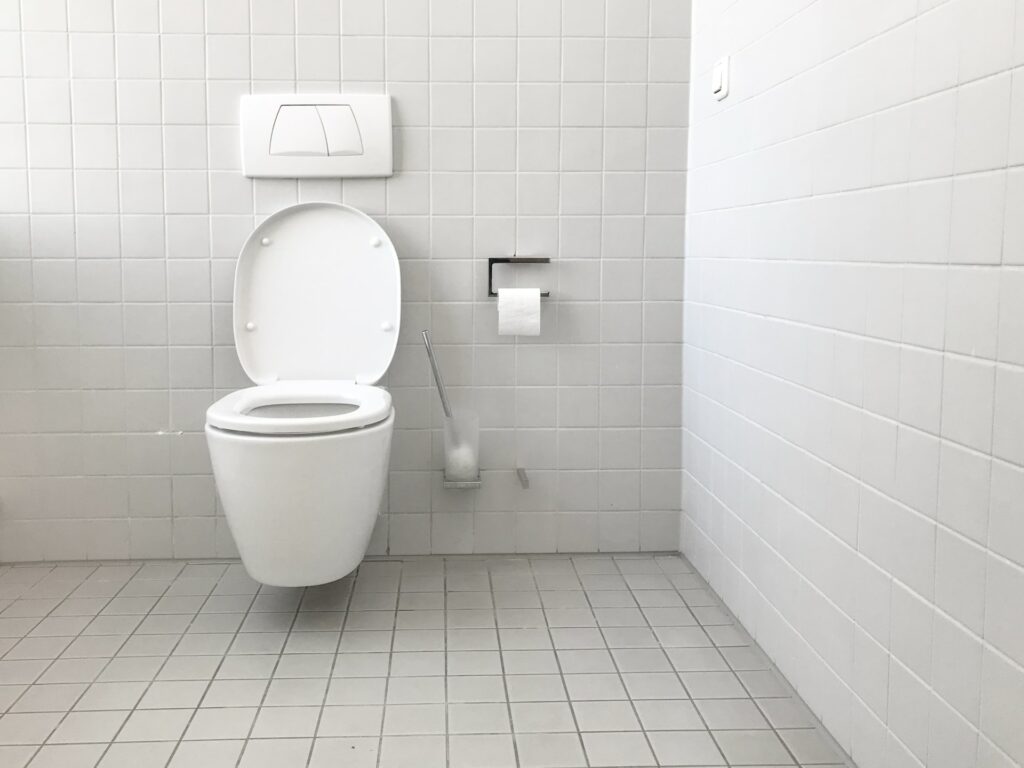
You must install a new wye fitting at the remaining waste vent stack where you had to interweave the new toilet drain into the bend with the help of a long sweep 90-degree bend that will help direct the drainpipe to its new location. This way, you can run the new drain pipe from the U-bend waste vent stack to the new toilet location.
Once that is over, you must fit all the pipes together with appropriate fittings and glue them with solvent glue. You have to make sure that the drainpipes slopes down a few inches towards the stack. You must add support to the pipes and stick to the joists with the help of straps.
Installation of the Drain Stub-Out
Now, on the end of the new drain pipe, attach a 90-degree toilet U-bend with solvent glue, followed by connecting a conduit to the upward-facing socket with glue that extends up and beyond the floor. This is an effortless step as you come closer to the end of how to move a toilet for a bathroom remodel project.
Water Supply Lines
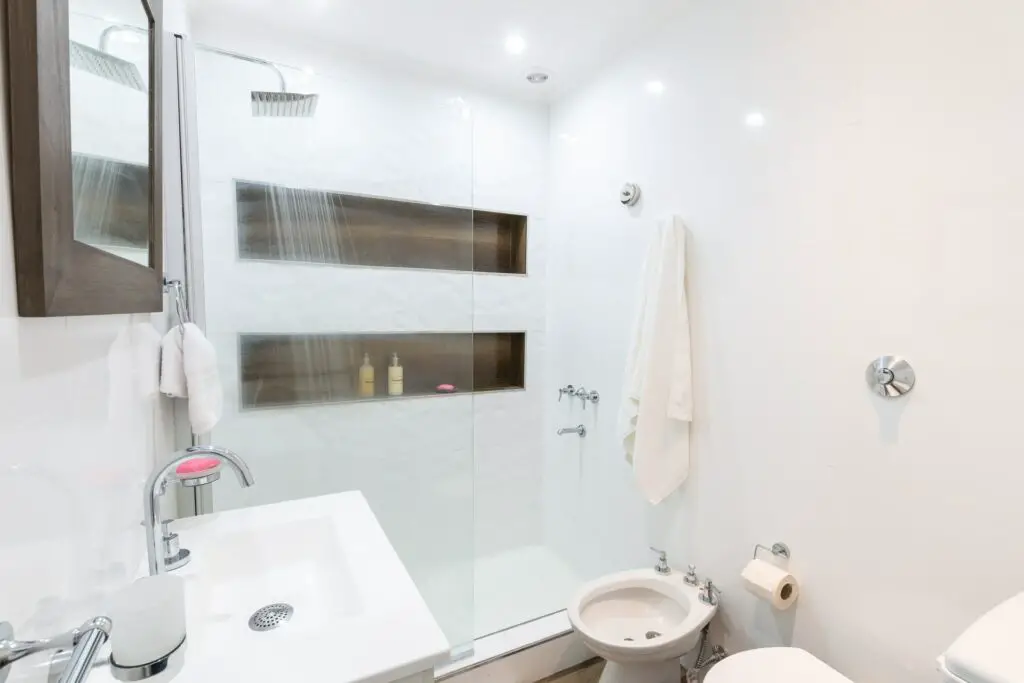
With the help of the PEX pipe, run the previous water supply line through the joists. The easiest way to connect the new PEX tubing to the existing copper pipes is to push-fit union fittings. Once the water line reaches the new toilet location, cut off the PEX water supply line, using a fixture shut-off valve, running through a wall.
The place you see the pipe emerging through the wall, attach a PEX tubing to the copper stub-out elbow, with the help of a flange. The fixture shut off valve is attached to the other side of the elbow.
Install the Toilet Flange
You can finally stop working on the plumbing, replace your subfloor, and finish your final flooring. With a reciprocating saw, trim the drainpipe flush to level it with the finished flooring, and using solvent glue, install the toilet closet flange above the flooring and attach it to the drain stub-out. Screw the flange to the floor.
Final Toilet Installation
The last step of this guide on how to move a toilet is to install the final toilet. Once you have fitted the flange, install the toilet on top of it. You can now connect the new water supply and turn on the toilet to try it out.
