
Toilet is arguably the most essential of home appliances. Imagine a home without a toilet and the chaos that it could ensue! While we acknowledge the existence of our toilet during an emergency, we often ignore its maintenance unless it stops functioning.
A little effort in cleaning and maintaining your toilet regularly can make a big difference to preventing mishaps. Basic maintenance of your toilet doesn’t require you to have pro-level skills. Below is a comprehensive guide on how to maintain your toilet, along with hacks, tips, and a list of do’s and don’ts for toilet care.
Necessary Supplies to Have in your Toilet or Bathroom
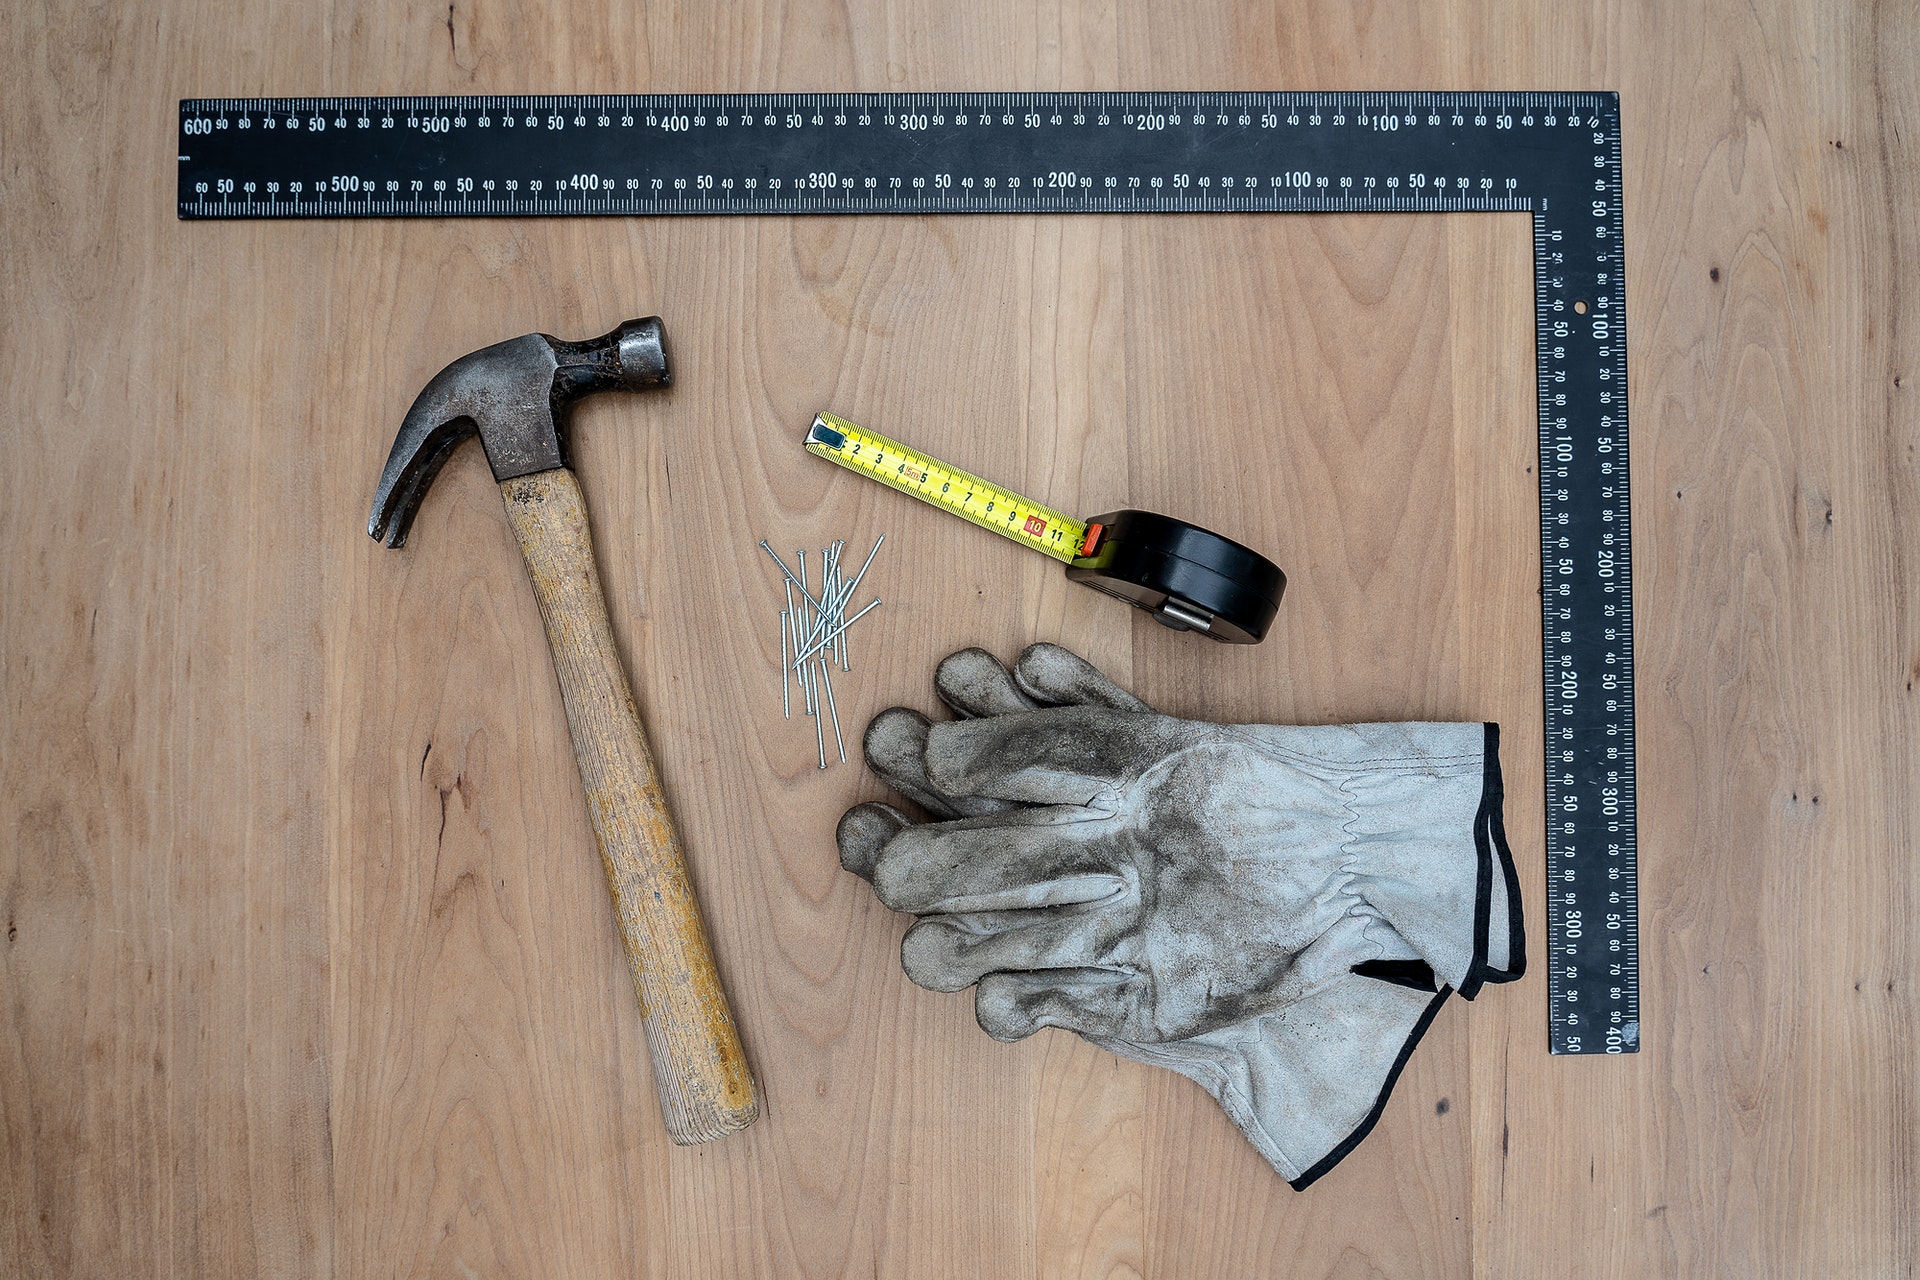
For regular cleaning of your toilet, you must have a closet of supplies handy. The crucial supplies include a toilet brush with stiff bristles, a bowl cleanser, a bucket, a surface disinfectant, reusable rags or paper towels or wipes, a sanitizer, and a good pair of rubber gloves.
How to Clean the Bowl
Toilet bowl cleansers are usually harsh as they are designed to effectively scrub off dirt and germs from your toilet. But if you’re not careful, these strong-smelling solutions can cause damage to your skin or eyes upon contact. Besides, they are not kind to our environment as they contain strong chemicals like hydrochloric acid. So, it is advisable that you go for a milder cleaner and do a favor to yourself and Mother Nature.
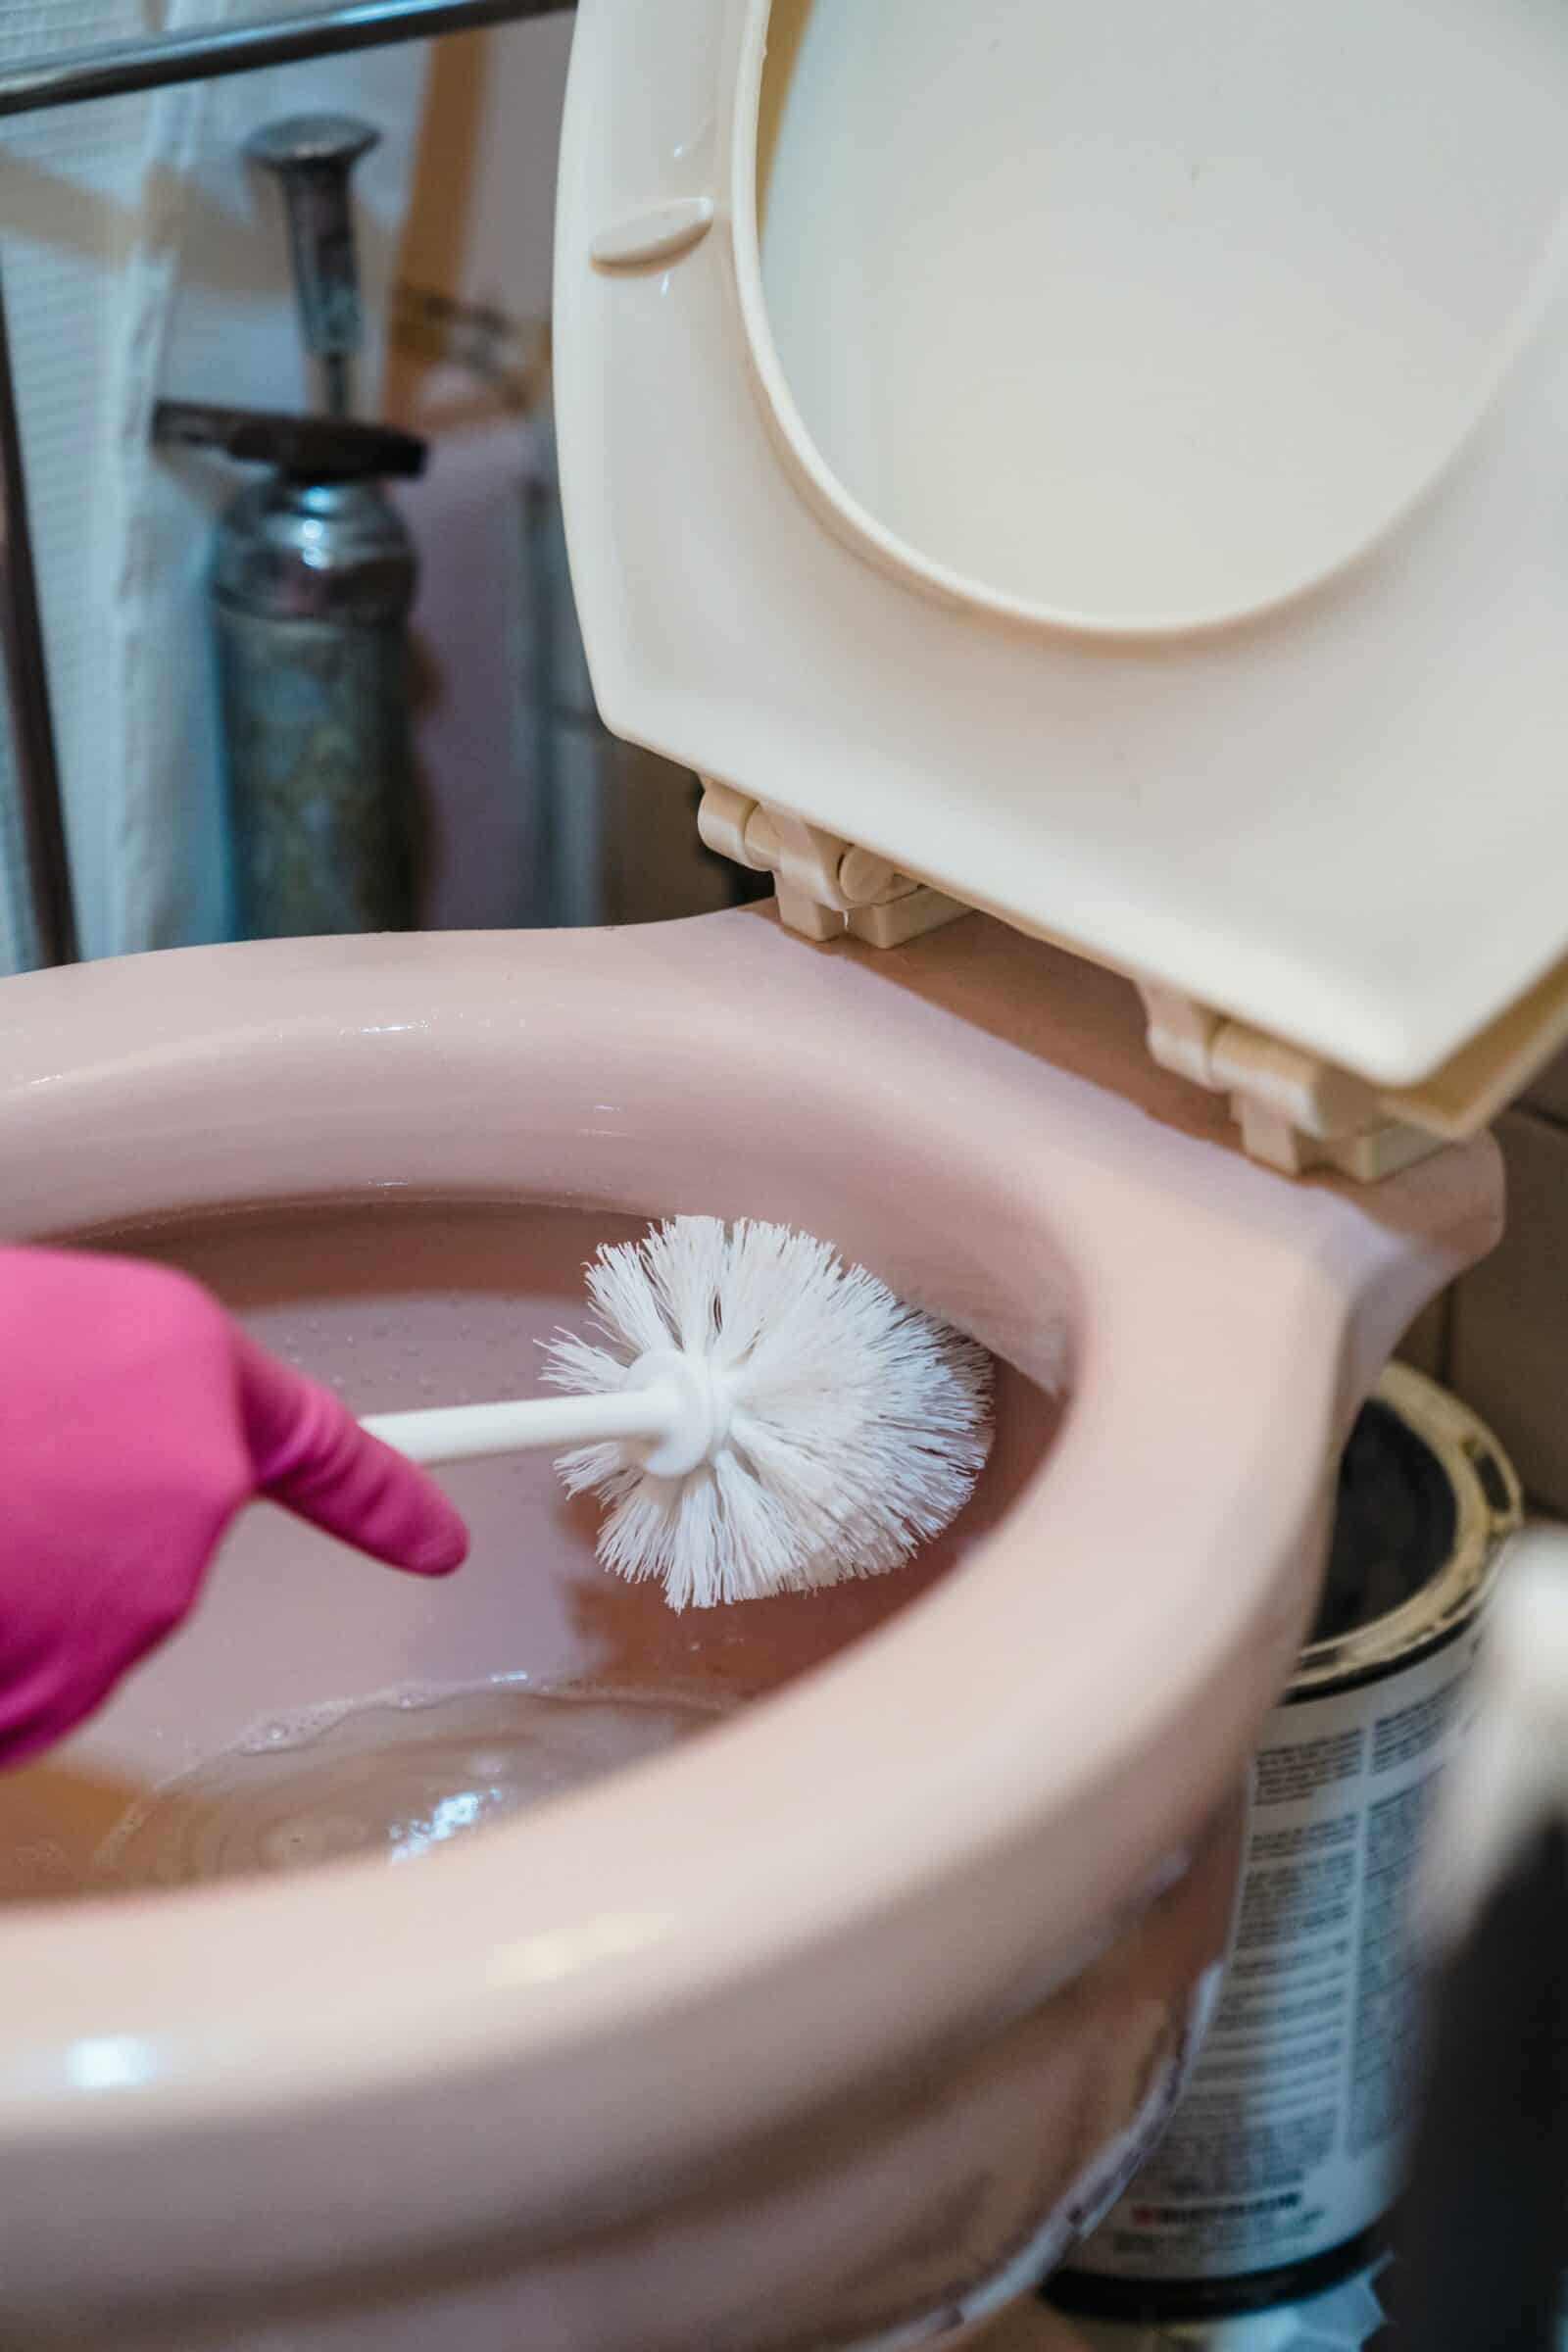
If you can’t find a gentle cleaner at the supermarket, you can easily make one at time. All you need to do is mix one cup each of baking soda, oxygen bleach, and salt and store the mixture in a container. Vinegar is another ingredient that many people prefer to use while cleaning toilets. Every time you decide to clean your toilet, generously sprinkle a spoonful of this mix all around the bowl. Do not forget to apply some under the bowl’s rim. Leave it for 10-15 minutes and use your toilet brush to properly scrub the bowl later. Before you start scrubbing, put on your rubber gloves to protect your skin. Once you’re done scrubbing, run the flush and let all the toxins go.
Cleaning the Exterior
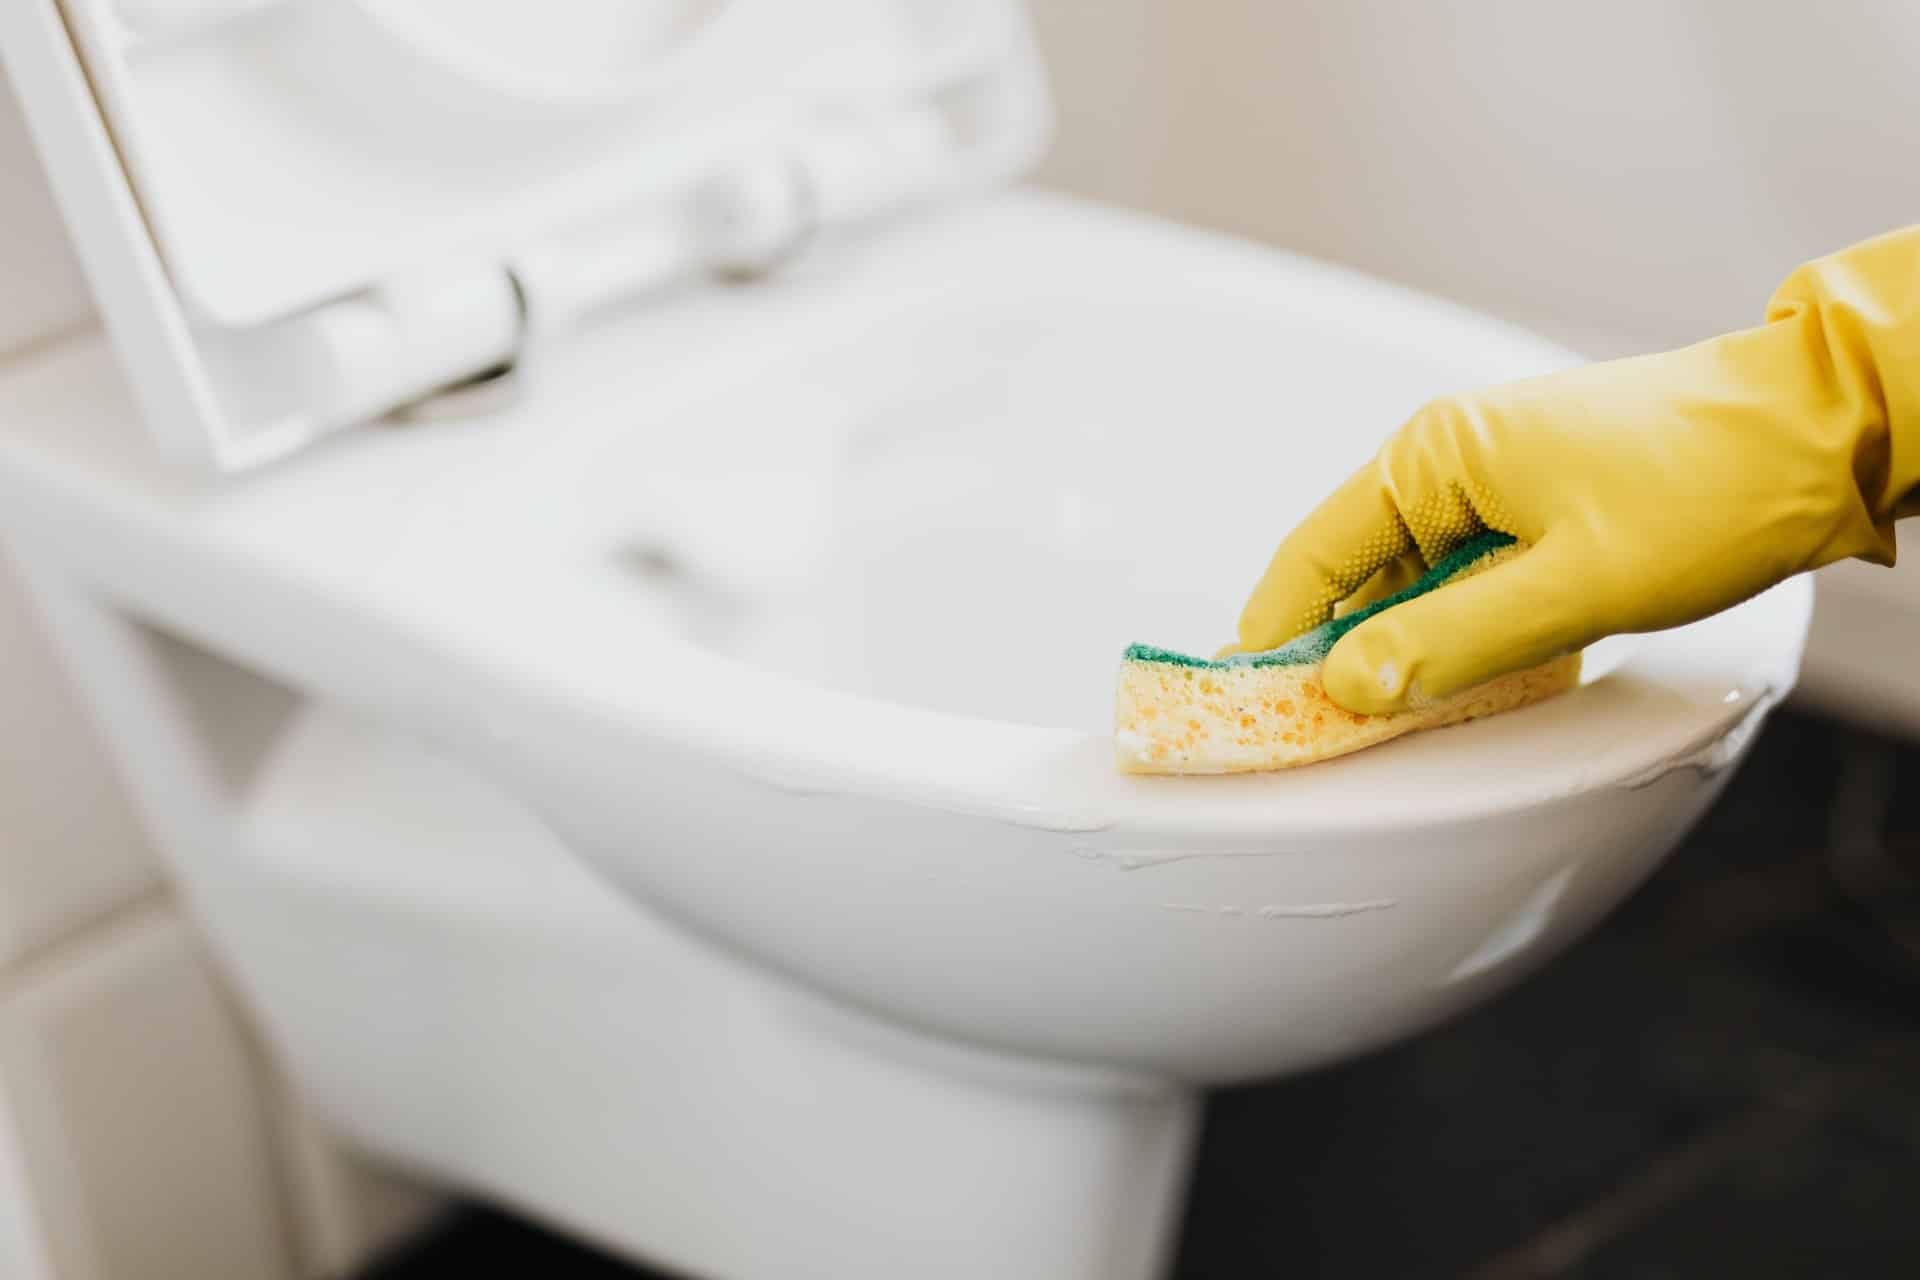
As much as we focus on cleaning the toilet bowl, we often ignore the exterior. Well, the cleaning process isn’t a whole lot different. Spray disinfectant all over the exterior of your toilet, including the base and underside of the seat.
With each flush, particles of germ or dirt can launch into the air to settle onto nearby surfaces. This is why it is also important to disinfect the walls behind and beside the toilet along with the floor. After spraying, let the solution do its job for a few minutes. After 5-10 minutes, give the surface a thorough scrub with your toilet brush before rinsing it with water. Remember to wash your brush properly after scrubbing and let it dry in the sun.
How to Unclog a Toilet
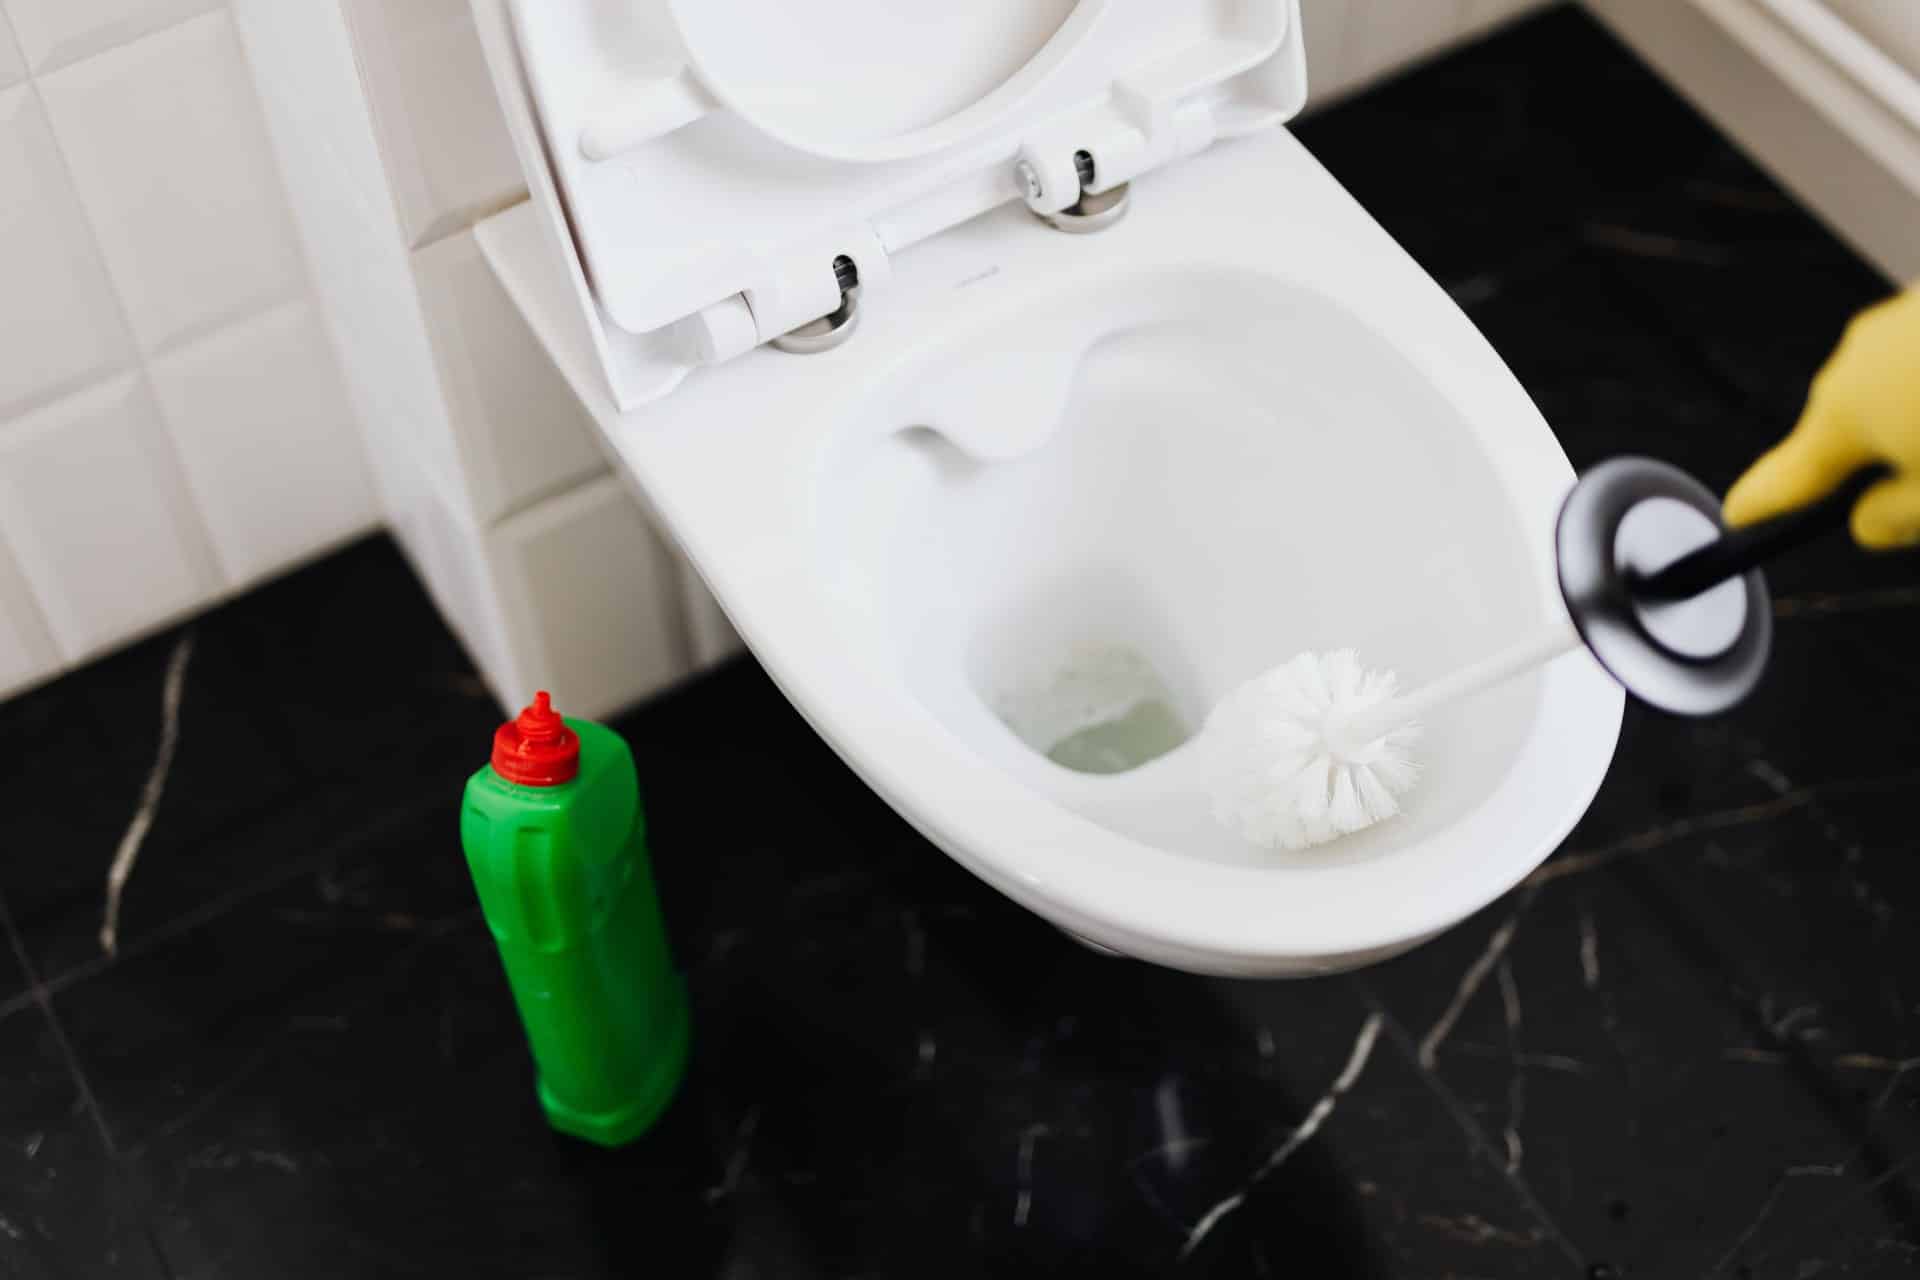
The most common way to unclog a toilet is to use a plunger. The ideal way to unclog the bowl is to first fill it with water and then angle the plunger over the hole. Push the handle of the plunger down and pull it up. Repeat this plunging motion until the bowl empties by itself. Lastly, flush the toilet.
But if that’s not working or you do not have a plunger, how would you handle the situation? Here are a few tips that can be helpful.
- When you notice a nasty clog, your best bet is to heat up a pan of water and pour it down the drain. Let it sit for a couple of minutes to see if it breaks up whatever is causing the block. Once the water starts draining, you’ll know that the clog has been loosened. Flush the toilet once or twice post the drainage.
- Another technique is to use dish soap. Generously squeeze dish soap into the toilet bowl and let it sit for about 5-10 minutes. Then, pour hot water and wait till the water starts draining. Dish soap acts as a lubricant in most case, as it greases the clog to get everything moving again.
- Vinegar and baking soda are both cleaning maestros. Pour one cup each of vinegar and baking soda down the toilet drain. When the two combine, it causes a fizzy reaction that helps break down clogs. After about half an hour, pour a little hot water to see if the water drains. Once all the clogged water has been drained, give your toilet one or two flushes.
- An unpleasant alternate to your plunger could be your brush. Angle the bristles down the drain and pump it up and down a few times to loosen things up. Once you notice the water draining, you can pull out the brush. Flush your toilet after the water gets drained.
How to Snake a Toilet
If none of the above techniques are working, maybe it’s time to summon the snake, also referred to as a plumber’s auger. Oh, we don’t mean the reptile, we are talking about the long metal cable with a coiled hook that helps dredge unwanted elements from your commode. You can rent this tool from a local hardware store for $10-$15 a day.
Coming back to the problem of clogged toilets, here are a few steps to follow if you want to snake your toilet.
- Step 1: Put on rubber gloves and place a large, empty bucket next to the toilet. Drop the business end of the auger’s cable into the toilet bowl. Aim the cable towards the drain and crank its handle clockwise to extend and release the cable down the drain. Keep turning the crank until it stops. That’s when you know it has reached the clog.
- Step 2: Try pulling the snake back. If it’s stuck, it means that it’s hooked to the clog. Turn the crank in the opposite direction to pull the unwanted materials up through the hole of the bowl.
- Step 3: If you’re unable to pull out the materials, try to break them up by cranking the cable further and jiggling it lightly. Try again to retract the cable and crank the handle. When you feel that the cable is moving farther and more freely, it means you’ve breached the clog.
- Step 4: Remove the auger and stick the wet end in the bucket. Flush the toilet to let the clog go down the drain. To avoid overflowing, remove the tank lid and manually close the flapper (the rubber disc attached to a chain) to prevent the bowl from filling up. Once you’re sure that the clog has been flushed, give your toilet another one or two flushes with the flapper on.
- Step 5: If you are able to pull out the clog through the drain, remove it from the bowl and dispose the unwanted stuff into the bucket. Repeat the process until all the unwanted particles are out. Once the clog is freed, crank the handle counter-clockwise to retract the auger and place the wet end in the bucket.
- Step 6: Dump all the waste back into the toilet in small amounts and flush to make sure it doesn’t clog again. Thoroughly clean the bucket and auger with hot water, vinegar, and baking soda before returning it to the store.
How to Replace a Toilet
Does your toilet waste water with every flush? It could be because your toilet is either too outdated or the leak is beyond repair. This is when you know that it’s time to replace your toilet. Ideally, a plumber is the best person to handle this task. But if you want to DIY, below is a step-by-step guideline for you to follow.

- Step 1: Make sure you get the measurements of your old toilet before removing it. Mark the specific distance from the wall to the center of the bolts that join the base to the floor. If it is 12 inches, your toilet is of the standard size. If not, you might have to order a custom-size replacement toilet. Also, measure the available space in your bathroom to accommodate the width of your new fixture.
- Step 2: Turn off the knob of the water supply line beneath the tank to stop the flow of water. Flush the toilet until the tank empties. If there’s still water left in the bowl, cover your hands in rubber gloves and use a small cup to bail the water out. You can also use a towel to soak up the remaining water.
- Step 3: Disconnect the water supply line from the toilet using a wrench.
- Step 4: The next step is to separate the tank from the bowl. Start by unscrewing the bolts that attach the two pieces, then lift the tank off and set it aside.
- Step 5: To remove the bowl, roll out the caps off from the closet bolts and unscrew the nuts from these bolts. Gently rock the bowl back and forth gently to break it free from the wax seal at its base.
- Step 6: Once the bowl starts to get loose, lift it off. You can remove the wax seal from under the bowl using a putty knife. To prevent sewer gases from contaminating your home, cover the drain hole with a duct tape or stuff a rag into it.
- Step 7: Lastly, check if the flange (the wax ring) also needs to be replaced. If it’s cracked, you may be able to patch the damaged area with a repair tab. Such tabs are available at home improvement centers. If the flange appears to be severely damaged, you might have to get it replaced as well.
How to Install a Toilet
Once you have removed the toilet, you will have to start working on installing a new one. Below is a list of steps you can follow to get it done all by yourself.
- Step 1: If you buy a new commode, you should ideally get a new flange with it. Place the ring at the water horn, which is the hole at the bottom of your toilet. Check to ensure that the tapered side of the seal is facing the toilet.
- Step 2: The next step is to set the bowl in place. Place it upon the closet bolts and tighten the nuts on the bolts. To set the wax ring, rock the bowl back and then gradually tighten the bolts from one side to the other.
- Step 3: If you feel that the bowl’s placement is a bit off, use shims to set it right before tightening the bolts for the last time. Do not over-tighten the bolts as that might cause the bowl to crack.
- Step 4: If your commode came with a rubber gasket, place it on the bowl and then set the tank right on top. Next, line up the holes for the bolts that will attach the bowl and the tank. Now tighten the nuts on these bolts so the two elements are joined.
- Step 5: The last step is to reconnect the water supply line, caulk the toilet’s base in a thin line, and turn the water on.
Toilet Installation: DIY vs Hiring a Professional
As we have shared the guideline on how to install a toilet, it might seem like a simple task. But it is suggested that you take it up as a DIY project only if you have technical know-how, the right set of equipment, and the physical strength to accomplish the job. If you have zero plumbing knowledge, it’s best to hire a contractor or plumber to handle the task. You might end up hurting yourself or messing up your toilet even further.
How Much Does Toilet Installation Cost?
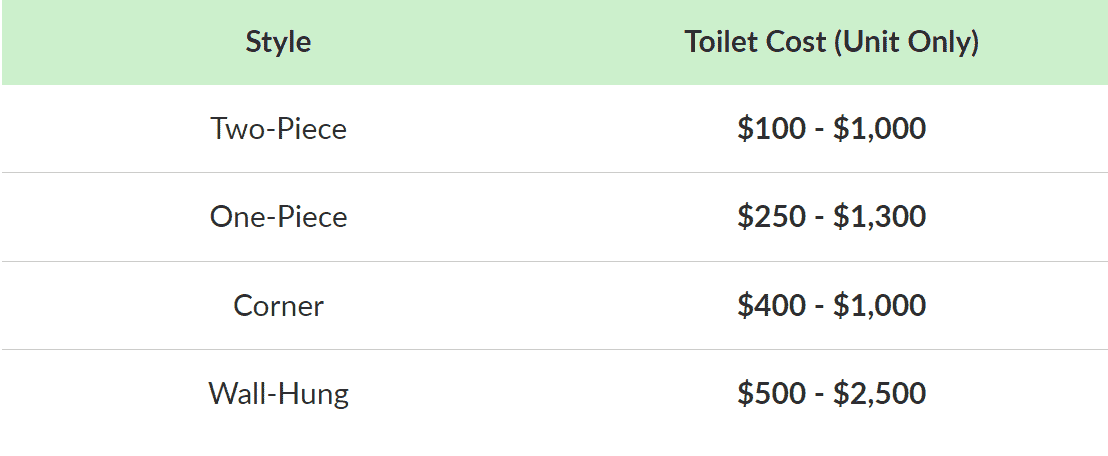
Toilets come in many different sizes and styles, along with a range of features. Many toilets today come with water-saving and smart features which add up to their costs. On average, the overall cost for a toilet installation can fall anywhere between $400 to $800, depending the difficulty of the job and the type of toilet. The price for an uninstalled one-piece commode is around $230 whereas an installed silent-flush piece could cost you $1500.
Prices can also vary based on the time and effort required to install different styles of toilets. Below is a table comprising the average installtion prices for different types of toilet.
Final thoughts
To avoid future clogs, you must be careful of what you throw down the drain of your commode. Avoid flushing sanitary pads, hair, dental floss, or paper towels. If your water pipes are sensitive, consider using a lighter ply brand of toilet paper that can be easily flushed. By following these simple tips, let’s get into the habit of regular cleaning and basic toilet maintenance.


