If you’ve been dealing with the annoyance of a leaky bathroom faucet, you’re not alone. This common household issue can lead to water wastage and higher utility bills. Fortunately, you don’t need to be a plumbing expert to resolve this problem. In this guide, we’ll walk you through the step-by-step process of how to fix a leaky bathroom faucet efficiently.
Gather Your Tools and Materials
Before you dive into the repair process, it’s essential to have the right tools and materials on hand. Here’s what you’ll need:
1. Adjustable Wrench
- An adjustable wrench will help you remove the faucet handle and other components.
2. Screwdriver Set
- You may need both flathead and screwdrivers, depending on your faucet’s design.
3. Replacement Parts
- Identify the specific parts causing the leak, such as O-rings, washers, or cartridges. Purchase replacements if necessary.
4. Plumber’s Tape
- Plumber’s tape is essential for creating a watertight seal when reassembling the faucet.
Diagnose the Problem
Not all faucet leaks are the same, so it’s crucial to identify the source of the issue before proceeding. Here’s a general overview of the most common causes:
- Dripping from the Spout:
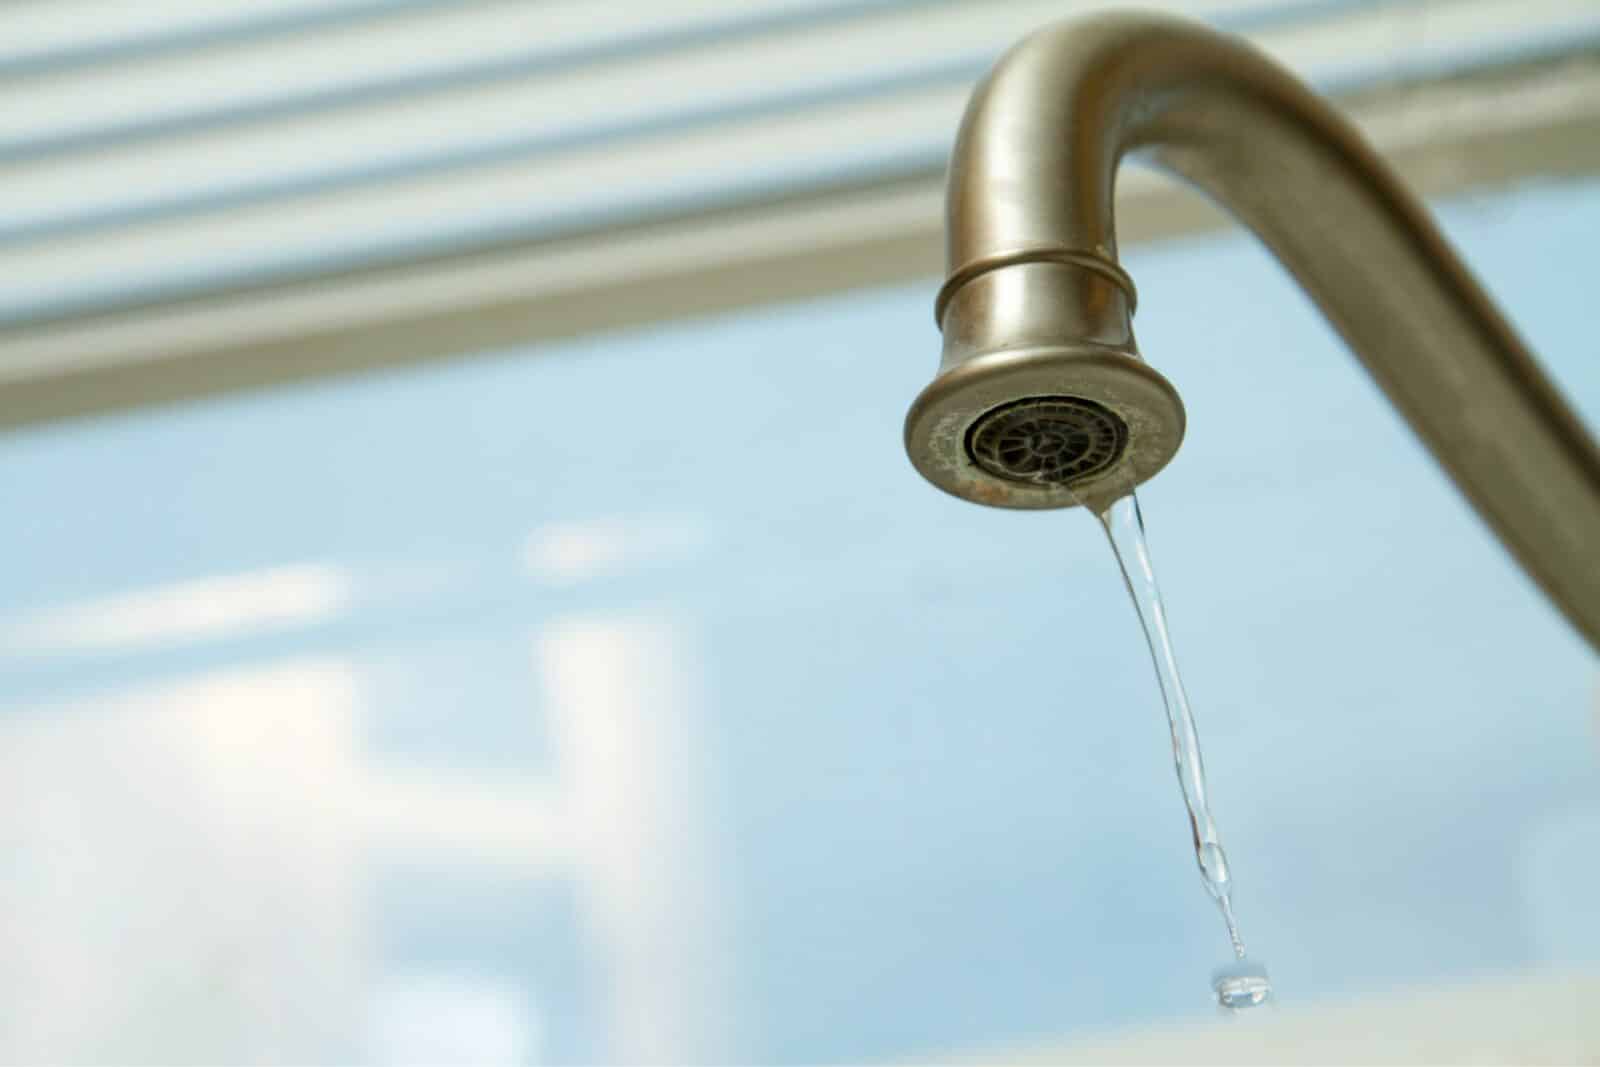
- If water is consistently dripping from the spout, it’s likely an issue with the valve seat or the O-ring.
- Leaking Around the Handle:
- A leak around the handle can often be traced back to a faulty cartridge or worn-out seals.
- Water Under the Sink:
- If you notice water pooling under the sink, it could be due to loose connections or damaged supply lines.
Step-by-Step Guide on How to Fix a Leaky Bathroom Faucet
1. Turn Off the Water Supply
- Begin by shutting off the water supply to the faucet. Look for the shut-off valves under the sink and turn them clockwise until they are fully closed.
2. Disassemble the Faucet
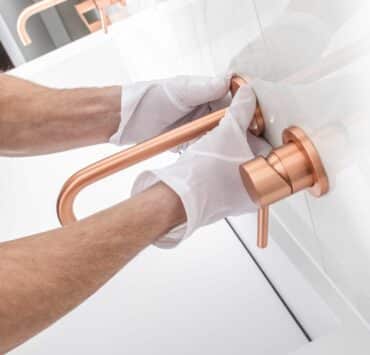
- Use your adjustable wrench and screwdrivers to remove the faucet handle, exposing the inner components.
3. Identify and Replace Faulty Parts
- Examine the components for signs of wear or damage. Replace any O-rings, washers, or cartridges that appear worn.
4. Apply Plumber’s Tape
- Wrap plumber’s tape around the threads of any connections to ensure a tight seal.
5. Reassemble the Faucet
- Carefully put all the parts back together in the reverse order you removed them.
6. Turn On the Water Supply
- Slowly open the shut-off valves under the sink to restore water flow to the faucet.
7. Test for Leaks
- Turn on the faucet and check for any remaining leaks. If everything is snug and secure, your leak should be resolved.
Final Thoughts
Knowing how to fix a leaky bathroom faucet can be a straightforward DIY project if you have the right tools and a bit of patience. By following these steps and addressing the specific issue, you can save water, money, and the hassle of a constant drip. Remember, regular maintenance and prompt repairs can extend the life of your bathroom fixtures and keep your space dry and clean. So, roll up your sleeves, and let’s get that faucet fixed!


