
Upgrading your bathroom faucet can enhance both the functionality and aesthetics of your sink. Here are the steps on how to install bathroom faucet:
1. Gather Your Tools and Materials
Before you begin, make sure you have the necessary tools and materials:
- New Faucet: Purchase a high-quality bathroom faucet that suits your style and fits your sink.
- Adjustable Wrench: This will be essential for securing and tightening various components.
- Basin Wrench: A basin wrench helps you reach tight spaces beneath the sink.
- Plumber’s Tape: This ensures a leak-free connection between the faucet and water supply lines.
- Bucket and Towels: Have these on hand to catch any water and prevent messes.
2. Turn Off the Water Supply
Locate the water shut-off valves beneath the sink and turn them clockwise to shut off the water supply. If there are no shut-off valves, you may need to shut off the main water supply to your home temporarily.
3. Remove the Old Faucet
- Disconnect Supply Lines: Use an adjustable wrench to disconnect the water supply lines from the old faucet. Have a bucket and towels ready to catch any remaining water.
- Remove the Drain: Unscrew and remove the nut connecting the drain assembly to the sink’s tailpiece. This will allow you to lift out the old faucet.
4. Clean the Sink Area
Clean the area where the old faucet was installed. Remove any residue or old plumber’s tape to ensure a clean surface for the new faucet.
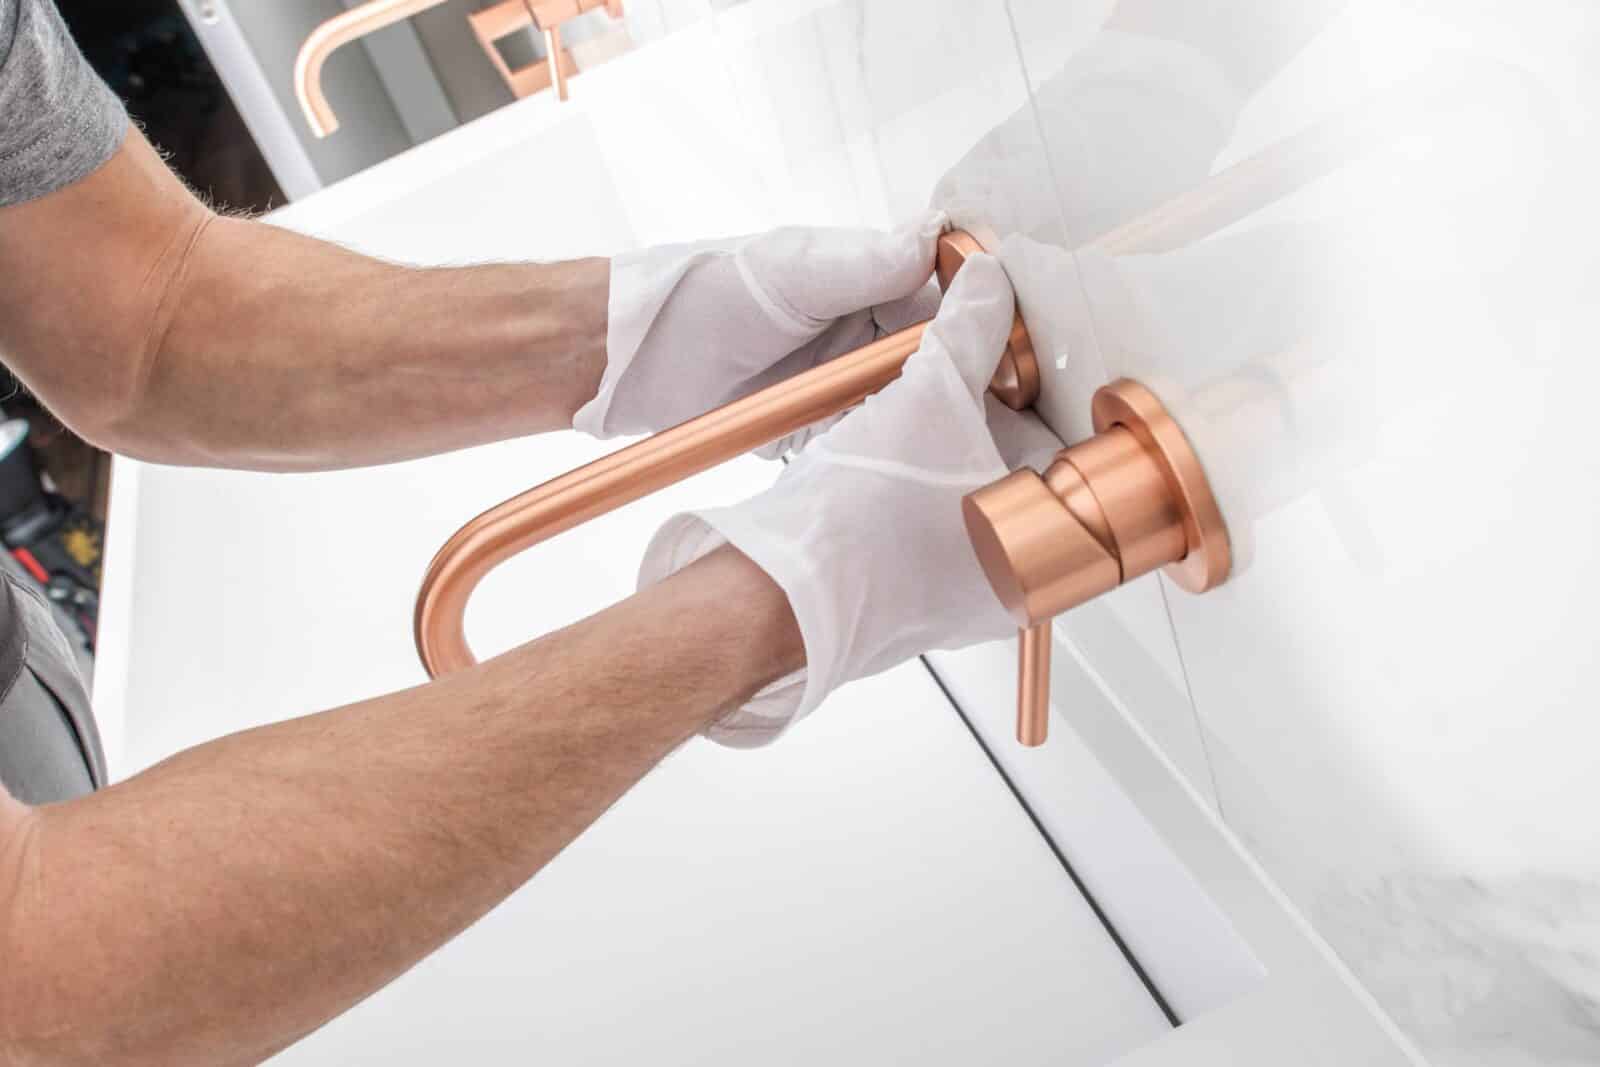
5. Install the New Faucet
- Apply Plumber’s Tape: Wrap plumber’s tape around the threads of the faucet’s tailpieces. This will create a watertight seal.
- Position the Faucet: Insert the faucet tailpieces through the holes in the sink. Ensure that the faucet is aligned correctly.
- Secure the Faucet: From beneath the sink, use a basin wrench or an adjustable wrench to tighten the nuts onto the tailpieces. Make sure it’s snug but avoid over-tightening to prevent damage.
6. Connect the Water Supply Lines
- Attach Supply Lines: Connect the hot and cold water supply lines to the corresponding faucet tailpieces. Use an adjustable wrench to ensure they are tight but not overly so.
- Turn On the Water: Gradually turn on the water supply valves to check for leaks. If you notice any leaks, tighten the connections further.
7. Test the Faucet
Turn on the faucet to test both hot and cold water flows. Check for any leaks around the base of the faucet and the supply line connections. Make sure the handles operate smoothly.

8. Reassemble and Clean Up
- Reattach the Drain: If you removed the drain, reattach it to the sink’s tailpiece and tighten the nut securely.
- Clean Up: Wipe down the area to remove any debris or water droplets.
9. Enjoy Your New Faucet
With your new faucet securely installed and no leaks in sight, you can now enjoy the improved functionality and appearance of your bathroom sink.
Remember to follow the manufacturer’s instructions that come with your specific faucet model, as installation steps may vary slightly. If you’re unsure about any aspect of the installation, it’s always a good idea to consult a professional plumber for assistance.


