
Changing a faucet in your bathroom might seem like a daunting task, but with the right tools and a little know-how, it can be a straightforward DIY project. Whether you’re looking to upgrade your bathroom or simply replace a leaky or outdated faucet, this guide will walk you through the process step by step. In this article, we’ll cover everything from the tools you’ll need to the final touches that will make your new faucet shine. Let’s dive in.
Here’s How to Change Faucet in Your Bathroom
1. Gathering the Necessary Tools and Materials
Before you begin, make sure you have the following tools and materials ready:
- Adjustable wrench
- Plumber’s tape
- Screwdrivers (both flathead and Phillips)
- Plunger
- Bucket
- Towels or rags
- Safety glasses
- Your new faucet and its installation manual
2. Shutting Off the Water Supply
Begin by turning off the water supply to the bathroom. Locate the shut-off valves under the sink or near your water heater and turn them clockwise until they’re fully closed. Don’t proceed until you’re sure the water is off.
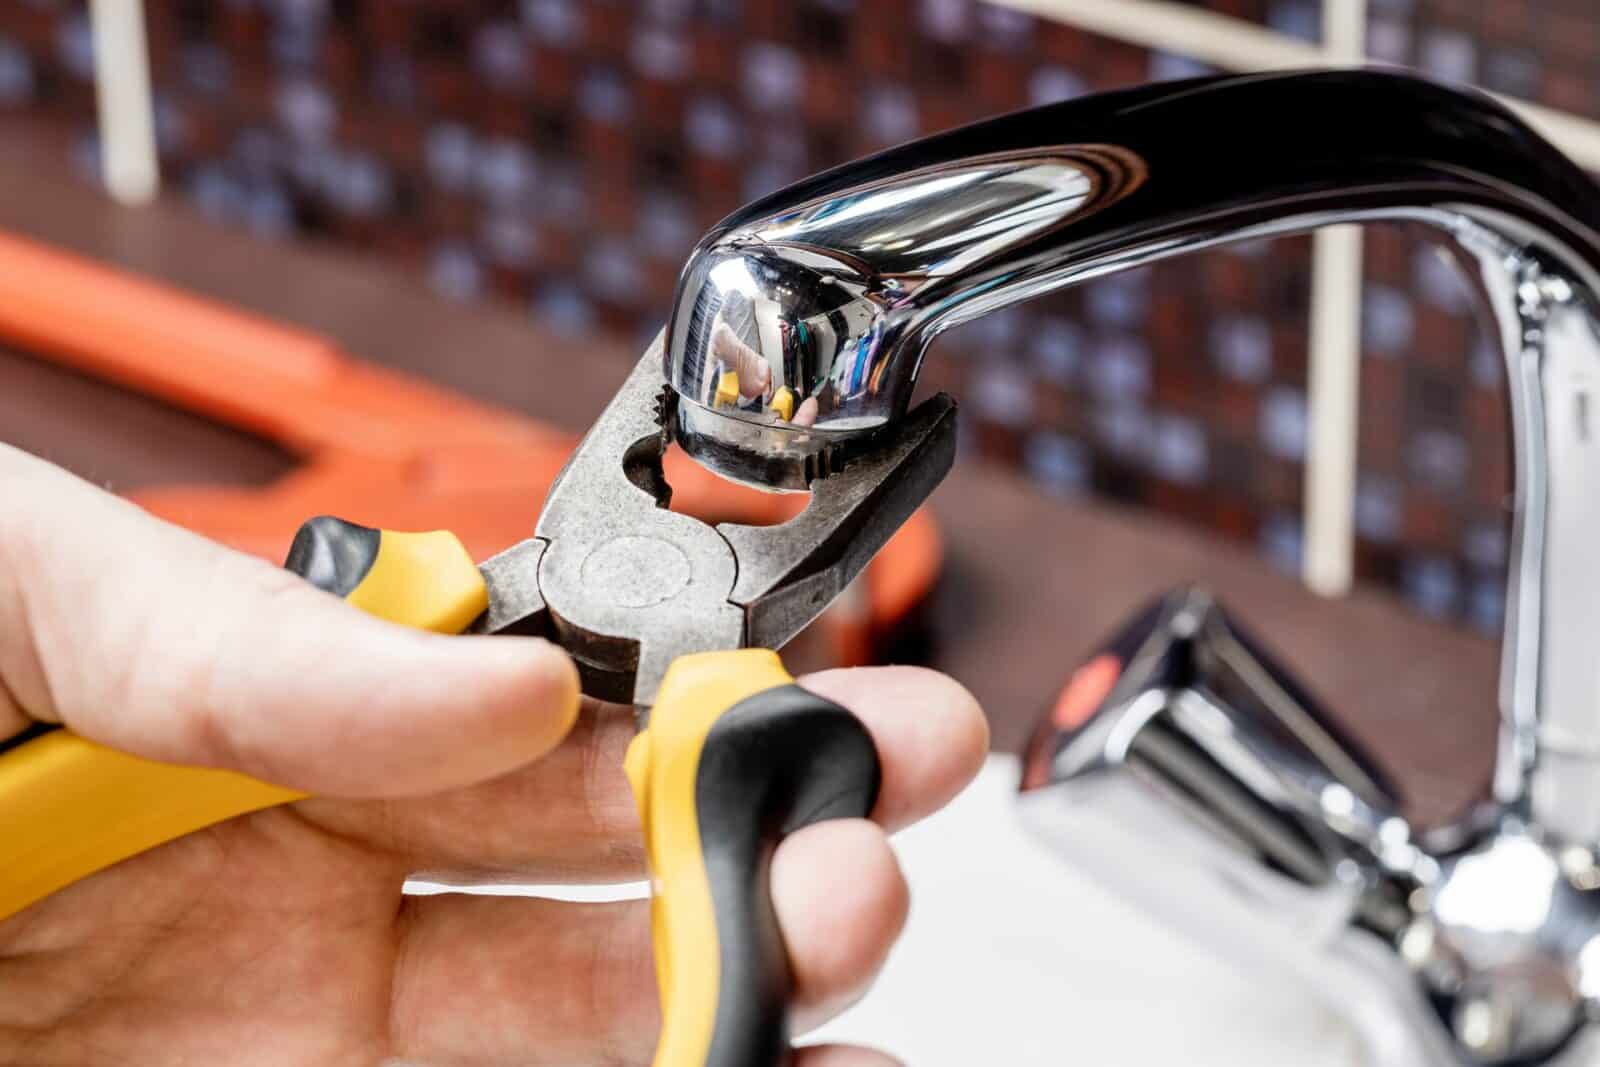
3. Removing the Old Faucet
Disconnecting the Water Lines
Using your adjustable wrench, disconnect the water supply lines from the old faucet. Have a bucket and towels handy to catch any remaining water.
Removing the Faucet Handles
Remove the faucet handles by using a screwdriver to access the screws securing them. Once the handles are off, you can access the faucet nuts below.
Taking Off the Old Faucet
Use your wrench to remove the nuts securing the old faucet. Once removed, the old faucet should come free. Clean the sink surface thoroughly.
 4. Preparing for the New Faucet Installation
Cleaning the Sink Surface
Before installing your new faucet, clean the sink surface to ensure a secure seal. Remove any old caulk or debris and dry the area completely.
Measuring and Aligning the New Faucet
Measure and align your new faucet according to the manufacturer’s instructions. Ensure it’s centered and level before proceeding.
5. Installing the New Faucet
Attaching the Faucet Base
Follow the manufacturer’s instructions to attach the faucet base to the sink. Use the provided nuts and washers to secure it tightly.
Connecting the Water Lines
Reconnect the water supply lines to the new faucet. Use plumber’s tape to create a watertight seal. Tighten the connections with your wrench.
6. Testing for Leaks
Turn the water supply back on and check for any leaks around the connections. If you spot a leak, turn off the water and tighten the affected connection.
7. Reattaching the Drain Stopper
If your faucet includes a drain stopper, reattach it according to the manufacturer’s instructions.
8. Finishing Touches
Clean the faucet and sink to remove any fingerprints or debris. Polish the faucet for a shiny finish.
9. Cleaning Up
Dispose of any old parts and packaging materials. Clean up your workspace and ensure there’s no debris in the sink or on the floor.
10. Turning On the Water Supply
Open the shut-off valves to restore water flow to the bathroom.
11. Checking for Leaks Again
Double-check for leaks once the water is back on. If everything looks dry, you’re good to go!

12. Enjoying Your New Faucet
With your new faucet successfully installed, take a moment to appreciate your handiwork. Enjoy the improved functionality and aesthetics of your bathroom.
Conclusion
Changing a bathroom faucet might seem like a challenging task, but with the right tools and our step-by-step guide, you can do it yourself. Remember to turn off the water supply, follow the manufacturer’s instructions carefully, and take your time. Your bathroom will have a fresh look and improved functionality in no time!
FAQs
How long does it take to change a bathroom faucet?
The time it takes to change a faucet can vary, but with the right tools and experience, it can be done in a couple of hours.
Do I need any special plumbing skills to change a faucet?
While basic DIY skills are helpful, you don’t need advanced plumbing knowledge to change a faucet. Following instructions carefully is key.
What should I do if I encounter a stubborn nut during removal?
If a nut is difficult to remove, try using penetrating oil and allow it to sit for a while before attempting again. If it’s still stuck, consider seeking professional help.
Can I use the same water supply lines for the new faucet?
In most cases, you can reuse the existing water supply lines if they are in good condition. However, it’s a good idea to inspect them and replace if necessary.
Is it normal to have a slight water leak after installation?
No, a properly installed faucet should not have any leaks. If you notice a leak, double-check the connections and tighten them as needed.
Remember, if you have any doubts or encounter unexpected issues, it’s always a good idea to consult a professional plumber for assistance.


