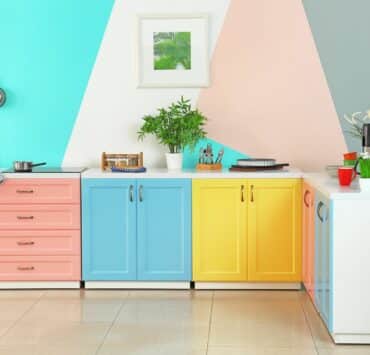
In the age of sustainability, upcycling isn’t just a trend—it’s a movement. By giving discarded items a new lease of life, not only do we reduce waste but we also create something unique for our homes. What better place to introduce this than in the heart of our homes, the kitchen? Let’s roll up our sleeves and craft a upcycled DIY kitchen island with upcycled materials.
Why Upcycle for Your Kitchen Island?
1. Eco-Friendly
Utilize old materials and reduce the environmental impact of producing new items.
2. Cost-Effective
Repurpose existing items and save a few bucks on buying new furniture.
3. Unique Design
Craft a one-of-a-kind piece, resonating with character and history.
DIY Upcycled Kitchen Island: Step-by-Step Guide
1. Choose Your Base
- Old Dresser: Perfect for a smaller island, with drawers for added storage.
- Reclaimed Wood: Collect old barn wood or wooden pallets for a rustic touch.
- Discarded Cabinets: Use old cabinets as the base and modify as needed.
2. Prep Your Base
- Clean and sand down any rough edges.
- If needed, apply primer for a smoother paint application.
3. Customize the Top
- Butcher Block: Durable and perfect for prepping food.
- Old Doors: Sand down and seal for a flat surface.
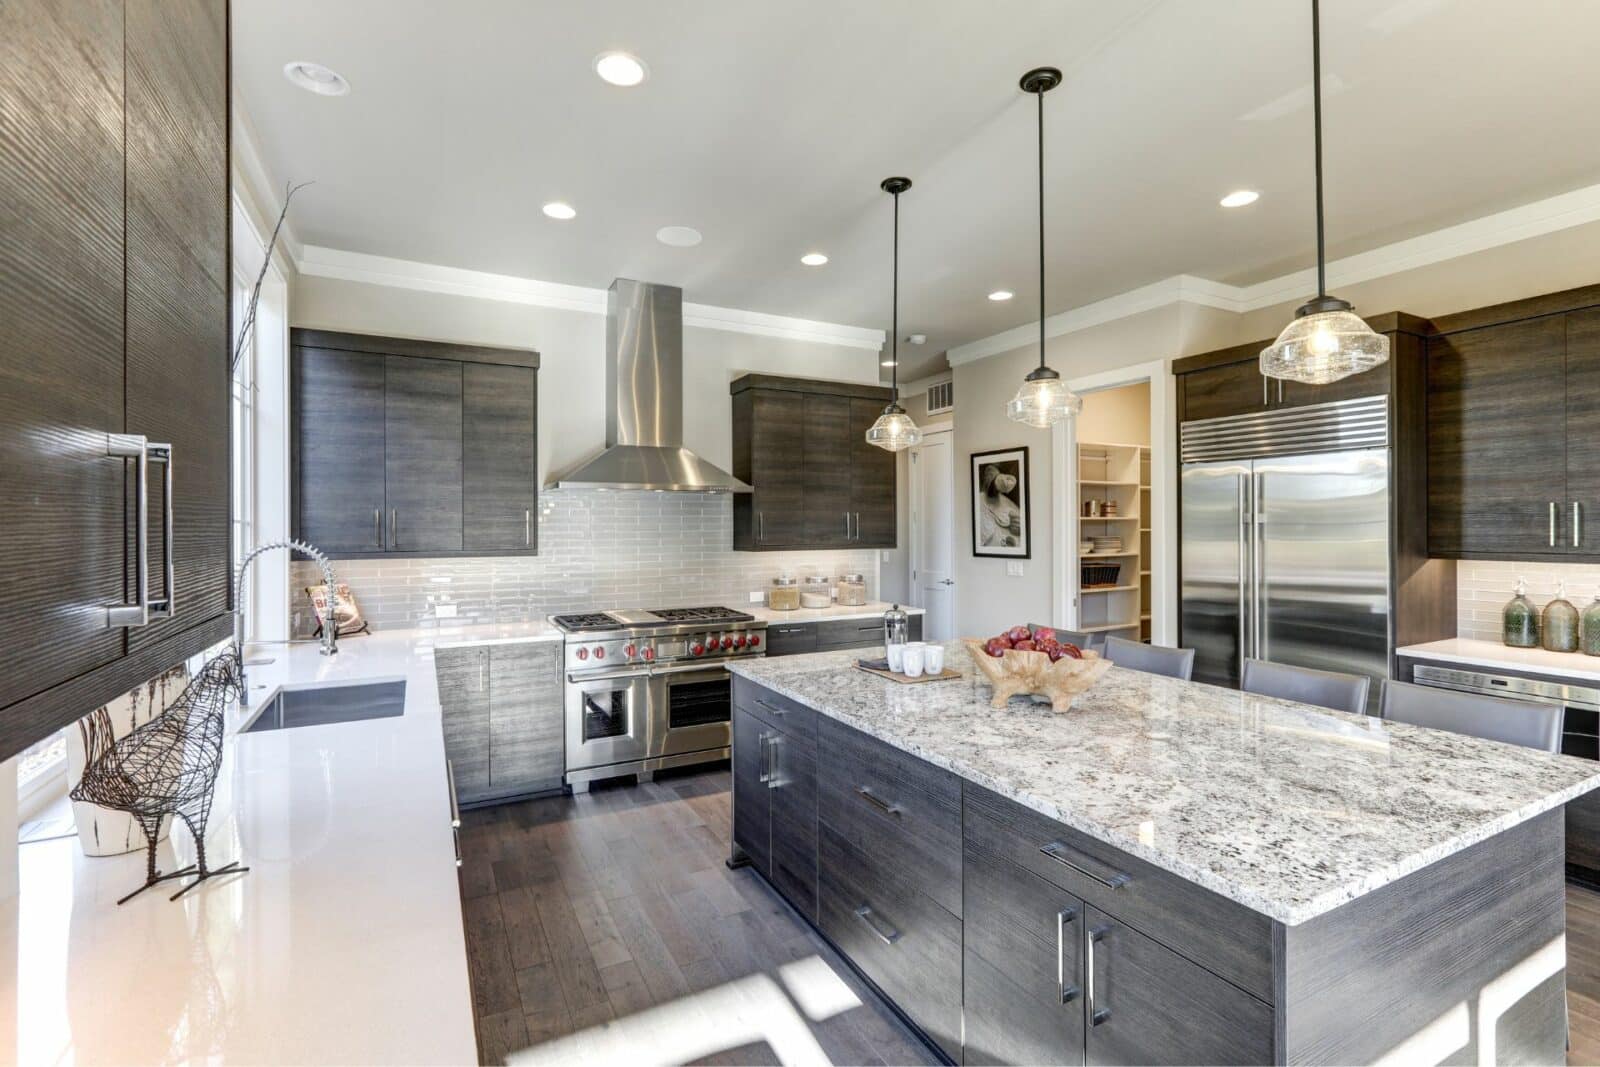
- Granite or Marble Scraps: Often available at discounted prices from stone suppliers.
4. Add Storage & Features
- Install hooks on the sides for utensils or towels.
- Consider adding a lower shelf using reclaimed wood for pots and pans.
- Fix caster wheels for mobility.
5. Paint & Finish
- Choose a paint color complementing your kitchen’s palette.
- For a distressed look, lightly sand the edges after painting.
- Seal with a clear protective coat, especially if the island will be used for food prep.
Accessorizing Your Upcycled Island
- Vintage Handles: Replace old knobs with vintage or ceramic handles.
- Towel Bars: Attach small bars or handles to hang kitchen towels.
- Hanging Baskets: Ideal for storing fruits or veggies.
FAQs on Upcycled DIY Kitchen Island
Can I use an old table as the base for my kitchen island?
Absolutely! An old table can be a great starting point. You might need to adjust the height or add storage beneath.
Is sealing the top necessary?
If you’re using the island for food preparation, sealing is crucial to prevent moisture penetration and provide an easy-to-clean surface.
What paint is best for an upcycled kitchen island?
Choose a semi-gloss or gloss finish paint as they are easier to wipe down and resist stains.
Conclusion
Building an upcycled DIY kitchen island is more than just a project—it’s a statement. It reflects an ethos of sustainability, creativity, and individuality. So, next time you see an old piece of furniture or discarded wood, remember, it could be the centerpiece of your kitchen waiting to be born.
