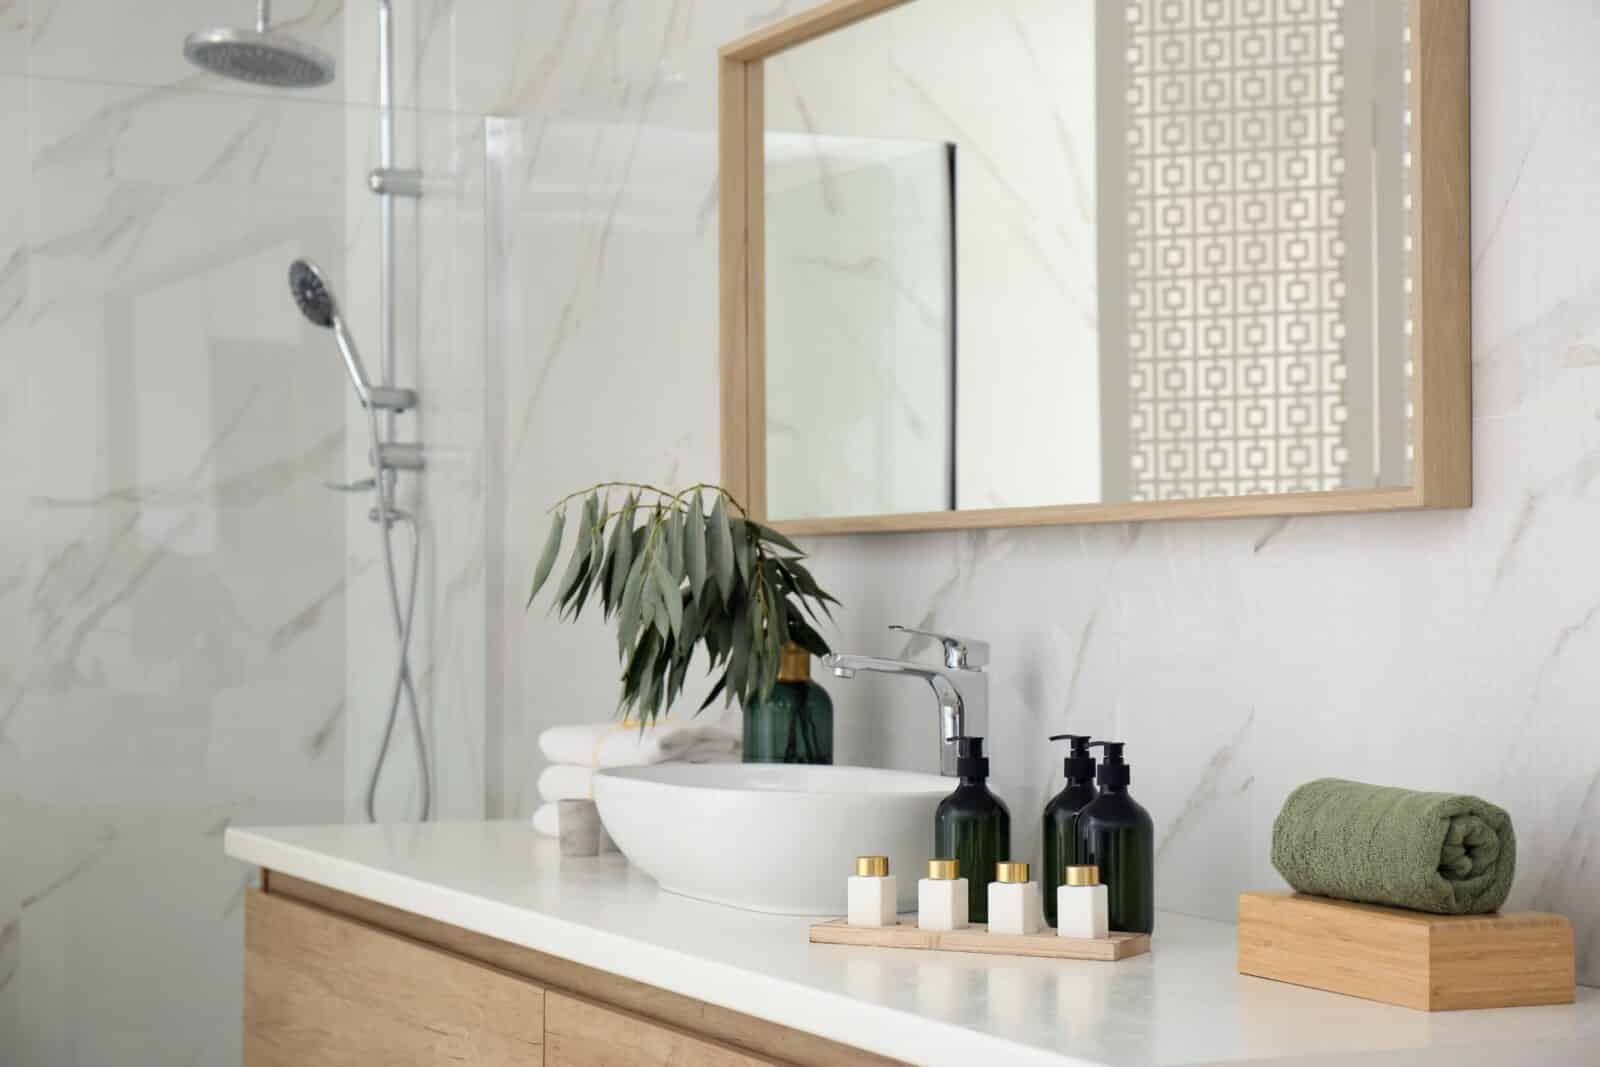
Are you tired of your old, outdated bathroom countertop? The good news is that you don’t have to replace it to give your bathroom a fresh, new look. Painting your bathroom countertop is a cost-effective and creative way to revamp your space. In this guide, we’ll walk you through the steps to paint your bathroom countertop like a pro.
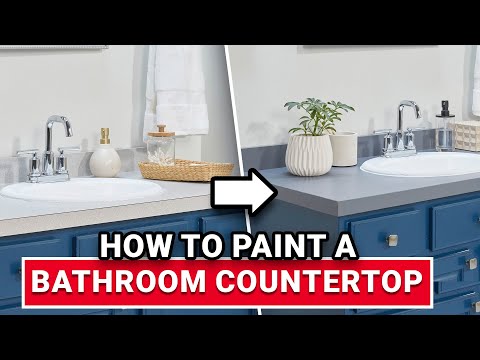
How to Paint Bathroom Countertop: Step by Step Process
1. Gather Your Supplies
Before you begin, gather the necessary supplies:
- Sandpaper: Get a variety of grits (120, 220, and 400).
- TSP Cleaner: This will help clean and degrease the countertop.
- Painter’s Tape: Use it to protect the walls and cabinets.
- Primer: Choose a high-quality bonding primer suitable for countertops.
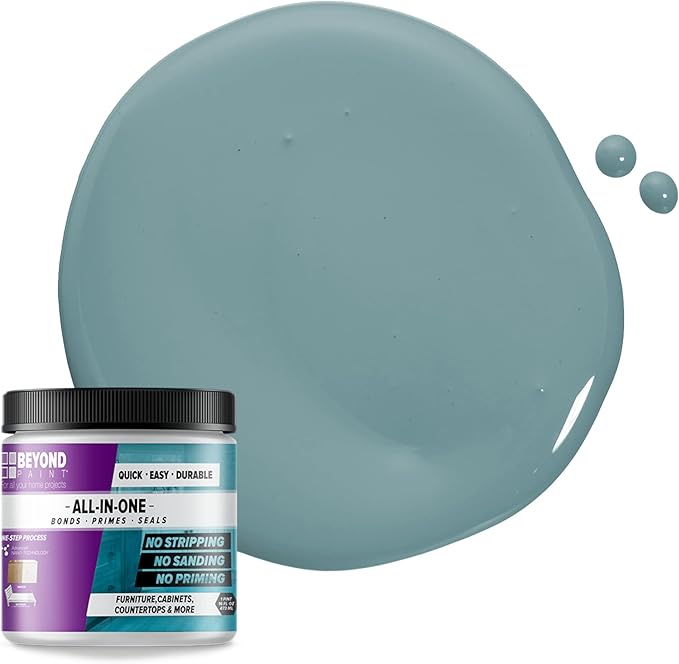
- Paint: Go for a high-quality acrylic paint in your desired color.
- Foam Roller: This will give you a smooth finish.
- Paint Tray: For easy access to your paint.
- Clear Polyurethane Sealer: To protect the paint and add durability.
- Face Mask and Safety Glasses: For personal protection.
- Drop Cloth: Protect your bathroom surfaces from paint splatter.
2. Preparation is Key
- Start by removing any items from the countertop and clearing the area.
- Use painter’s tape to protect the walls, cabinets, and sink.
- Ventilate the bathroom by opening windows or using a fan.
3. Clean and Sand
- Clean the countertop thoroughly with TSP cleaner to remove any dirt, grime, or residue.
- After cleaning, lightly sand the countertop with 120-grit sandpaper. This will create a rough surface for better paint adhesion.
- Follow up with finer grits (220 and 400) to smooth the surface.
4. Prime the Surface
- Apply a thin, even coat of bonding primer to the countertop using a foam roller. Make sure the primer is suitable for countertops.
- Allow the primer to dry completely according to the manufacturer’s instructions. This usually takes a few hours.
5. Painting Time
- Once the primer is dry, it’s time to paint. Use a foam roller to apply a thin, even coat of acrylic paint to the countertop.
- Allow the first coat to dry for a few hours. If needed, apply a second coat for better coverage.
- Let the final coat dry completely. This might take up to 24 hours, so be patient.
6. Seal the Deal
- To protect your newly painted countertop, apply a clear polyurethane sealer using a foam roller.
- Allow the sealer to dry for at least 24 hours before using the countertop.
7. Clean Up
- Remove the painter’s tape carefully while the paint is still slightly tacky to avoid peeling.
- Clean your brushes and rollers with warm, soapy water.
FAQs
Q: How long will the painted countertop last?
A: With proper care and maintenance, a painted bathroom countertop can last for several years.
Q: Can I use any type of paint for this project?
A: It’s best to use high-quality acrylic paint designed for countertops to ensure durability and a smooth finish.
Q: How do I maintain the painted countertop?
A: To keep your countertop looking its best, clean it regularly with a mild, non-abrasive cleaner and avoid using harsh chemicals.
Q: Can I paint over a laminate countertop?
A: Yes, you can paint over a laminate countertop, but proper preparation and the right primer are essential for a successful outcome.
Q: Is this a suitable DIY project for beginners?
A: This project is manageable for DIY enthusiasts with some experience. Take your time and follow the steps carefully for the best results.
Painting your bathroom countertop can breathe new life into your bathroom space without breaking the bank. With the right materials and a little patience, you can achieve a beautiful, long-lasting finish. So, roll up your sleeves, get creative, and transform your bathroom one brushstroke at a time!
