
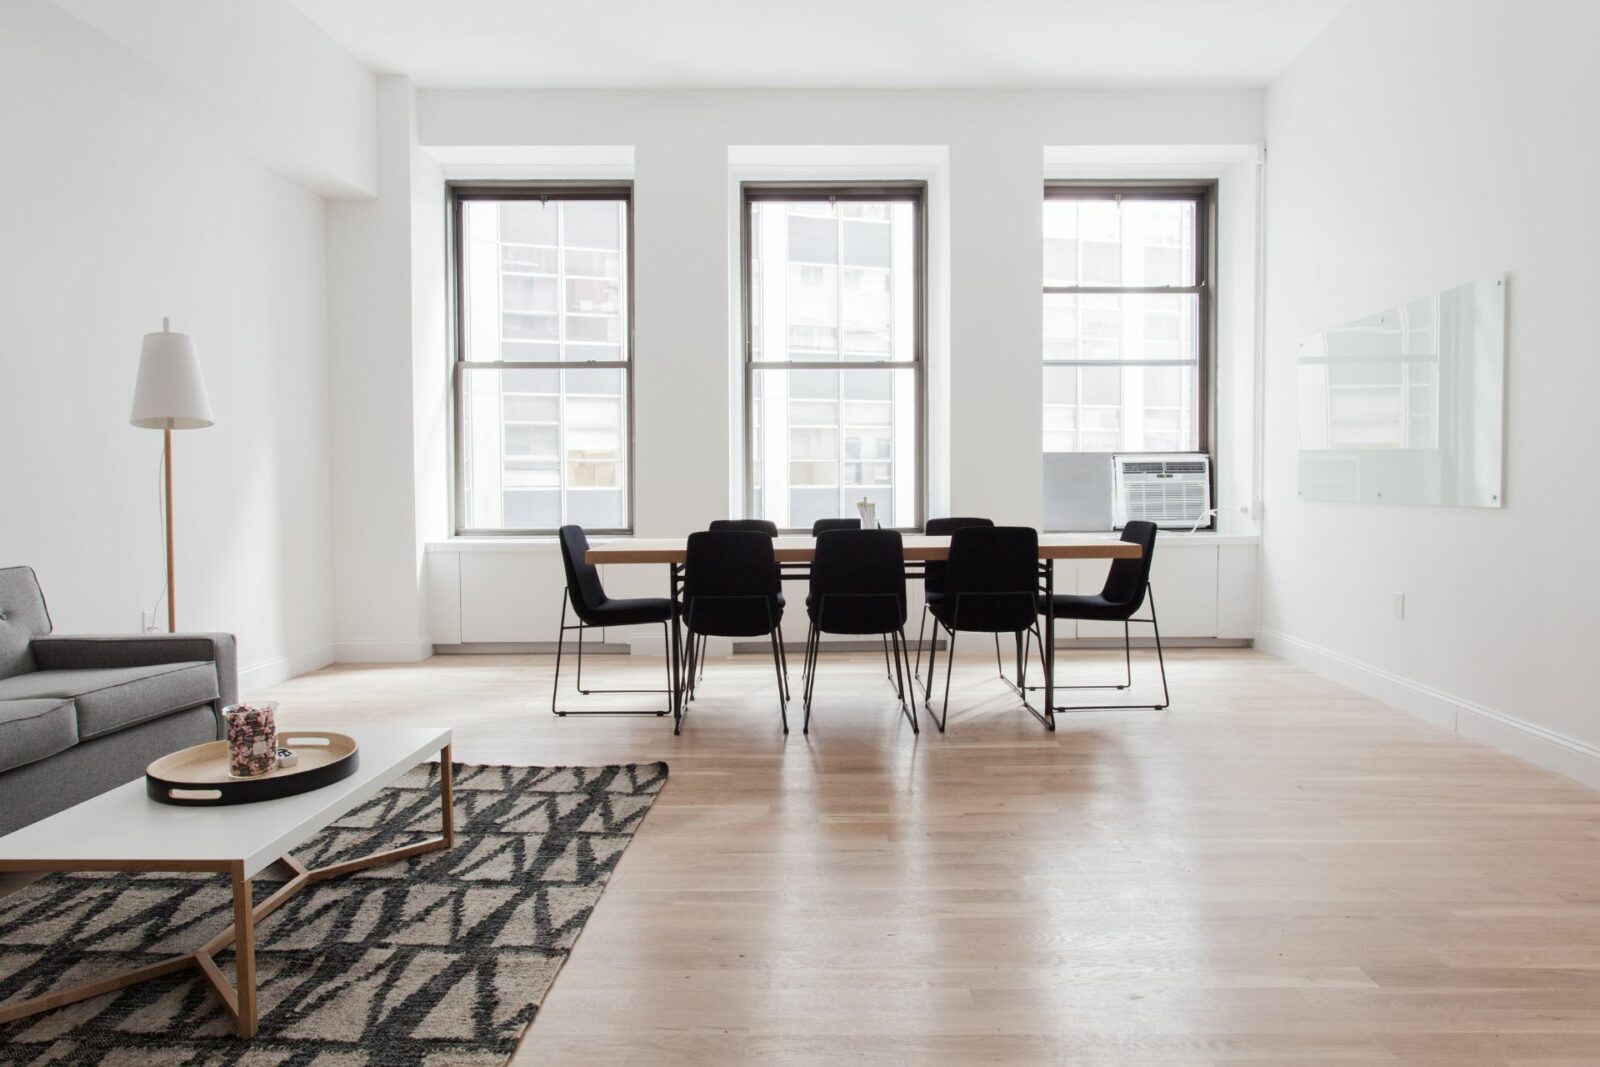
The transformative process of a floor remodel can instantly uplift the aesthetic and value of your home. In this guide, we’ll explore cost-effective strategies, and techniques for remodeling wood floors, and determine whether you should remodel your floors first or last during your renovation journey.
Understanding the Floor Remodel Process
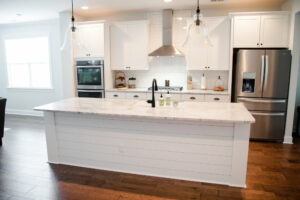
The initial step in any floor remodel is assessing the current condition of your floors. Look for signs of wear and tear such as scratches, warps, or stains. Next, decide what kind of new flooring you desire. This choice depends on your budget, lifestyle, and personal taste. You could opt for tiles, hardwood, carpet, or even laminate.
Now comes the actual remodeling. The existing floor needs to be safely removed, ensuring minimal damage to the subfloor. Then, the chosen material is installed using appropriate tools and techniques. For example, with hardwood floors, you might use a pneumatic nailer to secure the planks in place.
Step-by-step guide:
- Assess the current condition of your floors: Start your floor remodel by evaluating the present state of your floors. Look for any signs of wear and tear such as scratches, warps, or stains.
- Decide on new flooring: After assessing the state of your current floors, decide what kind of new flooring you desire. This decision will likely depend on factors like your budget, lifestyle, and personal taste.
- Choose a flooring type: Pick the type of flooring that best suits your needs. You have various options, such as tiles, hardwood, carpet, or even laminate.
- Remove the existing floor: The next step is the actual remodeling process. Start by safely removing the existing floor. Take care to ensure that there is minimal damage to the subfloor during this process.
- Prepare for installation: Once the old flooring is removed, it’s time to prepare for the installation of the new one. This might involve cleaning the subfloor or laying a suitable underlayment.
- Install the new flooring: Now, install the chosen flooring material using appropriate tools and techniques. The installation process varies depending on the type of flooring. For example, with hardwood floors, you might use a pneumatic nailer to secure the planks in place.
- Final check: After installation, go through a final check to make sure the flooring is installed correctly and there are no issues. Also, clean up any remaining materials or debris.
Budget-Friendly Floor Remodel Tips
Redoing floors doesn’t necessarily mean breaking the bank. You can implement several cost-saving strategies for an affordable floor remodel. Firstly, consider using more economical materials. Here’s a list of some affordable options:
- Vinyl: This type of flooring is cost-effective and can mimic the look of pricier options like hardwood or stone. It’s also durable and easy to maintain.
- Laminate: Laminate flooring is another budget-friendly option. It’s designed to look like natural wood or stone but at a fraction of the cost.
- Ceramic Tiles: While there are high-end options available, you can find budget-friendly ceramic tiles that offer a variety of design possibilities.
- Carpet: Depending on the type and quality, carpet can be a very economical choice. It also adds a cozy feel to rooms.
- Linoleum: A natural, eco-friendly option, linoleum is affordable and available in a wide variety of styles and colors.
Secondly, if possible, do some tasks yourself, such as removing the old floor. It might be a bit laborious, but it can save you a significant chunk of change. You might also scout for sales or discounted items at home improvement stores. But remember, quality should never be compromised, as your floor needs to withstand the test of time.
How to Remodel a Wood Floor
If you’re lucky enough to have original wood floors, you can save money and preserve their charm by remodeling them. Start by assessing their condition to determine if they can be refinished or need to be replaced.
For floors in good condition, sanding can remove the old finish and surface scratches, revealing the fresh wood beneath. Then, stain and seal the wood to achieve your desired color and protect the surface. If your floors are severely damaged, replacing some or all planks might be necessary.
In both cases, remember to acclimate new wood to the room’s humidity levels before installation to prevent future warping.
Step-by-step guide on Wood Floor Remodel:
- Assess the condition of your wood floors: Start by evaluating the present state of your wood floors. Look for any signs of damage such as deep scratches, warps, or stains. This step will help you determine if your floors can be refinished or if they need to be replaced.
- Decide on the treatment: If your floors are in good condition, refinishing them might be the best option. However, if they are severely damaged, replacing some or all planks might be necessary.
- For Refinishing:
- Sand the floors: Use a floor sander to remove the old finish and any surface scratches. This step will reveal the fresh wood underneath.
- Stain the wood: Choose a stain that matches your desired color. Apply it to the wood, following the manufacturer’s instructions.
- Seal the wood: After the stain has dried, apply a sealant to protect the surface. Make sure to apply it evenly to avoid blotches.
- For Replacing:
- Remove the damaged planks: Carefully remove the damaged planks from the floor. Try not to damage the surrounding planks.
- Acclimate new wood: Before installing the new wood planks, let them acclimate to the room’s humidity levels. This can help prevent warping in the future.
- Install the new planks: Use appropriate tools and techniques to install the new wood planks. Ensure they fit snugly and securely with the existing planks.
- Final check: Once you’ve either refinished or replaced the wood, do a final check to ensure everything is properly done. Address any irregularities immediately to prevent more significant issues down the line.
Remember, working with wood floors can be a delicate process, and making mistakes could result in more damage. If you’re unsure, it’s always a good idea to consult with a professional.
Navigating the Renovation Timeline: Floors First or Last?
The question of when to remodel the floors during a home renovation can be perplexing. However, in most cases, it’s recommended to do the floors last. This way, you prevent them from damage during other renovations. However, in some situations where walls are being moved or added, it might make more sense to do the floors first. Always discuss this with your contractor to establish the best sequence.

Frequently Asked Questions About Floor Remodel
1. How long does a floor remodel typically take?
The duration varies based on the size of the space, the type of flooring, and whether you’re refinishing or replacing the floors. Generally, a floor remodel can take anywhere from a couple of days to a week.
2. Can I live in my house during a floor remodel?
Yes, but it might be inconvenient due to the noise, dust, and limited access to certain rooms. Consider planning for temporary accommodation if necessary.
3. Does a floor remodel increase home value?
Absolutely! A well-executed floor remodel can significantly boost your home’s aesthetic appeal and market value, making it a worthwhile investment.
Conclusion
Embarking on a floor remodel journey can be exhilarating, especially when you witness the transformation. Remember to keep cost-effect Effective methods in mind, consider the unique process for remodeling wood floors, and decide the appropriate time to remodel in the larger scheme of your renovation project. With patience and the right plan, your floor remodel can rejuvenate your living space and bring you immense satisfaction!


