Most of us like to keep our bathrooms clean on a regular basis. If you’re someone who is meticulous, there might have been one or two instances where you noticed the shower grout cracking on the bathroom tiles. Cracks appear especially in joints where the wall meets the floor, tub, or shower. But what causes these cracks and how do you fix them? If you are wondering the same, read this article to delve deeper into the matter and find out more.
Common Causes of Grout Cracks
Wear and Tear
One of the reasons behind the cracked grouts in your shower is simply ageing. The bathroom is a space that’s constantly exposed to moisture. Temperature and humidity also keep fluctuating in these spaces. As you might know, grout is composed of water, cement, and sand. It’s a porous mixture, and given the persistent dampness, it’s only natural for the grout to decay over time.
Without proper maintenance, the grout might worsen in a short period. Hard water and soap scum, if allowed to accumulate, can erode the material quickly. Apart from splits, this can also lead to toxic mold which can cause further degradation. If you don’t get an opportunity to clean your bath daily, you must give it a thorough scrub at least once a week.
Movement of Joints
One of the root causes of grout cracks is movement between two surfaces. Although we might not be aware or it’s not visually evident, our houses keep moving in tiny increments due to seasonal temperature changes, humidity, foundation settling, and several other reasons. When joints settle with tiles and the shower moves opposite ways, there’s a high chance of inflexible grouts forming cracks.
If you live in an earthquake-prone region, joint movement can be a bigger problem for you.
Faulty Installation
Installation is another factor that can bring doom to shower grout. A grout mixture prepared by an under-qualified installer might contain too much water or additives. In that case, air pockets might occur in the grout. More so, if the adhesive glue used is too little, the tile might come off from the wall easily and then it’s up to the grout to hold it in place. The pressure is liable to develop cracks.
So, it is recommended that you only hire the right contractor for tile or brick grouting. After the crack, more serious ones usually follow thereby paving the way for severe structural deterioration.
Can A Newly Installed Shower Grout Crack?
As mentioned above, shower grout cracks might develop due to various reasons. But if it’s recently installed and you still notice your shower grout cracking, the most likely reason is improper installation. Your installer probably didn’t use enough thin-set while setting the tile into place.
Another reason could be the adhesive. They might have used poor-quality adhesive or just too little of it for the grout to cling to. Sometimes, water might trickle into the gaps during the drying process. This can prevent the adhesive from drying adequately and make it ineffective. In either case, you need to consult the matter with your plumber and ask for a regrout. If not managed in time, the cracks can eventually cause further damage and deterioration.
How Much Damage is Too Much Damage?
One question that might pop up in your head is, ‘When do I know if my shower grout really needs a repair?’ Well, you don’t have to wait till the grout degrades to see its worst day. You can get the cracks fixed early on to prevent severe damage. The problem is, crumbling grout seems like a minor aesthetic imperfection, but it can be a bigger issue than it appears to be. So, keep an eye out for such cracks and get in touch with a professional as soon as you notice any such development.
How to Fix Cracks in Shower Grouts?
Cracked grout in your shower is not ideal and can lead to further damage if left untreated. Fortunately, minor grout cracks can be fixed without the need for a professional. Follow this step-by-step guide to repair cracked grout in your shower:
Step 1: Remove the Old Grout
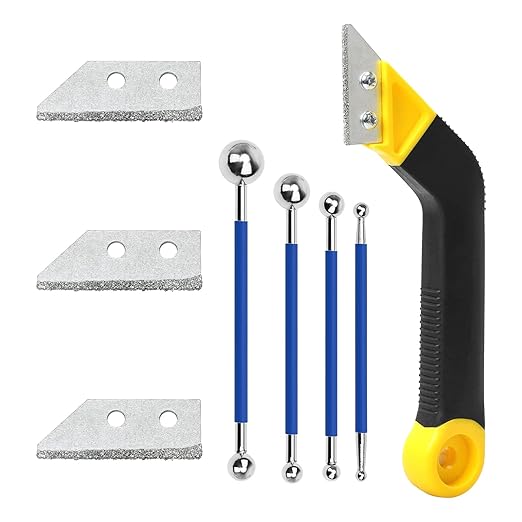
Begin by removing the old grout from the affected area. If the grout is crumbling or severely damaged, this step will be easier. For small, isolated cracks, use a grout removal tool like a grout saw or multi-tool. Carefully scrape out all the damaged grout without damaging the surrounding tiles. After removing the grout, vacuum the area thoroughly to remove any debris or dust.
Step 2: Choose the Right Replacement Material
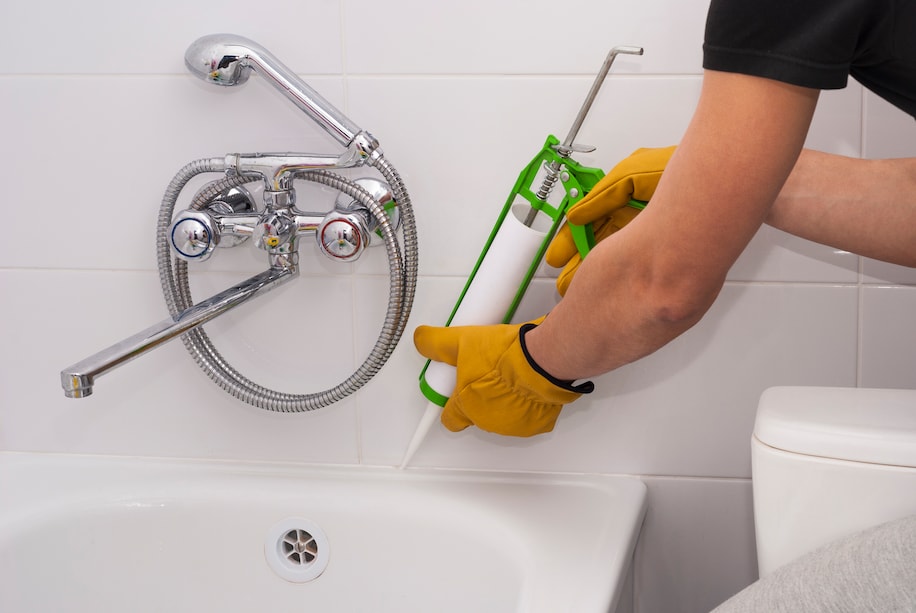
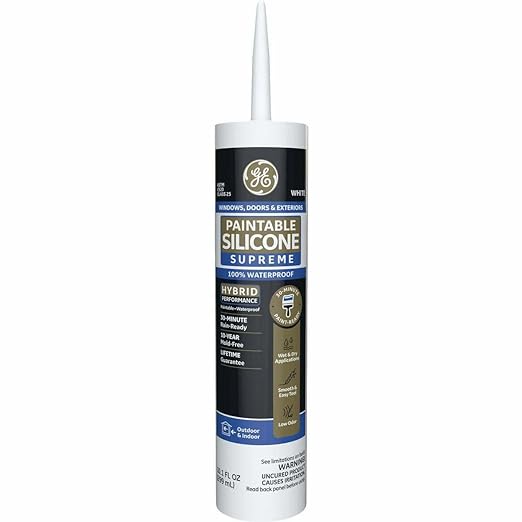
Next, select a suitable replacement for the grout. Silicone caulk is an excellent option because of its flexibility and resistance to cracking, especially in areas where movement may have caused the original grout to fail. Be sure to select a caulk color that closely matches your existing grout to maintain the look of your shower. You can find a variety of caulk colors at your local hardware store or tile shop. Additionally, make sure the caulk is mildew-proof to prevent future cracking or mold growth.
Step 3: Apply the Caulk
Once you have your silicone caulk, it’s time to apply it. Follow the instructions on the packaging carefully to ensure proper application. You’ll need a caulking gun to apply the caulk evenly. Silicone sets quickly, so work efficiently to avoid any mess. If you’re new to caulking, practice on a scrap piece of material first to get comfortable with the process.

Step 4: Clean Up and Let It Set
After applying the caulk, smooth it out with a caulk tool or a damp finger to ensure a neat finish. Clean up any excess caulk immediately with a damp cloth, as it becomes difficult to remove once it dries. Allow the caulk to fully cure according to the product’s instructions before using the shower again.

Long-Term Maintenance Tips
Ventilation
Proper bathroom ventilation is key to maintaining the integrity of your grout. Excess moisture and humidity from daily showers can lead to grout degradation over time. To reduce moisture buildup and prevent grout damage, ensure your bathroom is well-ventilated. Install an exhaust fan if you don’t already have one, and make sure it’s used regularly during and after showers. Additionally, keeping windows open when possible can help circulate air and reduce humidity levels.
Cleaning Techniques
To keep your grout in top condition, use pH-balanced cleaners specifically designed for tile and grout. These cleaners are gentle on grout while effectively removing dirt and stains. Avoid harsh chemicals, such as bleach or ammonia, as they can weaken the grout and lead to premature deterioration. For routine cleaning, use a soft brush or sponge to scrub grout lines and prevent soap scum and mildew buildup. Regular, gentle cleaning will help maintain your grout’s appearance and longevity.
Sealing the Grout
Applying a high-quality grout sealer is crucial to protecting your grout from moisture, stains, and mildew. Over time, grout can become porous, allowing water and dirt to penetrate and cause damage. Reseal your grout at least once a year to maintain its durability and resistance to water. Sealing also helps to preserve the grout’s color and make future cleaning easier.
Inspect Regularly for Cracks
Grout can crack over time due to the natural settling of your home or wear and tear. Regularly inspect your grout lines for small cracks or areas of damage. Addressing minor issues early can prevent further cracking and costly repairs. Use grout repair products for minor touch-ups or consult a professional for more significant damage.
Control Humidity Levels
In addition to ventilation, controlling humidity levels in your home is important for long-term grout maintenance. Invest in a dehumidifier if you live in a particularly humid area, as it can help reduce moisture in your bathroom. Lowering humidity not only protects your grout but also prevents mold and mildew growth, keeping your bathroom healthier and easier to maintain.
FAQs
1. Can I Prevent My Shower Grout from Cracking in the Future?
Yes, you can take several steps to prevent grout from cracking in the future. Regular maintenance, such as cleaning your grout lines and resealing the grout periodically, can help prolong its lifespan. Additionally, addressing any underlying issues like excessive movement in your tiles or poor installation can prevent future cracks.
2. What Is the Difference Between Grout and Caulk?
Grout is a rigid material used to fill spaces between tiles and is not flexible, which is why it cracks under movement. Caulk, on the other hand, is a flexible material used in areas where expansion or contraction occurs, like in corners or where the wall meets the floor. For areas prone to movement, silicone caulk is often recommended over grout.
3. Can Water Leak Through Cracked Grout?
Yes, water can seep through cracked grout, especially if the cracks are deep or widespread. Over time, this can lead to mold growth, water damage behind the tiles, and even structural damage if not addressed. That’s why it’s important to repair cracked grout as soon as you notice it.
4. What Type of Grout Should I Use for Wet Areas Like Showers?
For wet areas like showers, epoxy grout is highly recommended as it is waterproof, stain-resistant, and more durable than traditional cement-based grout. Epoxy grout is less likely to crack and is a great choice for high-moisture areas.
5. Can I Paint Over Cracked Grout?
No, painting over cracked grout is not a recommended solution. It might temporarily cover up the appearance, but the underlying issue remains. Painting will not repair the cracks, and water can still seep through, causing further damage. Always remove and replace damaged grout for a long-term fix.
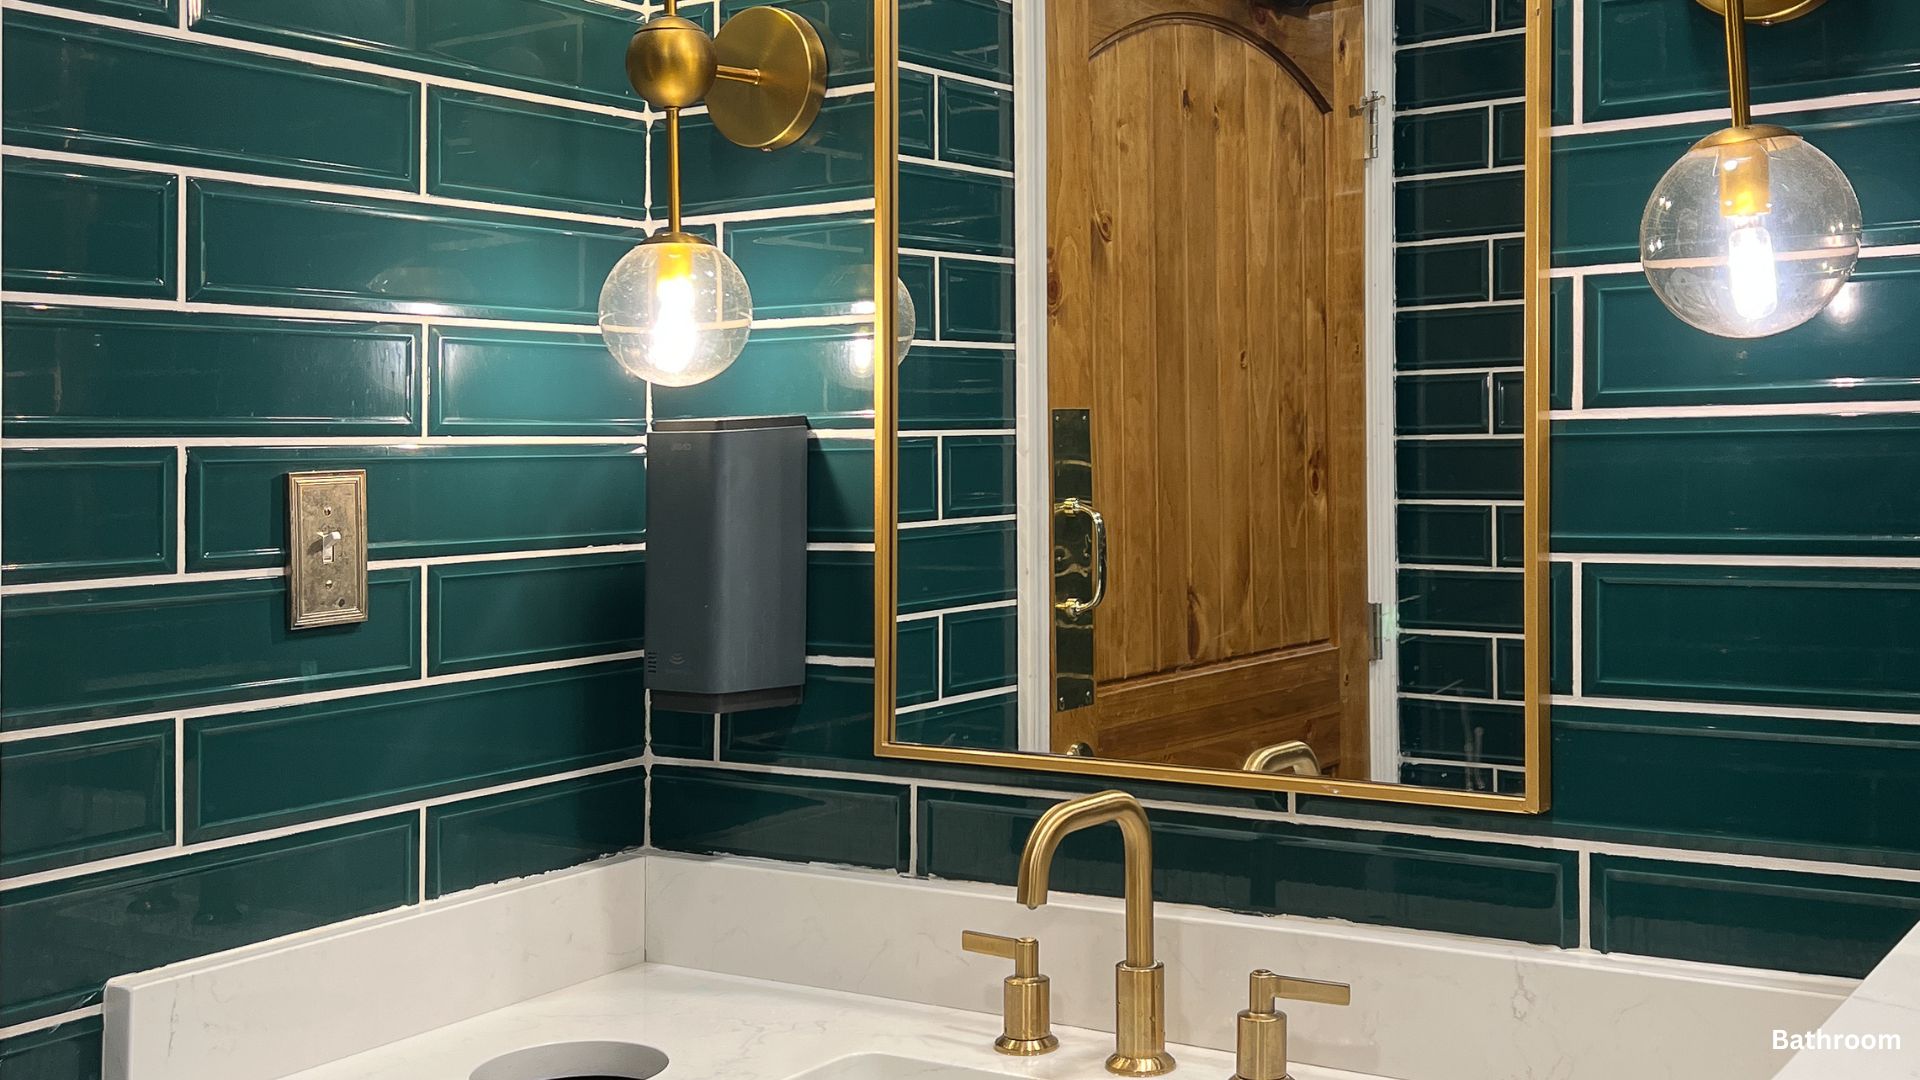
Maintaining your bathroom grout is crucial for preserving both the appearance and functionality of your space. Regular cleaning, proper ventilation, and addressing small cracks early on can prevent more significant damage down the line. If you notice any grout issues, it’s best to act promptly to avoid water damage and mold growth. With the right care, you can extend the lifespan of your grout and keep your bathroom in top shape for years to come.

