
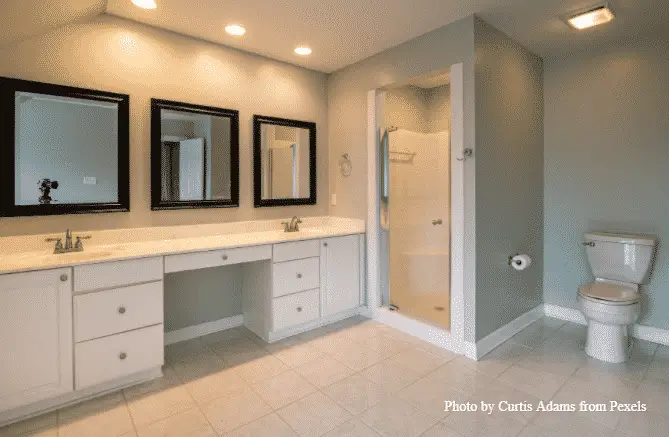
Are you tired of looking at your old, yellowed, and worn-out shower tiles? Weary features in the bathroom can make your bathroom look lifeless and unpleasant. And that indeed is not a good thing when guests come over. However, figuring out how to tile a contemporary bathroom shower isn’t the most straightforward task, either.
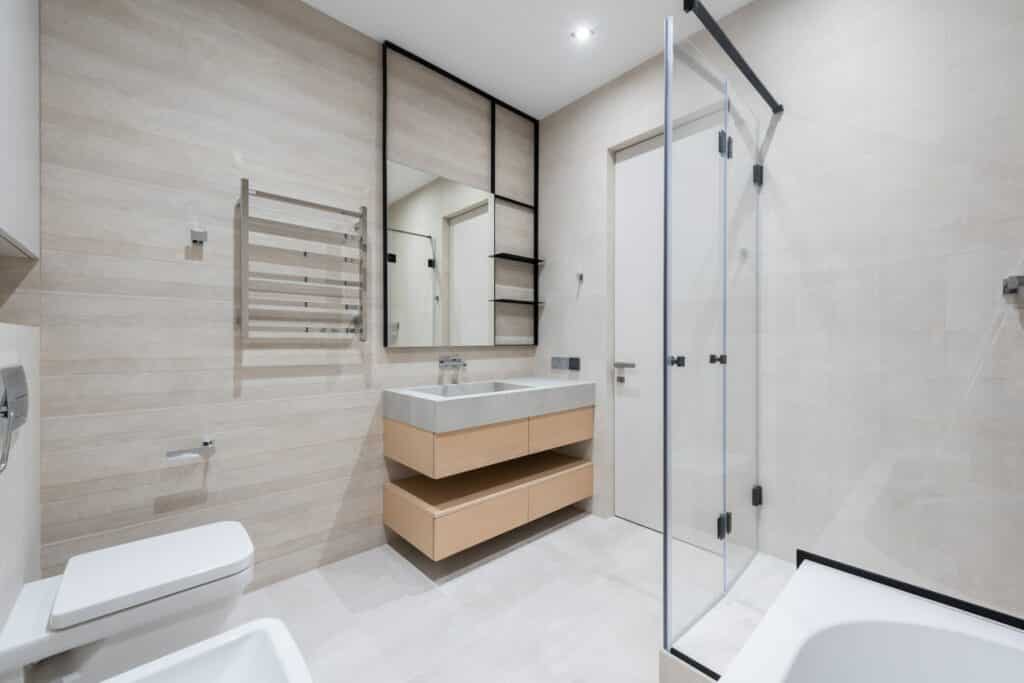
A bathroom is an important place in the house and needs to be updated from time to time. A change in the bathroom flooring can be a great upgrade and an easy DIY project if you know how to tile a bathroom shower.
Should You Tile a Shower?
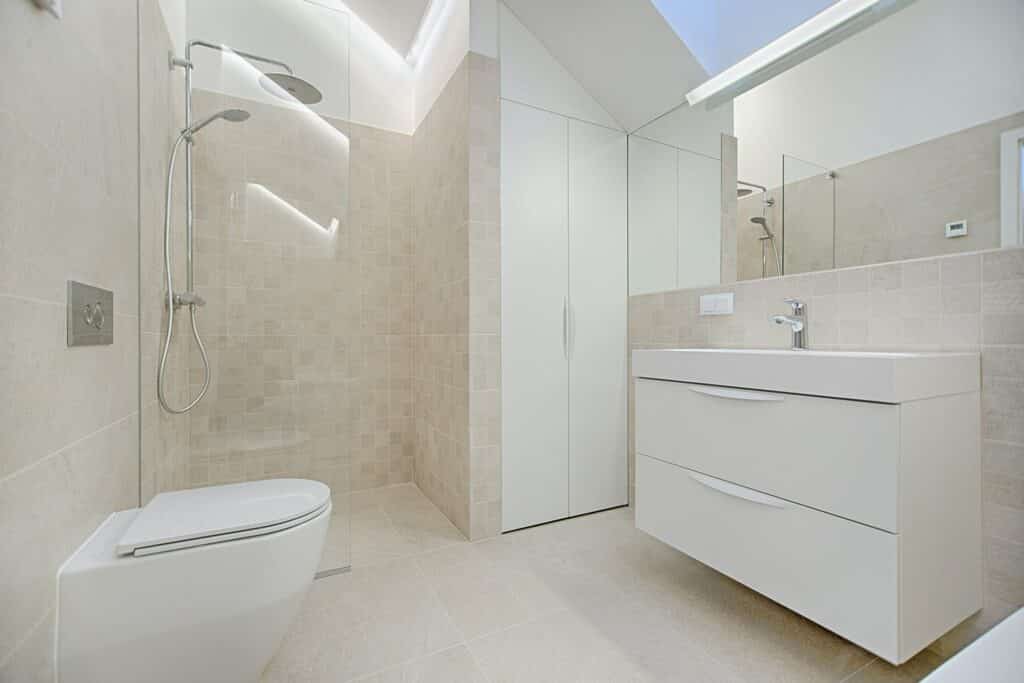
A good bathroom can upscale the entire look of the house. A remodeled bathroom even increases the reselling rate of the house in the market. But does a remodeled bathroom necessarily mean you have to go for a complete overhaul and shell out thousands of bucks? No.
A manageable and straightforward change here and there can do wonders. And if you have an experienced DIYer in the house with beginner skills, it is all the better!
Here are some necessary steps for you to know how to tile a bathroom shower and give your bathroom an excellent and astonishing upgrade!
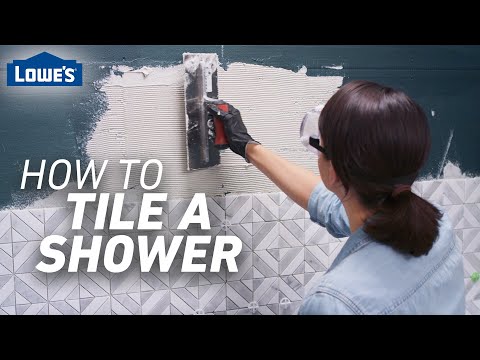
Step 1: Prep the Shower Area
The first thing you need to do in this tile installation project for your bathroom remodel is to remove the old tile. The demolition process may take a day or two.
Once you have removed all the old tiles, install a shower backer board, a shower membrane, and a shower pan in the shower area. Once that is over, plan the layout of your tile scheme and measure the area accurately.
Step 2: Measure and Lay the Tiles for the Shower Walls
Planning the layout and measuring the area before setting the tiles is a crucial step before you begin installing the tiles with cement. You must take accurate measurements to see how the tiles will lay out in the shower area.
First, you must measure the top and bottom of the wall and then dry lay the tiles to see if they are set vertically on the wall. This helps you to see how many panels you can set on the wall. Start it from the bottom and work it upwards.
Step 3: Set the Tiles on the Wall
Whenever you do a vertical tile installation, take the help of a starter board. Screw the starter board into the cement board and start setting the tiles. You can remove it after you complete a series of panels.
Once the tiles are set, use a non-sagging thin-set mortar to prevent them from sliding on the vertical wall. The thin-set creates suction that holds the tiles in place while the mortar dries.
Place the tiles evenly onto the thin-set and apply some pressure to set it. Once you have finished one row, wipe the tiles with water and a sponge to clean them.
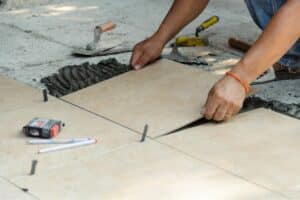
Step 4: Cut the Tiles
Once you have set all the panels on the walls, you must make cuts for the walls’ edges. There may be some tiles that extend beyond the walls, which you need to cut off. It would be suitable if you used a wet saw to prevent the tiles from breaking or chipping.
Before you start to cut the tiles, mark the places that need to be cut with a pencil. After you have marked it, hold it firmly and slide a wet saw blade through it.
Step 5: Setting the Cut Pieces
Once you have cut the extending pieces of the panels, you must set these exposed pieces rightfully. Use a sanding stone that will help you soften these edges, giving it an even look. Make sure that when you set each row of panels, using the thinset, the pieces lie up straight on edge and not crooked or slanting.
Step 6: Set the Border

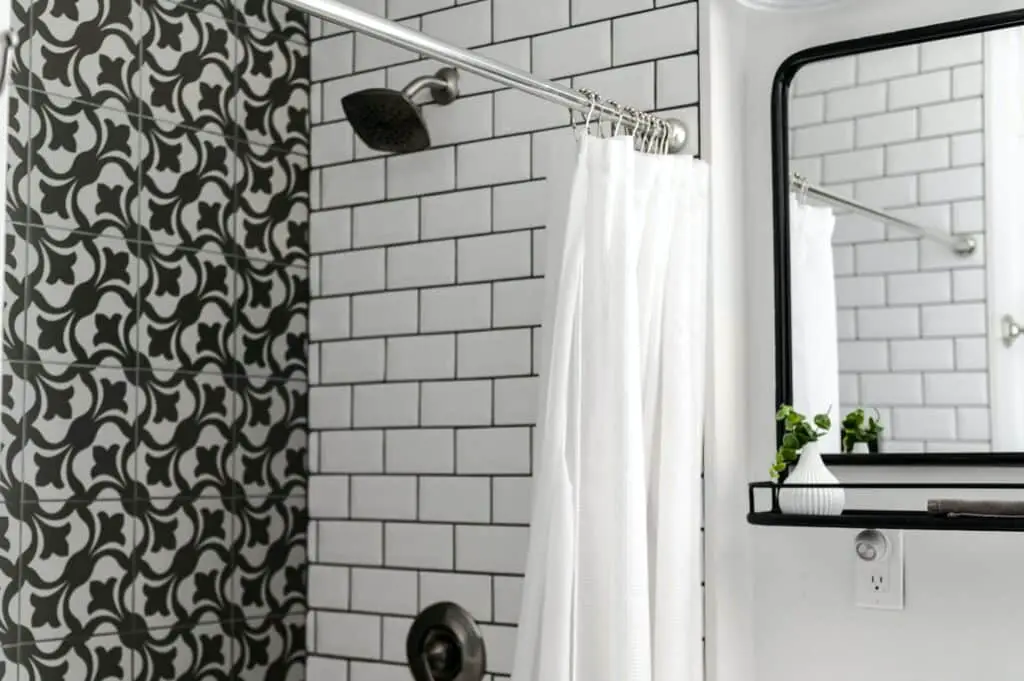
The next step in this process of how to tile a bathroom shower tub is setting the mosaic or any other border of your choice. Homeowners generally prefer to add a decorative edge on top of the shower tiles, sometimes between the second and the third panel.
Since the border tiles are thicker than the normal ones set all over the walls, you must apply a thinner layer of the thin-set on these tiles. Setting a decorative border makes the tiles look more appealing and less dull and mundane.
Step 7: Complete the Shower Walls
Once you are done putting on the tiles one by one, check for any extra thin-set. If you feel like you have applied too much thin-set and there is excess coming out through the joints, once it has dried, take a screwdriver and scrape the extra out.
However, you must remember that when the extra thin-set dries, it will be difficult to remove it, and it will mostly not match the color of the grout.
Step 8: Complete the Shower Floor
Once you have finished completing the shower wall, remove excess thin-set jutting out, you can start working on the shower floor. Working on the shower floor is the same as working on the shower walls- apply the thin-set on the floor, put the tiles into place, and pat them down, applying some pressure with a rubber grout float.
It is advisable for you to do the shower walls first and then the shower floor to avoid stepping on the drying flooring. It can be a task to get the right angle for the tiles around the drain, for which you may need to use a unique tool.
Likewise, a tile nipper can help you cut the tile in the right shape, so mark it wherever you need to chip the tile.
Step 9: Grout the Shower Walls
The last step in this guide on how to tile a bathroom shower is to grout the shower walls. When the tile has set, use a mix of sanded and unsanded grout, and use a color that matches your tiles. Let it dry and wipe the leftover with the help of a sponge and water.


