
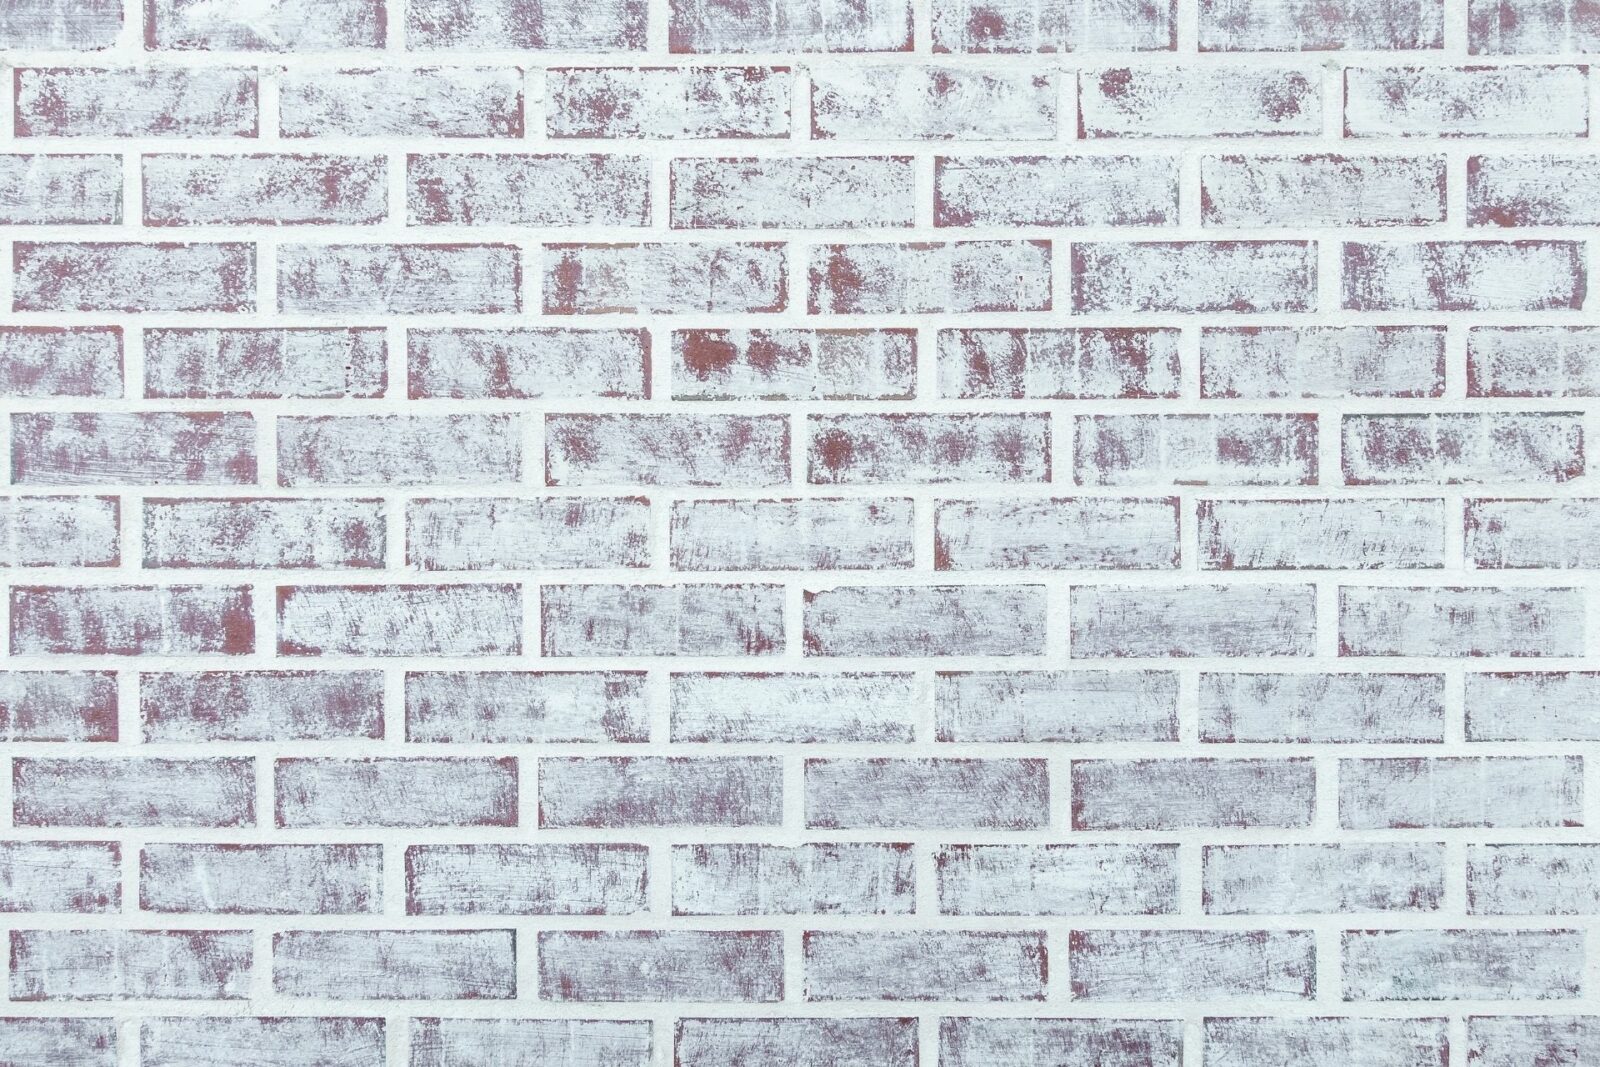
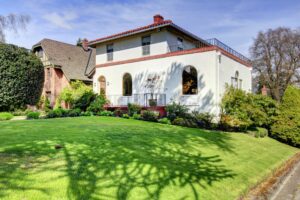
We opted for DIYing to whitewash exterior brick of our space.
Yes, you do not need a contractor and here’s how you can do it with ease.
While repainting your walls with 100% latex paint will lend the bricks an opaque, solid color, whitewashing gives them a muted tone with a translucent finish. The process also retains the bricks’ natural variations, based on how every brick absorbs the whitewash and how to apply the paint.
To help you with your home improvement process, we have curated a quick guide along with a few tips. Read on to know more!
Necessary Equipment
Here is a list of a few must-haves when you’re planning to whitewash your exterior walls.
- Latex or masonry paint: For a more traditional whitewashing procedure, you can do it with just latex paint. If you can’t find latex paint, look for some other kind of brick paint. Such products are usually available in your local home improvement center.
- Water: The other liquid that you need is water to dilute the brick paint.
- Paint brushes: Grab different paint brushes like angled brushes, rollers, and some with larger tips so you can cover conveniently reach every nook and corner.
- Floor covers: It’s important to cover your floors and surroundings before you start to paint. You may use paper or cloth covers to avoid a mess.
- Painter’s tape: This one’s optional! You can tape the drop cloths or flooring covers and fix them to areas you particularly want to protect. But it sure is effective and saves you a lot of hassle.
Besides these necessary pieces of equipment, other tools & essentials include a putty knife, rubber gloves, protective eyewear, face mask, garbage bag, scrub brush, and paper towels.
Steps to Follow
Once you’ve got all the necessities ready, it’s time to start whitewash brick. Follow the steps below to accomplish the task seamlessly.
Step 1
Wash and rinse the bricks thoroughly using soap water or boric acid. These are mild cleaning solutions that won’t harm the overall texture of the bricks. There’s no point whitewashing over a dirty wall, so this step is crucial. Make sure you scrub the walls properly until all the dirt and soot get cleaned.
If soapy water is not strong to remove stubborn soot, try mixing ammonia with pumice powder and dish soap and create a paste. You can find these products at a arts & crafts store or a beauty supply store. Apply the paste all over your walls and let it rest for about 10 mins to soften the rigid particles. Then, put on your gloves, take a clean rag, and thoroughly rinse the walls.
Step 2
Cover the surroundings of your walls like windows, floors, slabs, etc. with paper or drop cloths. This is where the painter’s tape will come in handy. You can tape your door and window frames to protect them from the chemicals and paint.
Step 3
The next step is to remove the leftover paint. If your walls have been painted earlier, there may be flakes, blisters, or chips that you can scrape off using a putty knife, paint scraper, or wire brush. In case the paint has been there for decades, it could be that the paint is toxic. So, consider wearing protective goggles and a face mask while scraping. Later, accumulate the chipped paint in a garbage bag and dump it at a proper dumpster.
Step 4
Now, we have arrived at a key step, i.e. preparing the whitewash solution. For this, you need to mix equal amounts of water and latex paint. Stir the solution to get the right consistency and test it on a patch of brick. Continue testing various paint-to-water ratios on different areas until you get the desired effect. If you’d like the paint to be thick, add more paint than water. If you’re going for a lighter consistency, increase the ratio of water.
Step 5
It’s time now to apply the whitewash. Start by spritzing the walls with water. Next, dip your brush into the whitewash mixture and remove excess paint on a grate. This will prevent the wall from getting covered in drips. Apply the whitewash in small sections, starting with the grout lines, and gradually work your way to the front of the bricks. Use an angled paintbrush to cover the edges.
It is ideally manageable to paint a two-foot-square patch at a time, as you can quickly blot the bricks with a paper towel to give it a natural finish. Continue the process until all the walls are whitewashed. If you mistakenly coat a surface with too much whitewash, lightly mist the area with a spray bottle and blot the moisture along with some of the paint using a cotton rag or a paper towel.

Keep in mind that brick is porous and will soak up the wash. So, the first coat of paint might appear more opaque than you would prefer. But don’t let this bother you! The bricks will absorb the paint in the next few hours and the color is going to show eventually.
The German Smear Method
Apart from the regular whitewashing process, there’s another way to repaint your brick walls. It’s called the German Smear technique that lends a custom, distressed look to the walls and exudes an East European vibe. To achieve this, you need to use a thin coat of mortar over the brick instead of the traditional whitewash paint. This is an eye-catchy way to tone down red bricks while still accentuating their warm hues.
The only downside is that the process is time-consuming as you need to smear the mortar by hand.
Final Thoughts
We hope our guide will save you from the extra expenditure and effort required for a renovation. While whitewashing exterior walls is easier and more affordable, it also adds an old-world charm to the overall look of your home. So, why not give it a try? Happy painting!
FAQs
Is it possible to whitewash sealed bricks?
Yes, you can whitewash sealed bricks, provided you scuff it up with a wire brush or putty knife.
How long does exterior whitewash last?
If applied correctly, whitewash can last up to 30 years. Besides, it requires little maintenance. If you want to extend the lifespan of your exterior whitewash, cover the paint with a water-based matte sealant or satin polyurethane.
