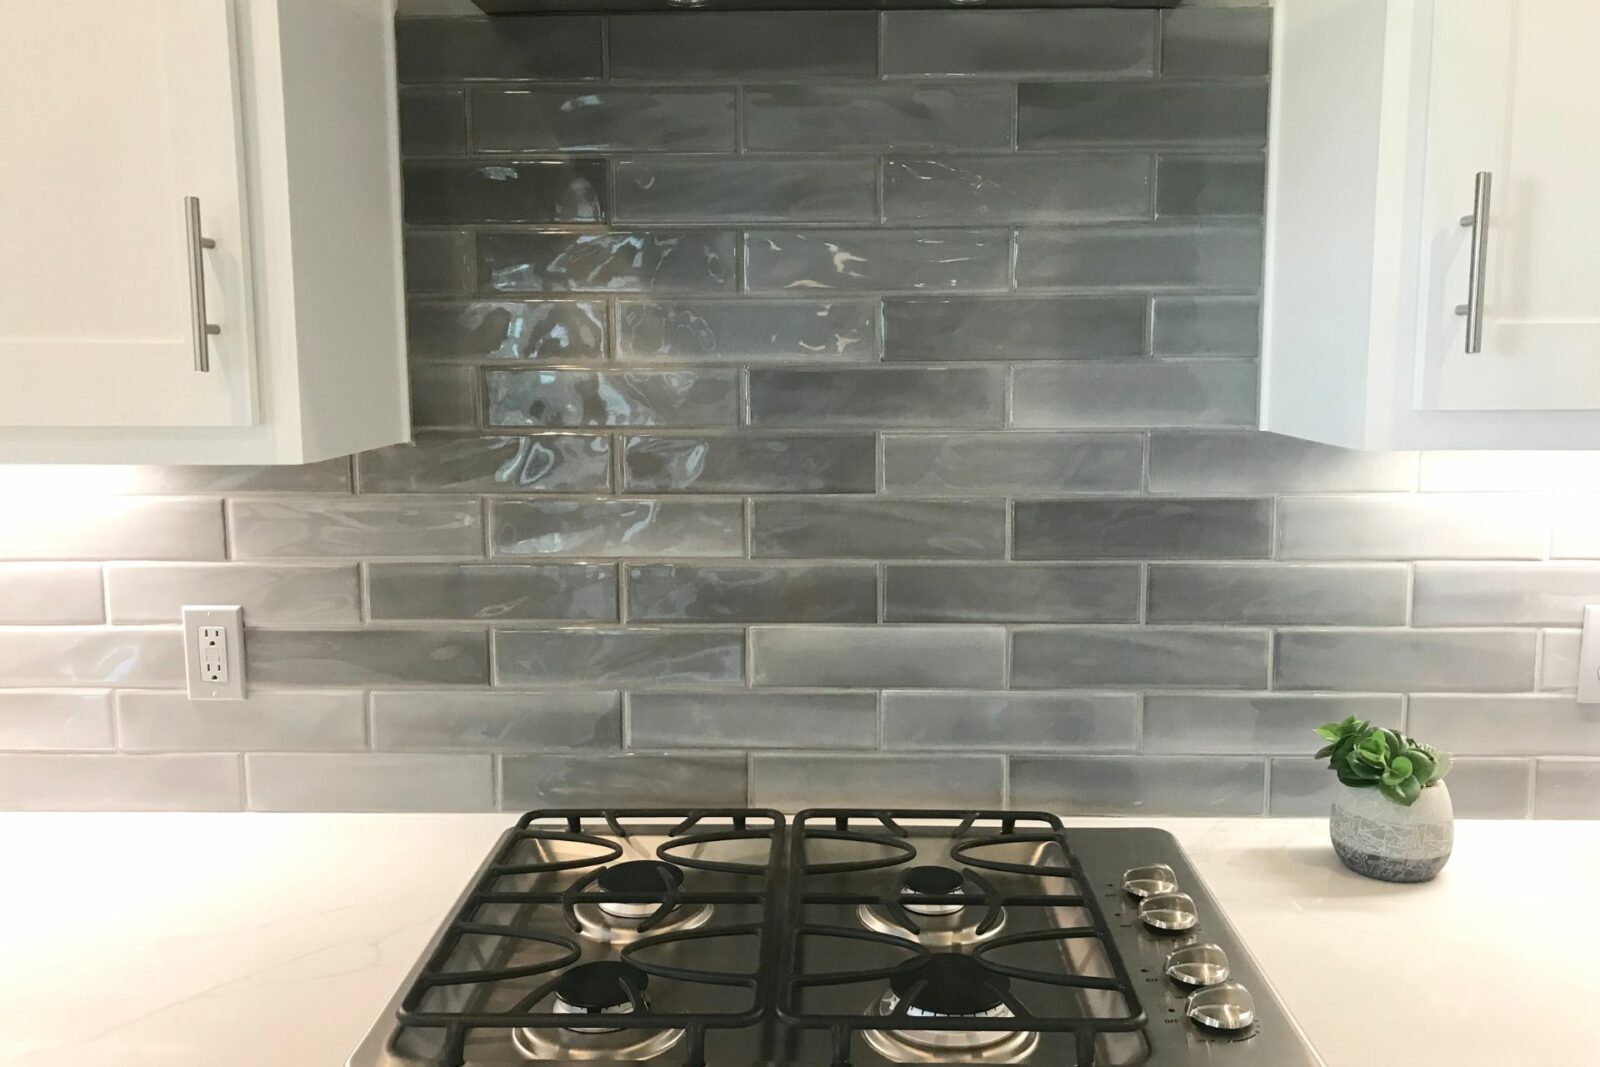
Kitchen backsplashes can make a beautiful and functional addition to any kitchen. However, there may come a time when you want to remove your old backsplash to update your kitchen’s look. Removing a kitchen backsplash can be a daunting task, but with the right materials and techniques, it can be done easily. In this blog post, we’ll discuss the materials you will need and the ways to remove a kitchen backsplash.
Materials You Will Need to Remove Kitchen Backsplash
Safety Gear
Safety gear is essential when working with power tools or sharp objects. Be sure to wear gloves, safety glasses, and a dust mask to protect yourself.
Pry Bar
A pry bar is a tool that is used to remove tiles from the wall. It has a pointed end that can be inserted between the tiles and the wall to pry them off.
Hammer
A hammer is used to tap the pry bar and loosen the tiles from the wall.
Chisel
A chisel is used to scrape off any remaining adhesive or grout after the tiles have been removed.
Power Drill
A power drill with a mixing attachment can be used to remove tile adhesive. You can also use a power drill with a hammer drill bit to remove tiles.
Utility Knife
A utility knife is used to cut any caulk or sealant around the edges of the backsplash.
Ways to Remove Kitchen Backsplash
Remove the Tiles
Start by using a pry bar and a hammer to remove the tiles from the wall. Insert the pry bar between the tiles and the wall and gently tap it with a hammer to loosen the tiles. Work your way along the backsplash, removing one tile at a time. Be careful not to damage the drywall behind the tiles.
Remove the Adhesive
Once you have removed all the tiles, you may find that there is still some adhesive or grout left on the wall. Use a power drill with a mixing attachment to mix a solution of warm water and vinegar. Apply the solution to the adhesive or grout and let it sit for a few minutes. Use a chisel to scrape off the remaining adhesive or grout.
Remove Caulk or Sealant
Use a utility knife to cut away any caulk or sealant around the edges of the backsplash. Be careful not to damage the countertop or cabinets.
Sand the Wall
Once you have removed all the adhesive and caulk, use sandpaper to sand the wall smooth. This will ensure that the wall is ready for a new backsplash.
In conclusion, removing a kitchen backsplash can be a time-consuming task, but with the right materials and techniques, it can be done easily. Be sure to wear safety gear and work carefully to avoid damaging the wall behind the tiles. With patience and persistence, you can remove your old backsplash and update your kitchen’s look.


