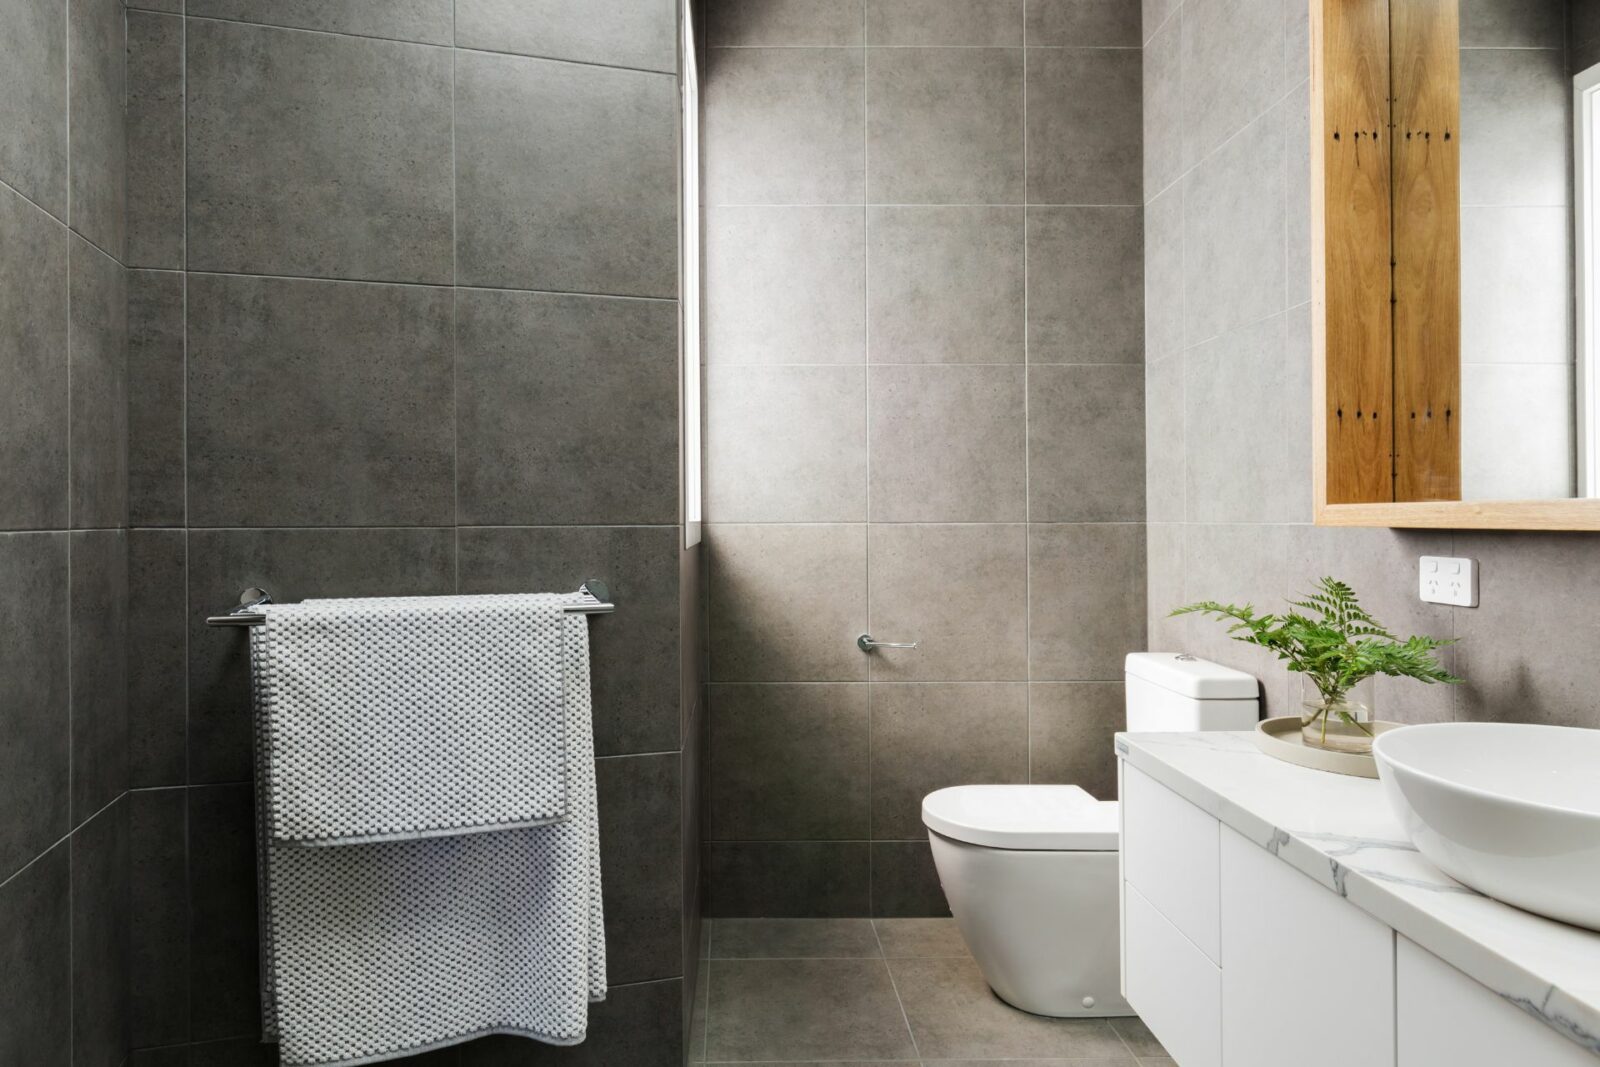
If you’re planning to renovate your bathroom or replace your old vanity, you’ll need to know how to remove the existing one first. Removing a vanity might seem like a daunting task, but with the right tools and instructions, it can be done easily and safely. In this blog post, we will guide you through the steps on how to remove a vanity, from the tools you’ll need to the actual removal process.
Things Needed to Remove a Vanity
Before we get started, here are the tools you’ll need to remove a vanity:
- A screwdriver
- A utility knife
- Adjustable wrench
- Crowbar or pry bar
- Bucket or container
- Gloves and safety glasses
Guide on How to Remove a Vanity
In order to know how to remove a vanity, follow the below steps
Step 1: Turn off the Water Supply
Before you start removing the vanity, turn off the water supply valves under the sink. This will prevent any water from leaking out while you’re working.
Step 2: Disconnect the Plumbing
Using a wrench or pliers, disconnect the plumbing connections between the sink and the drain pipe. Put a bucket or container underneath to catch any water or debris.
Step 3: Remove the Sink
Once the plumbing is disconnected, remove the sink from the vanity. Depending on how the sink is attached, it may be held in place with adhesive or mounting clips. Use a utility knife or pry bar to remove any adhesive, and carefully unscrew any clips.
Step 4: Disconnect the Vanity Top
If the vanity has a separate top, remove it by unscrewing any mounting screws or clips. Set the top aside in a safe place.
Step 5: Remove the Vanity
Using a screwdriver, get rid of any screws that are attaching the vanity to the wall. If the vanity is glued to the wall, use a pry bar or crowbar to gently loosen it. Once the vanity is free from the wall, carefully lift it up and away from the bathroom.
Step 6: Clean Up
After the vanity is removed, clean up any debris, dust or adhesive left behind. Check for any damage to the wall or floor where the vanity was attached, and make any necessary repairs before installing the new vanity.
In conclusion, removing a vanity may seem intimidating, but with the right tools and instructions, it can be a straightforward process. Remember to turn off the water supply, disconnect the plumbing, remove the sink, disconnect the top, and finally, remove the vanity itself. Take your time, wear protective gear, and be careful not to damage the surrounding area. By following these steps, you can successfully remove your old vanity and prepare your bathroom for a new and improved look. Hope this blog teaches you how to remove a vanity.


