
When renovating your bathroom or installing a new vanity, it’s essential to correctly cut holes for floor plumbing. This detailed blog will walk you through the process step by step, ensuring a seamless and professional finish.
Tools and Materials Needed
- Measuring tape
- Pencil
- Drill with hole saw bit
- Jigsaw
- Sandpaper
- Safety goggles
- Work gloves
Step By Step Guide
Step 1: Measure and Mark
Begin by measuring the exact location of the plumbing pipes on your floor. Use the measuring tape to find the center of each pipe and mark the corresponding spots on the bottom of your vanity with a pencil.
Step 2: Determine Hole Size
Check the diameter of the pipes and add an extra 1/4 inch for wiggle room. This will be the size of the hole you need to cut in the vanity base.
Step 3: Prepare the Hole
Saw Bit Attach the appropriate hole saw bit to your drill based on the measurements you took in Step 2.
Step 4: Safety First
Before cutting, put on your safety goggles and work gloves to protect yourself from any flying debris.
Step 5: Drill the Pilot Holes
Using the drill with the hole saw bit, carefully drill a pilot hole at each marked location on the vanity.
Step 6: Cut Out the Holes
Switch to a jigsaw and carefully cut out the holes using the pilot holes as a starting point. Follow the marked lines and maintain control of the jigsaw to ensure a clean cut.
Step 7: Sand and Clean
After cutting the holes, use sandpaper to smooth any rough edges around the holes. Make sure to remove any debris from the vanity surface to prevent scratches or damage.
Step 8: Test the Fit
Before proceeding, place the vanity over the floor plumbing to ensure the holes align with the pipes. If necessary, make any adjustments by enlarging the holes or sanding down any rough edges.
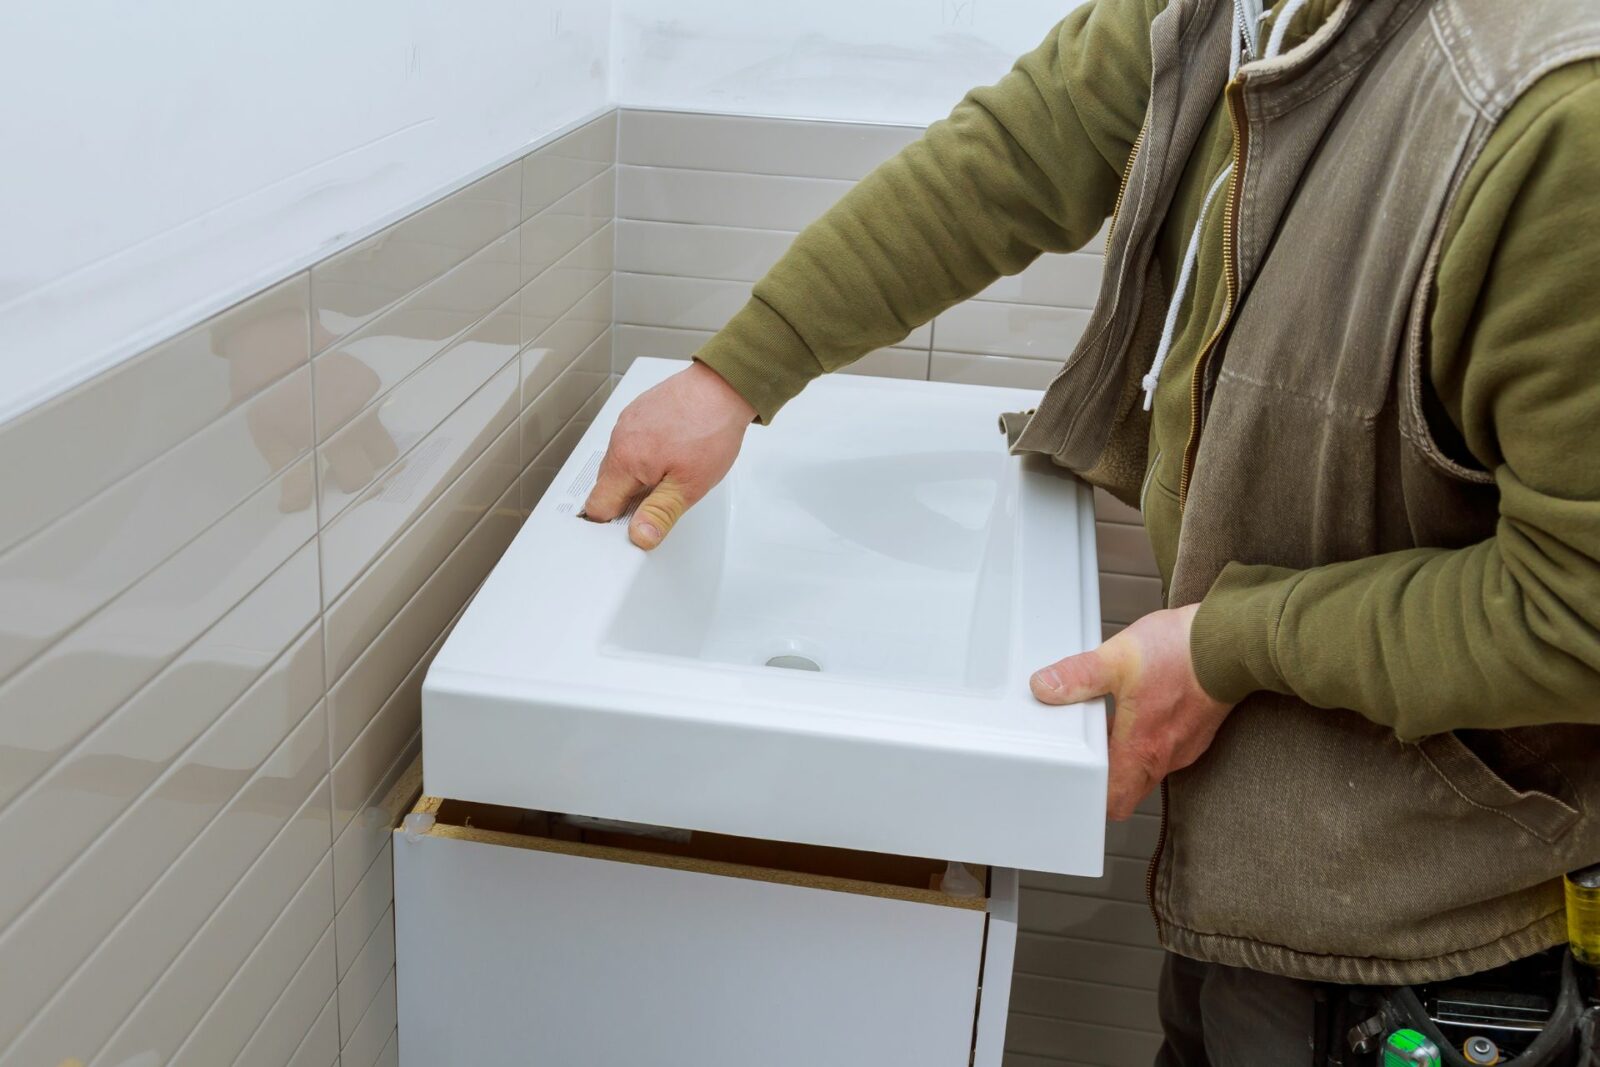
Step 9: Install the Vanity
With the holes cut and aligned, you can now proceed to install the vanity according to the manufacturer’s instructions. Secure it in place and ensure it’s level before moving on to the next step.
Step 10: Connect the Plumbing
Attach the plumbing pipes to the corresponding holes in the vanity, following the plumbing guidelines in your area. Be sure to use plumber’s tape or putty, if required, to create a watertight seal.
Step 11: Install the Sink and Faucet
Once the plumbing is connected, install the sink and faucet according to the manufacturer’s instructions. This may involve applying silicone sealant around the sink’s edge and tightening the faucet’s mounting hardware.
Step 12: Final Checks
Turn on the water supply and test the faucet and sink for any leaks. If you find any issues, turn off the water supply and address them before using your new vanity.
Cutting holes in your vanity for floor plumbing may seem like a daunting task, but with the right tools and this comprehensive guide, you can complete the project with ease.


