
Contrary to what it may look like, dull tiles don’t always need to be replaced. You can breathe new life into lackluster tiles and get them sparkling by reglazing them. For a DIY job, questions like how to reglaze tile is often asked. When it comes to how much does it cost to reglaze bathroom tile, expect to spend $150 for a reglazing kit.
Reglazing tiles in general involves painting the tile and grout with a high-gloss ceramic-looking finish. Doing this saves you the time and effort of replacing the tiles altogether.
[ez-toc]Here’s A Step-By-Step Guide On How To Reglaze Tile Like A Pro
Assess The Tile
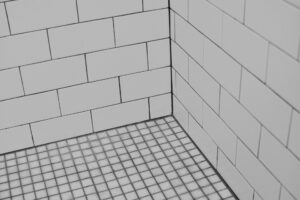
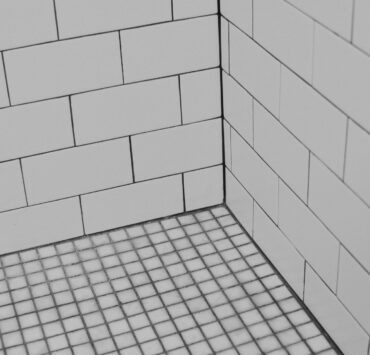
The first step to reglazing tiles is assessing their state. There are many tells when your tile needs some work to get them looking its best. Dullness, uneven shine and dirt buildup are all indications of a tile that needs attention.
With that said, if you see more than superficial issues, it’s best to replace your tile. Physical damage like chips and cracks can’t be fixed with reglazing. Remove and replace damaged tiles accordingly.
Prep The Area
Assuming that your tiles are damage-free, prep your work area. Remove all objects and fixtures that you can. You need a clear working space with as few obstructions as possible.
For instance, if you’re reglazing bathroom tile, remove towel hangers, unmount bathroom shelves etc. If you’re reglazing tile in your kitchen, move away all appliances like the refrigerator and the stovetop. Don’t forget to remove anything and everything that you can. This goes all the way down to removing light switch and outlet faceplates.
For fixtures that can’t be removed, cover it up with plastic and tape it down with painters tape. This should protect them from any drips and run-off as you reglaze your tiles.
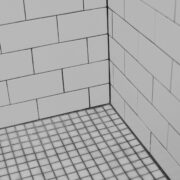
Even Out The Tile
When your work area is prepped, it’s now time to prep the tile. You want to reglaze tile with a smooth and even surface. This will ensure that the glaze itself dries smoothly and evenly.
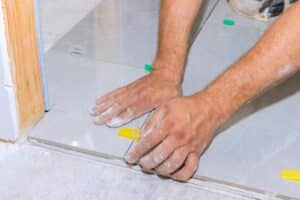
Do this by sanding down the tile with #400 grit sanding paper. Follow up with #600 sanding paper. You need to remove the current glaze. If there are any large bits on the tile, you can scrape it down with a putty knife.
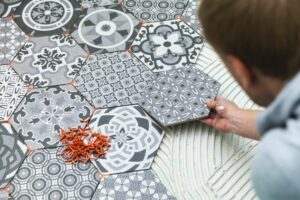
Clean The Tile
Once your tiles are bare, it’s time to clean them. Use a damp microfiber mop with a light solution of water and dish soap. Keep an eye out for mold or mildew spores. You don’t want to seal them into your tile with a fresh glaze. Deal with any mold or mildew by scrubbing it out with a solution of water and bleach.
Once your tiles are clean, allow them to dry thoroughly. You can speed up the process by getting in as much ventilation as the space allows and wiping the tiles dry with a lint-free cloth.
Ventilate The Room And Prepare Your Safety Equipment
Tile glaze has poisonous fumes you don’t want breathing in an enclosed space. It’s marked as a suspected carcinogen, a known eye-irritant, and the fumes can cause headaches and drowsiness.
Protect yourself by opening all windows and doors to allow as much air flow to circulate. Pair the air flow with a large fan. Point the face outward. You need the fan to draw in the fumes and direct it outside of your work area.
Lastly, have a respirator, thick latex gloves and safety glasses ready before you start handling the glaze. The respirator and glasses should protect you from the harmful fumes while the latex gloves should protect your hands from irritation.
Prepare The Reglaze Product
Tile glaze is made out of an epoxy acrylic. When dry, it mimics ceramic. This gives your tiles a shiny and durable top layer.
With all windows open and your safety gear in place, mix the reglaze product. Mix the base (part #2) in a clean bucket with the resin activator (part #1). Give the mixture a good stir until both parts are well incorporated.
Keep in mind that when you have your reglaze product mixed, you have about 6 hours to work with it.
Apply The Glaze
Pour an adequate amount of reglaze product into a paint tray. Next, apply the glaze with a roller. To get the glaze into smaller areas, you can use a paintbrush. Make sure to cover all the tiles and the grout evenly with the first layer of reglaze product.
Allow the first coat of reglaze to dry for 1 hour. After an hour, you can proceed to apply the second coat.
Cure For 2 Days
Give your tiles 2 days to fully cure before placing back all your furniture and fixtures. You can expect the reglaze product to last approximately 5 years before having to reglaze them again.
Opting For A Professional
If you’d rather employ the skills of a professional to reglaze your tile, great! While reglazing your tiles is a very doable DIY job, it’s understandable if you’d rather not do it yourself. For whatever reasons you have such as not wanting to deal with the fumes, not having the proper safety equipment etc, hiring a contractor to do the job is a good idea. This guarantees your tiles get reglazed properly and the finish lasts.
When looking into how much does it cost to reglaze bathroom tile and other tiled areas in your home, know that it costs less than half of re-tiling the area. Retiling a kitchen or bathroom can cost anywhere from $1000 to $4000 depending on the area. Reglazing tile is a simpler, quicker and cheaper process on all fronts.
Regarding how much does it cost to reglaze tile, most professionals charge $1000 or $4 to $10 per square foot covered.
