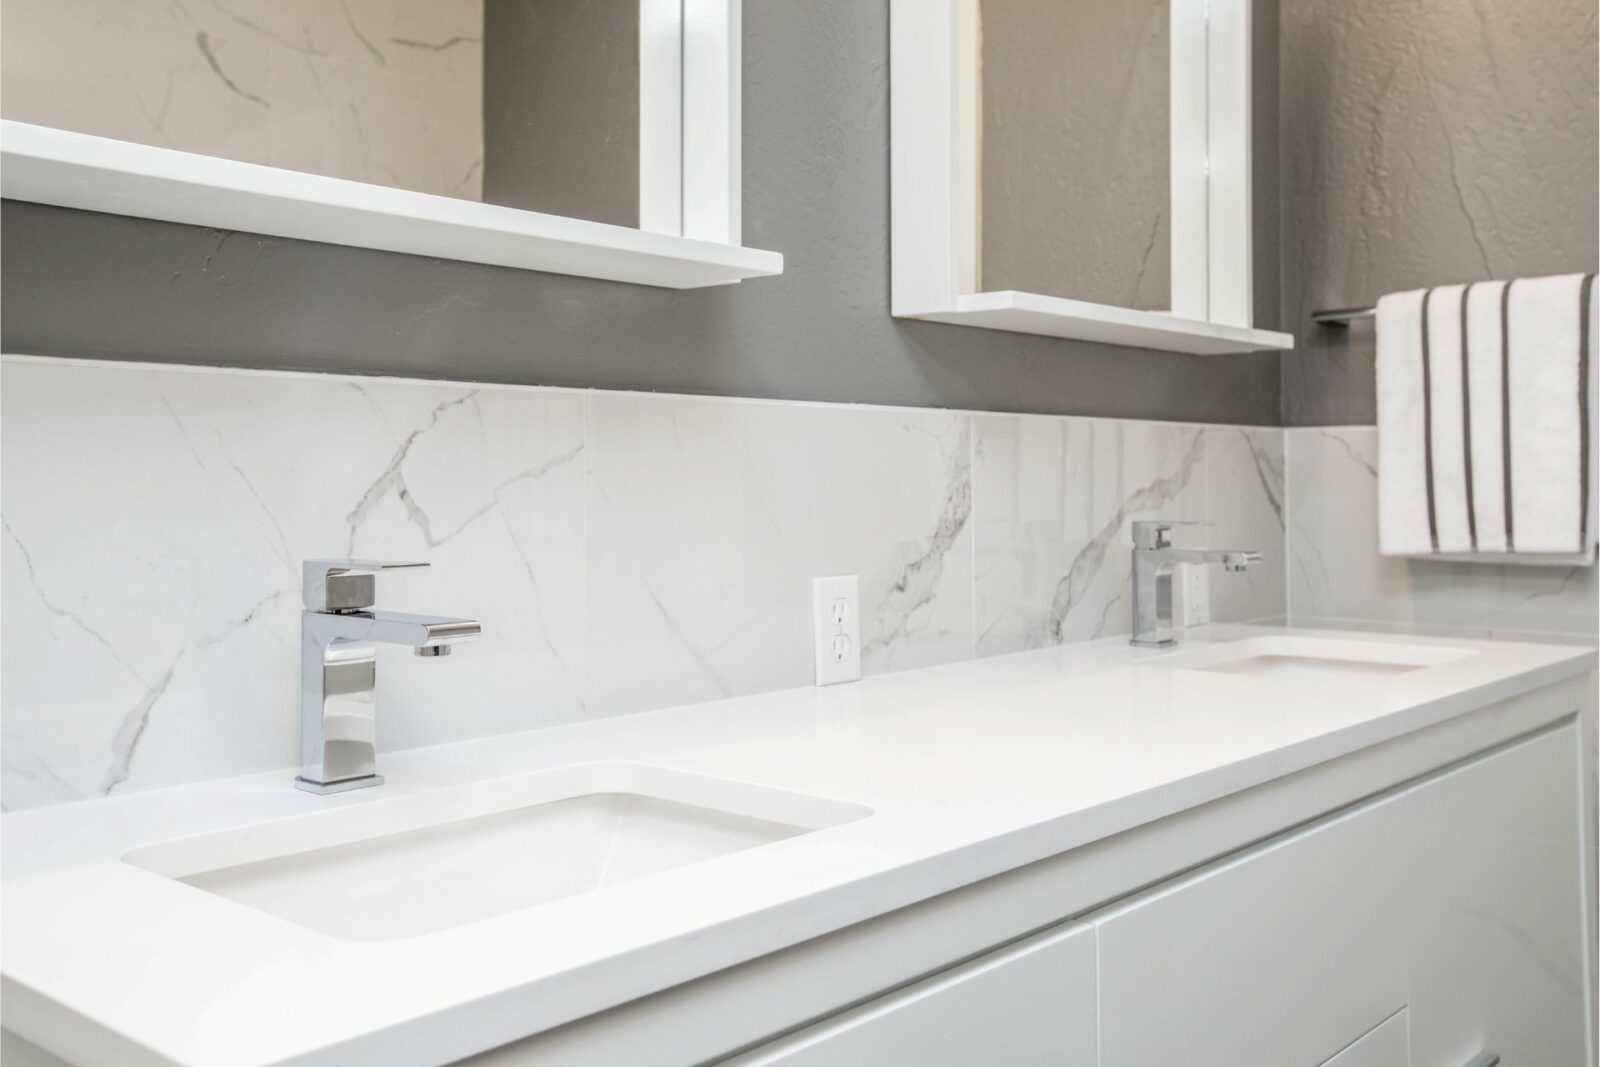
Introduction: A vessel sink adds a touch of sophistication to any bathroom, with its unique design and elevated placement on the vanity. In this detailed guide, we will walk you through the steps required to install a vessel sink on your vanity, ensuring a seamless and professional-looking result.
Materials and Tools You’ll Need
- Vessel sink
- Faucet
- Drain assembly
- Basin wrench
- Plumber’s putty or silicone sealant
- Hole saw and drill
- Tape measure
- Level
- Adjustable wrench
- Plumber’s tape
- Rags or paper towels
Step-by-Step Guide
Choose the Right Location
First, determine the ideal location for your vessel sink. Measure the vanity’s width and depth, then mark the center of the vanity top. Leave enough space between the sink and the wall for cleaning and maintenance.
Measure and Mark Faucet and Sink Holes
Position the sink over the center mark and trace around it. Then, follow the manufacturer’s instructions to mark the faucet hole and the sink’s drain hole on the vanity top.
Cut the Holes
Using a hole saw and drill, carefully cut the faucet and drain holes in the vanity top. Be sure to wear safety goggles and follow the manufacturer’s guidelines for proper hole sizes.
Install the Faucet
Before placing the sink, it’s easier to install the faucet. Apply plumber’s tape to the faucet’s threads, and then insert it into the faucet hole. Tighten the mounting nuts with a basin wrench to secure the faucet.
Seal the Sink’s Bottom
Apply a generous amount of plumber’s putty or silicone sealant around the bottom edge of the sink to create a watertight seal between the sink and the vanity top.
Position the Sink
Carefully align the sink with the drain hole and lower it onto the vanity top. Press down gently, ensuring the sealant spreads evenly and the sink sits flat. Clean any excess sealant with a rag or paper towel.
Install the Drain Assembly
Insert the drain assembly through the sink’s drain hole, then tighten it by hand from below. Ensure the rubber gasket is in place for a watertight seal. Use an adjustable wrench to tighten the drain assembly if necessary.
Connect the Plumbing
Attach the water supply lines to the faucet’s tailpieces, and then connect them to the shut-off valves. Use an adjustable wrench to tighten the connections, but avoid overtightening. Next, connect the drain assembly to the P-trap and main drain line.
Check for Leaks
Turn on the water supply and test the faucet. Inspect all connections for leaks, and tighten them as needed. If there are no leaks, your vessel sink installation is complete.


