
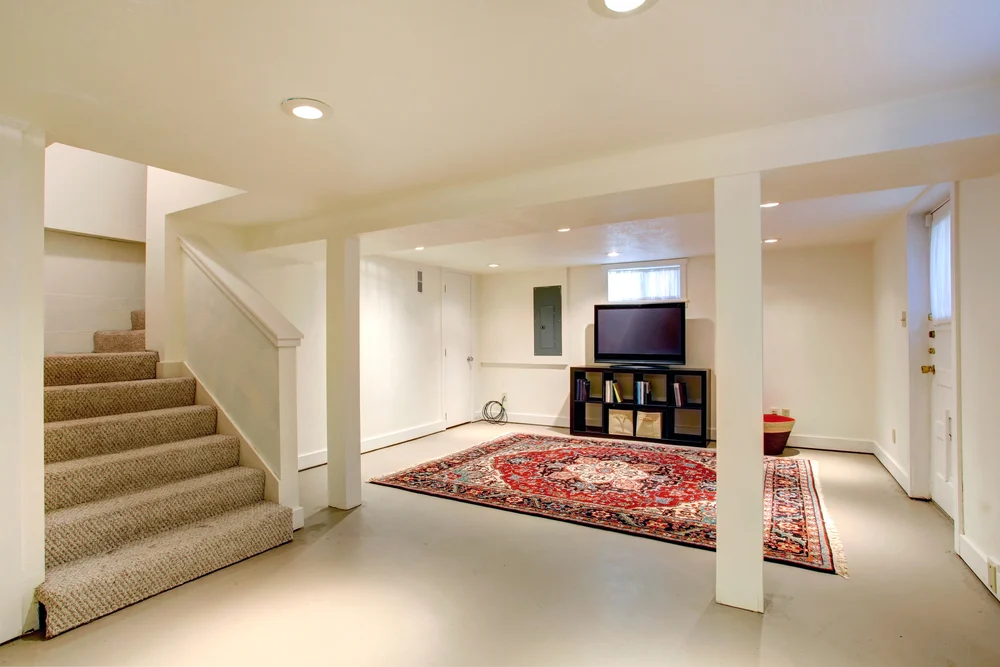
If you want to divide your basement into functional areas or just want to cover up the concrete walls, framing your basement walls is the first step. The key is to make sure that your frames are straight and strong. Follow the steps outlined below to help you secure and frame your basement wall.
[ez-toc]Here’s How You Can Frame A Basement Wall
Seal The Wall From Moisture
Start prepping your wall by sealing it from moisture. Ofcourse, start with a dry wall. If you’re dealing with any dampness, use a dehumidifier to dry it out.
Next, apply a masonry waterproofing product to the concrete walls. This will help to stop water from entering through the porous concrete.
Install Foam Board Insulation
Once your basement waterproofing has dried, add the foam board insulation. Use 2-inch thick extruded polystyrene (XPS) foam board insulation and stick it to the wall with foam board adhesive.
Make sure you apply the adhesive in vertical strips down the middle of the wall and a continuous bead at the top and bottom; taping any seams. This will help keep warm air from condensing on the concrete walls.
Lastly, caulk the bottom of the foam board to ensure the foam board is installed and secured on all fronts.
Install Blocking Between Joists And Mark The Floor
Start by measuring the space between the joists where the blocking will be installed. The blocking should fit snugly between the joists, so make sure that you have accurate measurements.
Place the blocking between the joists, ensuring that it is level and evenly spaced. We recommend placing the blocks every two feet so they can also act as drywall backers. Secure the blocking with nails or screws.
Lastly, mark the floor with a line 4 inches away from the foam board. This will be your reference point for the bottom plate of the new wall.
Assemble The Wall
If you have the space, assemble the wall on the ground to make the construction easier.
Look for a “crown” in each stud, which is a small curve on the board’s narrow side, and mark the crown with an “X”. Make sure that the crowns are facing in the same direction so you get a straight wall.
Assemble your wall with the crowns facing up. This places the studs firmly on the ground and makes tipping up the wall an easy process.
Tip The Walls Up
Position the bottom plate against the wall and slowly push your wall up. If you’re working alone, construct your walls in smaller sections that you can lift.
Fasten The Bottom Plate
To attach the walls to the floor, use construction adhesive and a powder-actuated tool (PAT). Place the fasteners every 6 feet and within 6 inches of each end. Have safety glasses and hearing protection ready to protect yourself as you work with your PAT.,
Plumb And Secure The Top Plate
Instead of using a line to mark the top plate, use a level to plumb the wall about every 4 feet. Nail the top plate to every joist while placing shims at every third joist.
Build In Place When Necessary
If your floor is uneven or you are framing around a window, it may be best to frame the wall by nailing one stud at a time instead of building it on the floor.

Start by attaching the bottom plate, then use a straight stud and a level to plumb the wall and find the location for the top plate. Once you have snapped a line and attached the top plate, plumb the wall again and mark the location of the first stud on both plates. Use these marks to mark the locations of the rest of the studs. Secure each stud into place with two nails on each side.
Add Drywall And Insulation
Once your wall framing is complete, you can add drywall and insulation to finish off and fully complete your basement walls.
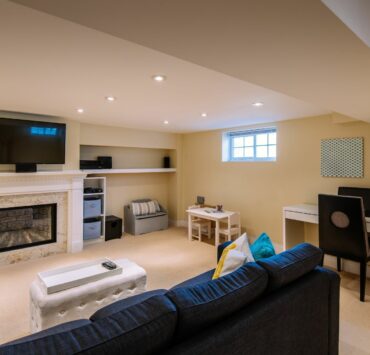
Benefits Of Framing A Basement Wall
There are several benefits when framing your basement walls. First and foremost being you get more structural support. Framing the walls of your basement fortifies your home’s overall structure. Seeing as the basement is below ground and under the weight of your entire home, it’s more vulnerable to bowing, sagging or even collapsing. Adding a frame helps to bolster your basement’s structural integrity.
Secondly, framing your basement walls allows space for insulation. This is an ideal set up for homes that experience a wide range of temperatures throughout the year where insulation is essential.
A basement wall frame functionally pairs well with drywall. With both drywall and a wall frame installed, your basement becomes a more comfortable and attractive space.
Lastly, having well established basements walls gives you the perfect foundation and blank canvas to add wall fixtures and decorative touches. You can mount shelves, install wallpaper, a fresh coat of paint etc. to dress up your wall.
If you decide to frame your basement walls, you’re making your basement more functional, comfortable and attractive. With the right tools, framing your basement walls effectively provides structural support and insulation. By following the steps outlined above, framing your basement walls can be a DIY job that finishes your basement and improves the overall value of your home.


