
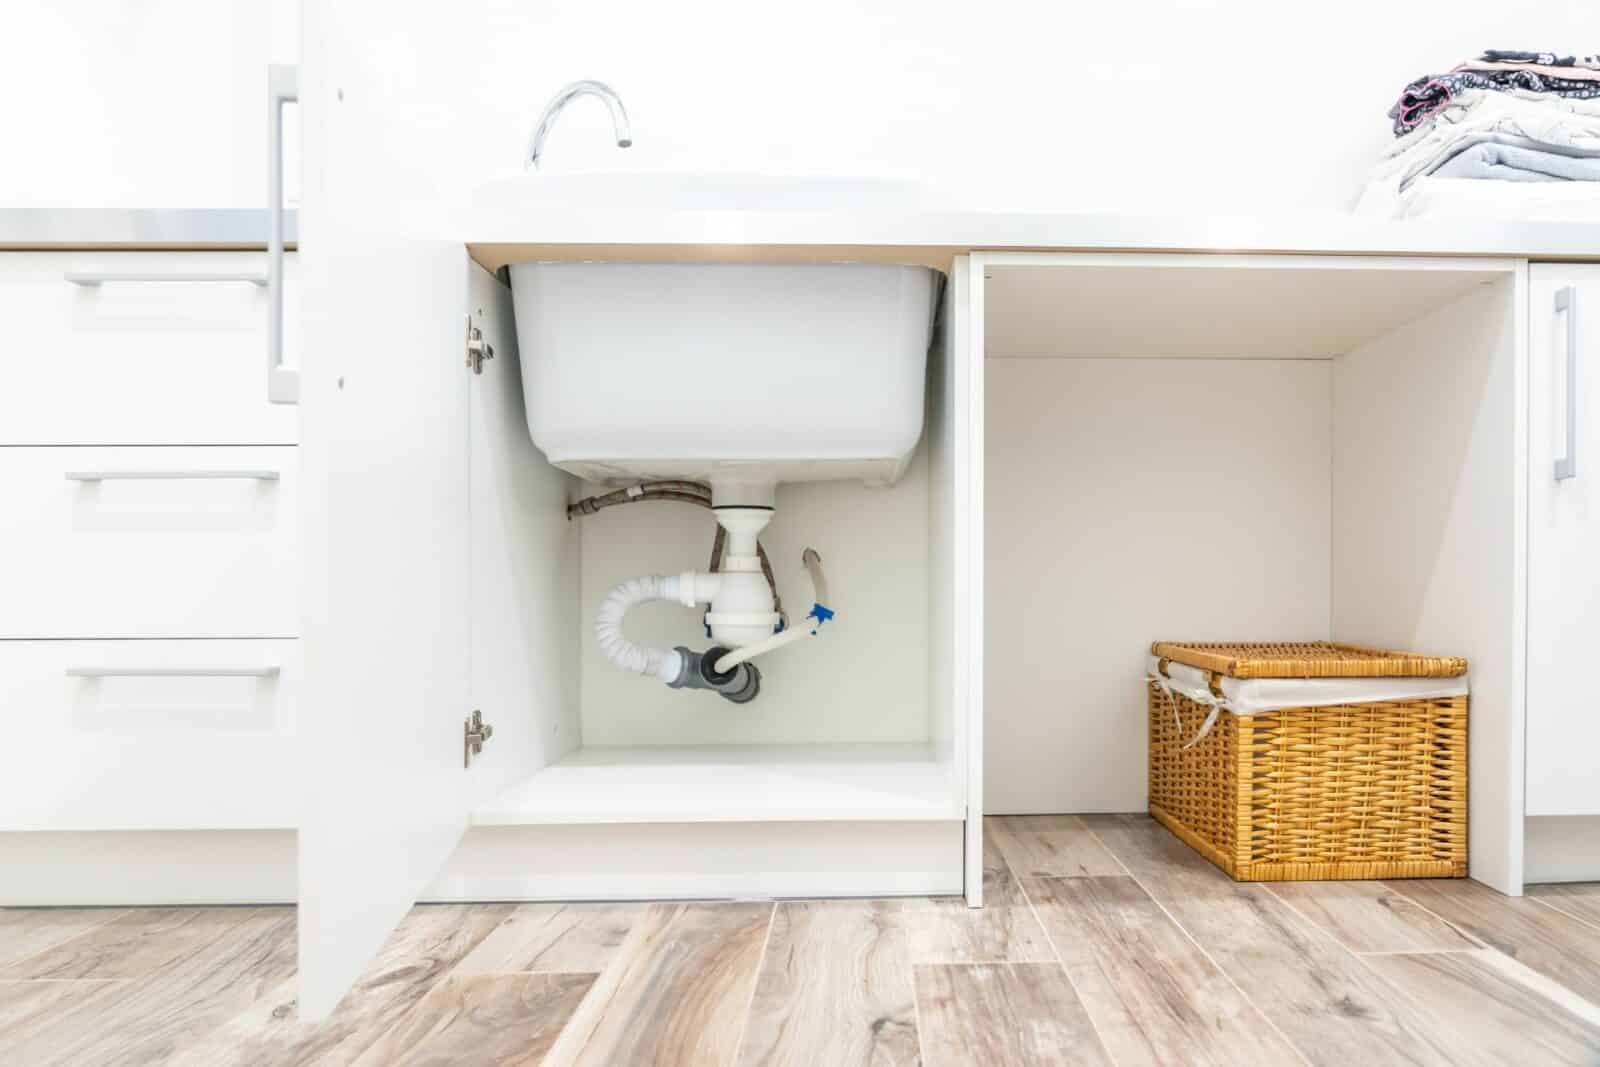
When it comes to DIY plumbing tasks, removing a bathroom sink drain may seem like a daunting task, but fear not! With the right tools and a little know-how, you can easily tackle this project and have your sink running smoothly again in no time. In this comprehensive guide, we’ll walk you through how to remove bathroom sink drain step by step, ensuring that you have a clear understanding of the same.
How to Remove Bathroom Sink Drain?
Step 1: Gather Your Supplies for the Project
Before diving into the removal process, it’s crucial to gather all the necessary tools and materials. Here’s a list of items you’ll need:
Tools:
- Adjustable pliers
- Pipe wrench
- Plumber’s putty knife
- Screwdriver (Phillips and flathead)
- Bucket
- Towels or rags
Materials:
- Plumber’s tape (Teflon tape)
- Replacement sink drain assembly (if needed)
Step 1: Prepare Your Work Area
Start by clearing out the area under the sink and placing towels or rugs to catch any water that may spill during the process. Having a clean and organized workspace will make the task much easier.
Step 2: Turn Off the Water Supply
Locate the shut-off valves under the sink and turn them clockwise to shut off the water supply. This step is essential to prevent any water from flowing when you disconnect the pipes.
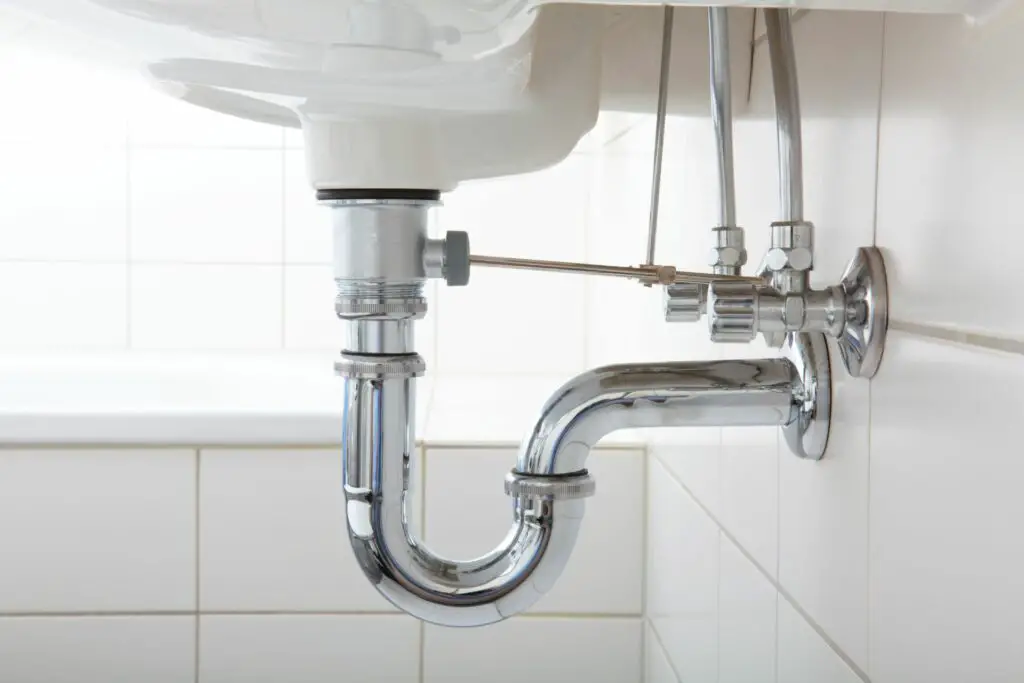
Step 3: Remove the P-Trap
The P-trap is the U-shaped pipe located beneath the sink. Using your adjustable pliers or pipe wrench, loosen the slip nuts on both ends of the P-trap and remove it. Be prepared for some water to drain out, so keep your bucket handy.
Step 4: Disconnect the Tailpiece
The tailpiece is the pipe that connects the sink drain to the P-trap. Use your pliers or pipe wrench to disconnect it from the drain.
Step 5: Remove the Sink Stopper
To access the drain from the top, you’ll need to remove the sink stopper. Depending on the type of stopper you have, you may need to unscrew it or lift it out.
Step 6: Loosen the Locknut
Beneath the sink, you’ll find a locknut that secures the drain in place. Use your pliers or pipe wrench to loosen the locknut by turning it counterclockwise.
Step 7: Remove the Drain
Once the locknut is loose, you can simply lift the drain assembly out of the sink.
 Step 8: Clean and Inspect
With the drain removed, take this opportunity to clean the area thoroughly. Remove any old plumber’s putty or debris from the sink opening. Inspect the drain for any damage or corrosion, and if necessary, replace it with a new drain assembly.
Step 9: Apply Plumber’s Tape
Before reinstalling the drain, wrap a few layers of plumber’s tape clockwise around the threads of the drain body. This will create a watertight seal when you reassemble the sink.
Step 10: Reassemble the Drain
Carefully lower the drain assembly back into the sink opening, ensuring that it is aligned correctly. Tighten the locknut beneath the sink to secure the drain in place.
Step 11: Reattach the Tailpiece
Connect the tailpiece back to the bottom of the sink drain and tighten it securely using your pliers or pipe wrench.
Step 12: Reattach the P-Trap
Slide the P-trap back into place, connecting it to both the tailpiece and the drain. Tighten the slip nuts on both ends to secure the P-trap.
Step 13: Turn On the Water Supply
Return to the shut-off valves and turn them counterclockwise to restore the water supply to the sink.

Step 14: Check for Leaks
Turn on the faucet and let the water run to check for any leaks around the drain and connections. If you spot any leaks, tighten the affected fittings until they are snug.
Conclusion
Removing a bathroom sink drain may seem like a complex task, but by following this step-by-step guide, you can confidently tackle the job. Remember to work carefully, have the necessary tools on hand, and take your time. With patience and a bit of DIY spirit, you can successfully remove and replace your bathroom sink drain.
 FAQs
FAQs
1. How often should I replace my bathroom sink drain?
It depends on the wear and tear, but on average, a sink drain can last 5-10 years. Replace it if you notice leaks or corrosion.
2. Can I reuse the old drain when replacing my sink?
You can, but it’s often recommended to replace it with a new one for a more reliable and leak-free connection.
3. What is plumber’s tape, and why do I need it?
Plumber’s tape, also known as Teflon tape, is used to create a watertight seal on threaded connections, preventing leaks.
4. Is removing a bathroom sink drain a DIY-friendly project?
Yes, it’s a moderately easy DIY task as long as you have the right tools and follow the steps carefully.
5. What should I do if I encounter stubborn or rusted connections?
If connections are stuck due to rust, consider using penetrating oil to loosen them. If they are still difficult to remove, consult a professional plumber for assistance.


