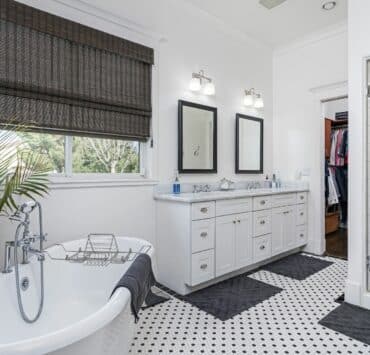
Are you tired of your old, dull bathroom? Want to give it a fresh and modern look? One of the most effective ways to transform your bathroom is by laying out tiles in an artistic and functional manner. A well-executed tile layout not only enhances the aesthetics but also adds value to your home. In this comprehensive guide, we’ll walk you through the process of how to layout tile in the bathroom, providing you with expert tips, creative ideas, and step-by-step instructions. Get ready to embark on a journey to revamp your bathroom and turn it into a beautiful oasis of tranquility.
How to Layout Tile in Bathroom: A Step-by-Step Guide
Planning the Layout: Where to Begin?
Before you dive into the tile-laying process, meticulous planning is crucial. Consider the overall bathroom design, color scheme, and style you want to achieve. Start by measuring the dimensions of your bathroom and creating a rough sketch. Utilize online design tools to experiment with different layouts.
Choosing the Right Tiles: Materials and Patterns
The choice of tiles plays a pivotal role in the overall outcome. Opt for tiles that suit the bathroom’s environment. Consider ceramic, porcelain, or natural stone tiles, each offering unique qualities. Mix and match different tile sizes and shapes to create visually appealing patterns like herringbone, chevron, or basketweave.
Preparing the Surface: Clean and Smooth Base
Before you lay the tiles, ensure the surface is clean, smooth, and free from any debris. Repair any cracks or imperfections and apply a waterproofing membrane to prevent moisture-related issues. This step is crucial for the longevity of your tile installation.
Tools and Materials: What You’ll Need
Gather the necessary tools and materials before you begin. You’ll need items such as tile adhesive, spacers, a trowel, a tile cutter, and a level. Having the right tools ensures a seamless and professional-looking installation.
Tile Layout Techniques: From Simple to Intricate
Depending on your design vision, choose a tile layout technique that suits your bathroom. For a classic look, go for a grid pattern. To add flair, opt for diagonal layouts or staggered arrangements. Experiment with different layouts to find the one that resonates with your style.
Starting the Installation: The First Tile
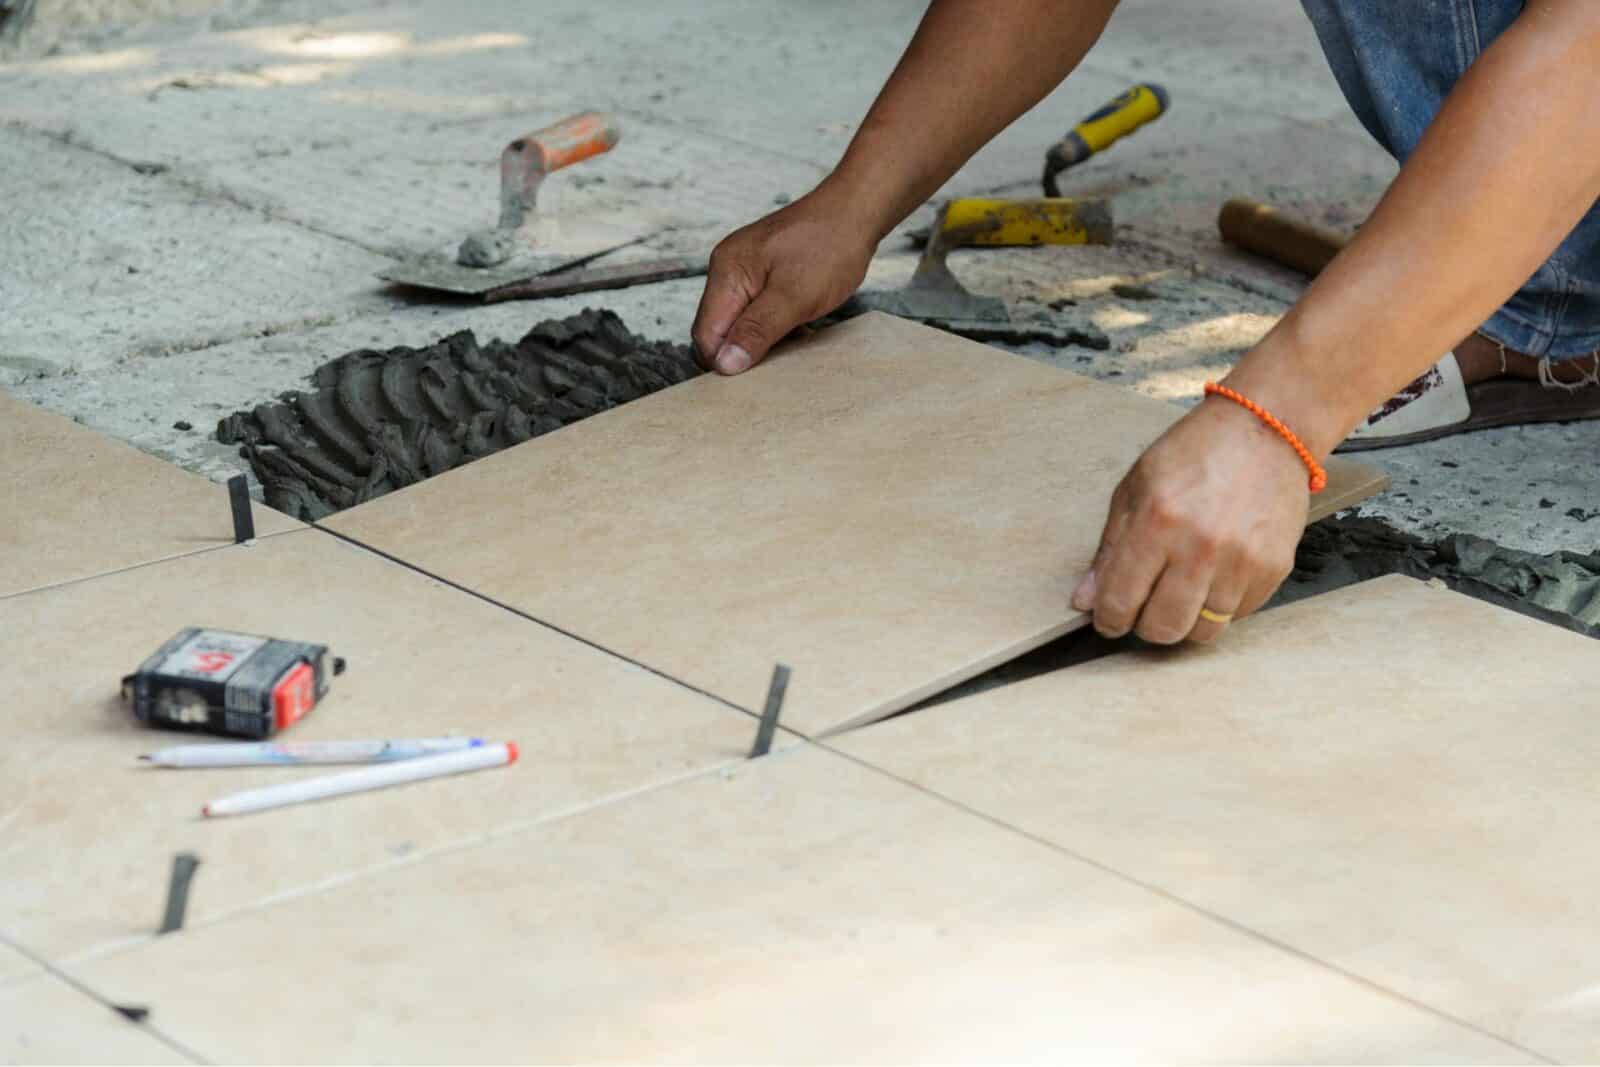
Begin the installation from the center point of the room or focal area. Apply adhesive to a small section of the floor or wall using the notched trowel. Press the first tile firmly into place, ensuring it aligns with your layout lines. Use tile spacers to maintain even gaps between tiles.
Navigating Obstacles: Tiles Around Fixtures
Encountering fixtures like sinks, toilets, or bathtubs can be challenging. Measure and mark tiles to fit around these obstacles. Use a tile cutter or nippers to make precise cuts. Remember to account for expansion joints to prevent cracking.
Creating Seamless Transitions: Tile Edges and Trim
To achieve a polished look, install tile edging or trim along the exposed edges. “bathroom tile trim.” These elements not only enhance the aesthetics but also protect the edges from chipping. Choose edging that complements your tile design.
Grouting: Locking Tiles in Place
Once the adhesive has set and the tiles are in position, it’s time to apply grout. Mix the grout according to the manufacturer’s instructions and spread it over the tiles using a rubber float. Wipe off excess grout with a damp sponge before it dries.
Sealing for Longevity: Protecting Your Tiles
After the grout has cured, consider applying a sealant to the tiles and grout. A sealant adds an extra layer of protection against stains and moisture, ensuring your tile installation remains pristine for years to come.
How to Layout Tile in Bathroom: Pro Tips for Success
Achieving Symmetry: The Art of Balance
Symmetry in tile layout can create a sense of harmony and balance. Experiment with centered designs or mirror-like layouts for a visually pleasing result.
Playing with Color: Mixing and Matching
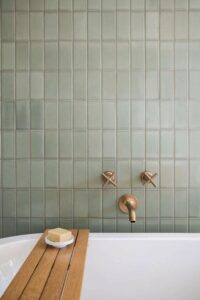
Explore the world of colors by mixing and matching tiles. Blend subtle hues for a serene ambiance or go bold with contrasting shades for a vibrant and energetic atmosphere.
Small Bathroom Hacks: Creating Illusions
In smaller bathrooms, strategic tile placement can make the space appear larger. Consider using large-format tiles and extending them onto the walls to create an illusion of spaciousness.
Focal Point Finesse: Highlighting Areas
Use tiles to create focal points within your bathroom. Design a captivating feature wall behind the vanity or showcase a unique pattern in the shower area.
Mixing Textures: Adding Depth
Combine tiles with varying textures to add depth and dimension to your bathroom. Matte and glossy finishes can coexist harmoniously, creating a tactile and visually appealing environment.
Embracing Minimalism: Less is More
For a contemporary and minimalist look, opt for monochromatic color schemes and clean lines. A simple layout can create an elegant and soothing atmosphere.
FAQs (Frequently Asked Questions)
Q: Can I lay new tiles over existing ones?
A: While it’s possible, it’s recommended to remove old tiles to ensure a sturdy base and proper adhesion.
Q: How do I calculate the number of tiles needed?
A: Measure the length and width of the area to be tiled and multiply these dimensions to determine the square footage. Add extra tiles to account for cuts and mistakes.
Q: Should I use dark or light grout?
A: The choice between dark and light grout depends on the desired aesthetic. Dark grout offers a bold contrast and hides stains better, while light grout provides a seamless and airy look.
Q: Can I tile the bathroom floor myself?
A: Yes, with proper preparation and the right tools, tiling a bathroom floor can be a DIY project. However, for complex patterns or large areas, consider hiring a professional.
Q: How do I clean and maintain tiled surfaces?
A: Regularly clean tiled surfaces with a mild detergent and soft cloth. Avoid abrasive cleaners that could damage the tiles. Apply a sealant periodically to maintain the tiles’ appearance.
Q: What’s the average cost of a bathroom tile installation?
A: The cost varies based on factors like tile type, layout complexity, and labor. On average, bathroom tile installations can range from $1,000 to $4,000.
Conclusion
Embarking on a bathroom tile layout project can be both exciting and rewarding. With the right tools, techniques, and creative ideas, you can transform your bathroom into a captivating sanctuary. Whether you’re aiming for a contemporary, classic, or eclectic design, remember that the key lies in meticulous planning, attention to detail, and a dash of artistic flair. By following the expert tips outlined in this guide, you’ll be well on your way to achieving a stunning bathroom transformation that reflects your personal style.
