
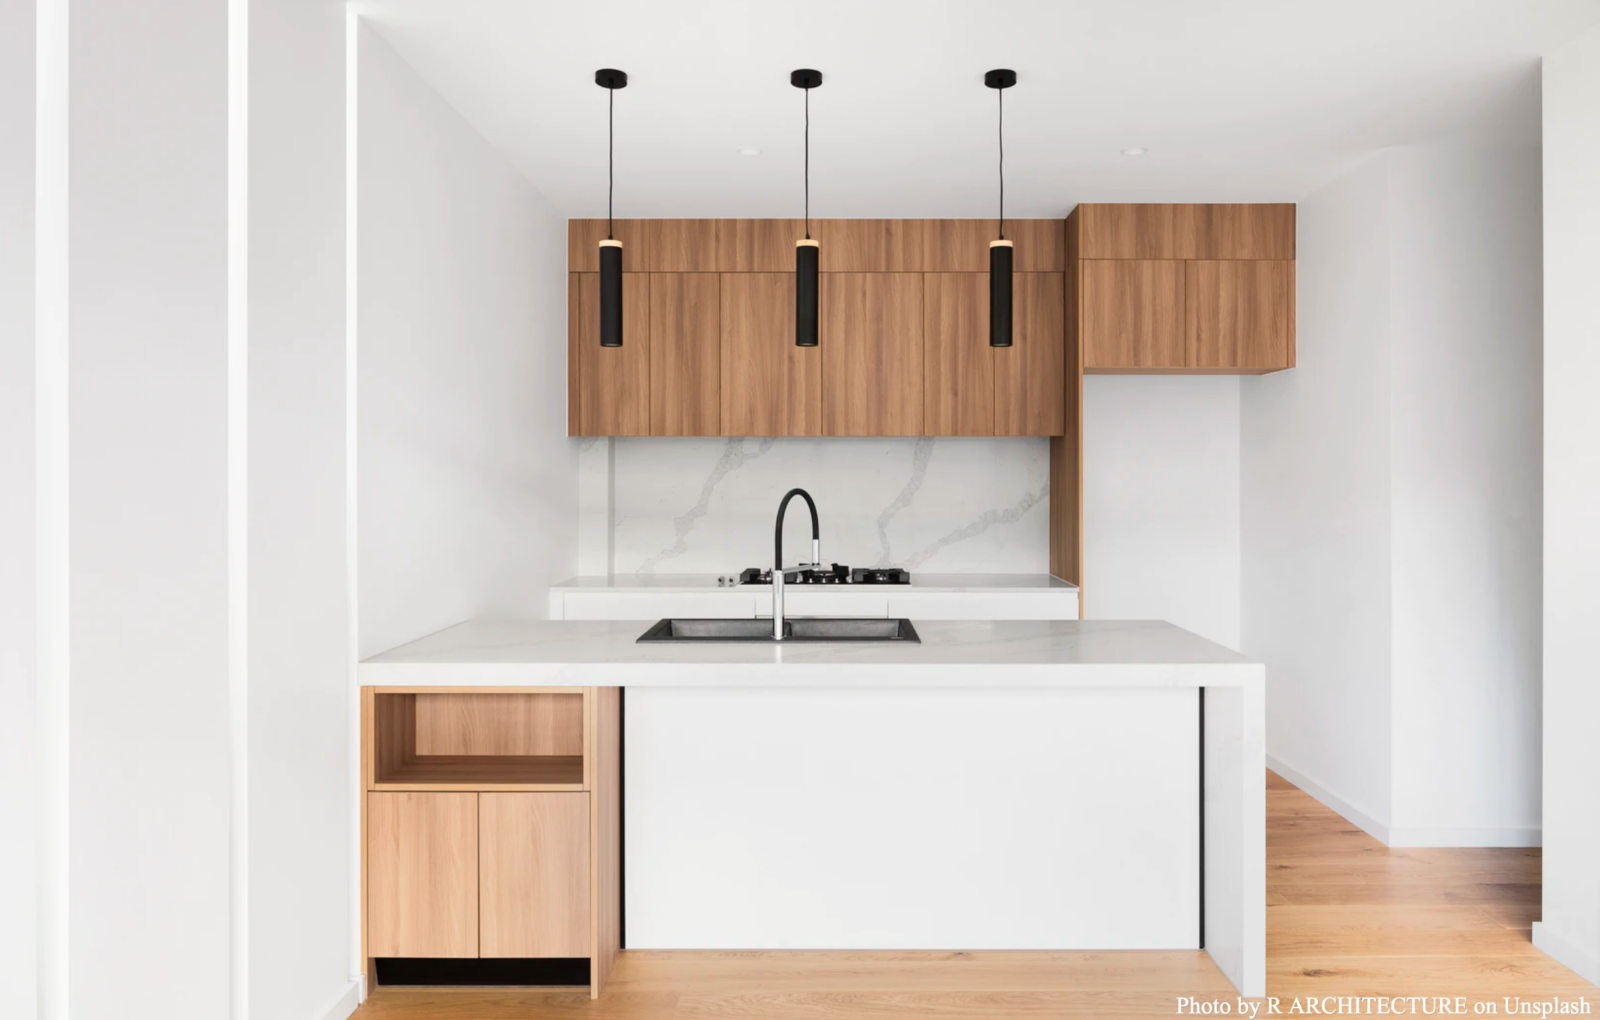
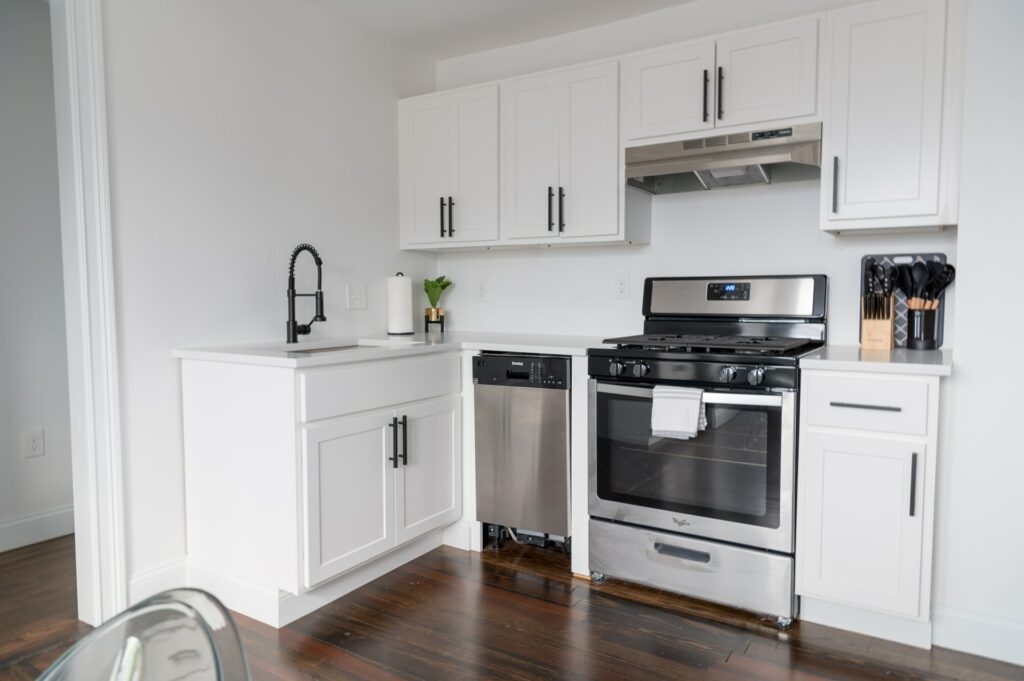
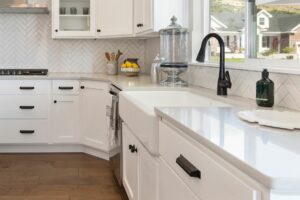
If you have noticed the cost of new cabinets, countertops, and appliances, it comes as no surprise that remodeling a kitchen is one of the most expensive home improvement projects. Unsurprisingly, most people prefer to paint wood cabinets instead of replacing them.
Although few homeowners find ways to boost the look of an old refrigerator or tired granite, transforming a kitchen by refinishing the cabinets that make up most of the room’s visual space is entirely within reach.
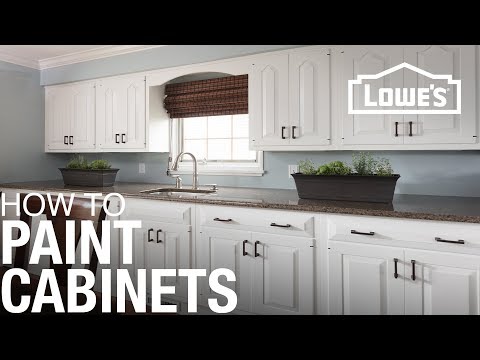
However, there’s more to painting kitchen cabinets than simply buying a gallon of your favorite color. Here’s our guide on how to paint wood cabinets.
How Much Does it Cost to Paint Wood Cabinets?
As said earlier, remodeling a kitchen is one of the most expensive projects you can take on, and replacing the kitchen cabinets can account for nearly 40% of the total budget.
Further, cabinets for a 10 by 12 feet kitchen can easily cost around $5,000. Moreover, your new cabinets may actually be of a lower quality than the ones you are already using.
In contrast, a few fresh coats of paint can go a long way toward transforming your existing cabinets for a fraction of that price. Besides, the cost to paint wood cabinets should be no more than about $250, plus a weekend or two of your time.
Steps to Paint Wood Cabinets
Step 1: Remove Cabinet Doors and Drawers
First, remove the cabinet doors and drawers and then remove all knobs, pulls, latches, and other hardware from these parts. Next, place the hardware and screws in plastic bags inside the cabinets where you can easily locate them after painting.
After that, number each door and its corresponding location as you remove them. Remember not to mix them up, or the hinges may not line up perfectly when you reinstall them.
If you are painting only the front drawers, you don’t need to remove the attached slides. In case you do need to remove the slides, mark them along with their locations.
Step 2: Clean the Cabinets
Even if your cabinets don’t look dirty, grease and grime have likely worked their way into the surface of your cabinets. Firstly, you have to mix trisodium phosphate with water after following the instructions on the box.
Next, sponge the mixture on both sides of the cabinets wipe it off with a clean close. Remember to wear gloves.
Step 3: Repair Holes Dents or Gouges
If you notice that your cabinets have any holes or gouges, you will have to fill them. However, if you plan to use new hardware different from the original, you will have to fill the old hardware holes before painting.
Further, apply tape to the back surface of the cabinet doors underneath those holes. Then fill the holes with the wood filler. After that, wipe away excess with a damp cloth.
Next, squeeze around a 3/4″ strip of the hardener from the tube, mix it with a putty knife, and spread it into holes and dents, slightly overfilling.
Step 4: Sand and Clean the Surface
When the filled areas dry, use sandpaper to smooth out the surface of the cabinets. If your cabinet repainting project is just a facelift, you don’t have to sand and paint the inside of the cabinets.

Just mask off the interiors with painters’ tape for a clean finish and sand the front surfaces and visible edges of the cabinet front frames. You can use a wood sanding block to prevent rounding over the wood edges. While sanding, there’s no need to remove all of the old paint if it looks good and well-adhered. Just roughen the surface to accommodate the new paint with a firm, clean base for better adhesion.
Moreover, pay particular attention to worn areas of the old finish, which typically get the most use. Besides, make sure to sand over shiny areas to deglaze any remaining previous finish. Headstrong finishes may require scrubbing with denatured alcohol and fine steel wool.
When complete, thoroughly vacuum the sanding dust from all surfaces.
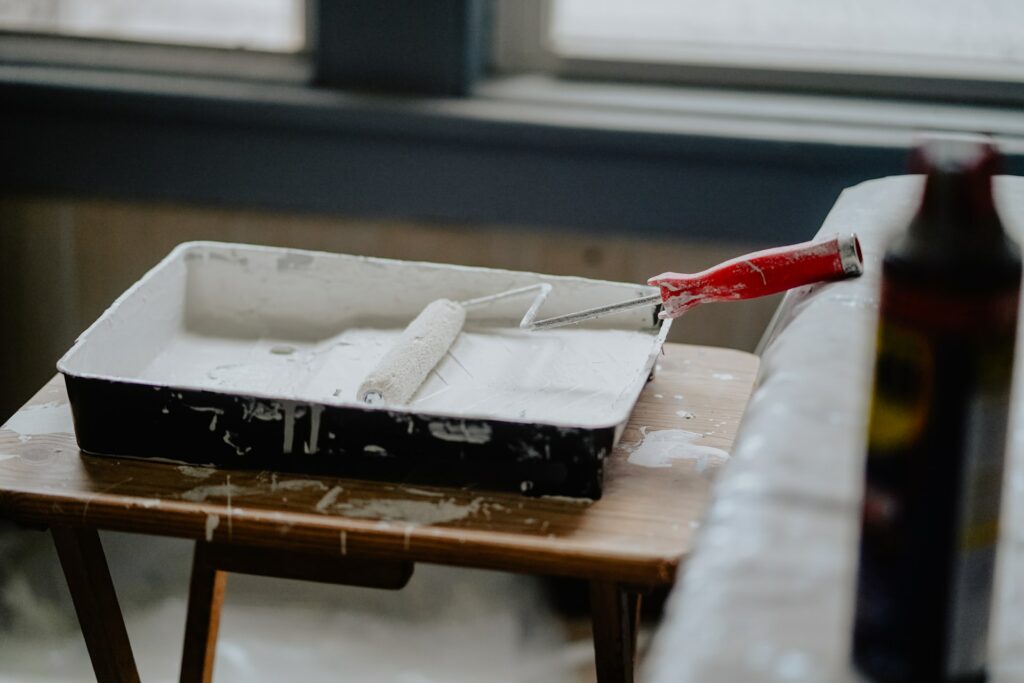
Step 5: Apply the Primer
Use a good quality 3-inch brush to apply a uniform coat of primer-sealer to all surfaces to ensure a well-bonded finish coat. Also, primer-sealers reduce the need to sand and reglaze old finishes before repainting your cabinets.
Another advantage to a primer-sealer is that it provides a solid base for semi-gloss and water-based paint. Earlier, high-gloss enamel paint was the most preferred finish for kitchen cabinets due to its stain resistance. However, today’s water-based finishes are easier to work with ad provide an equally durable kitchen cabinet finish.
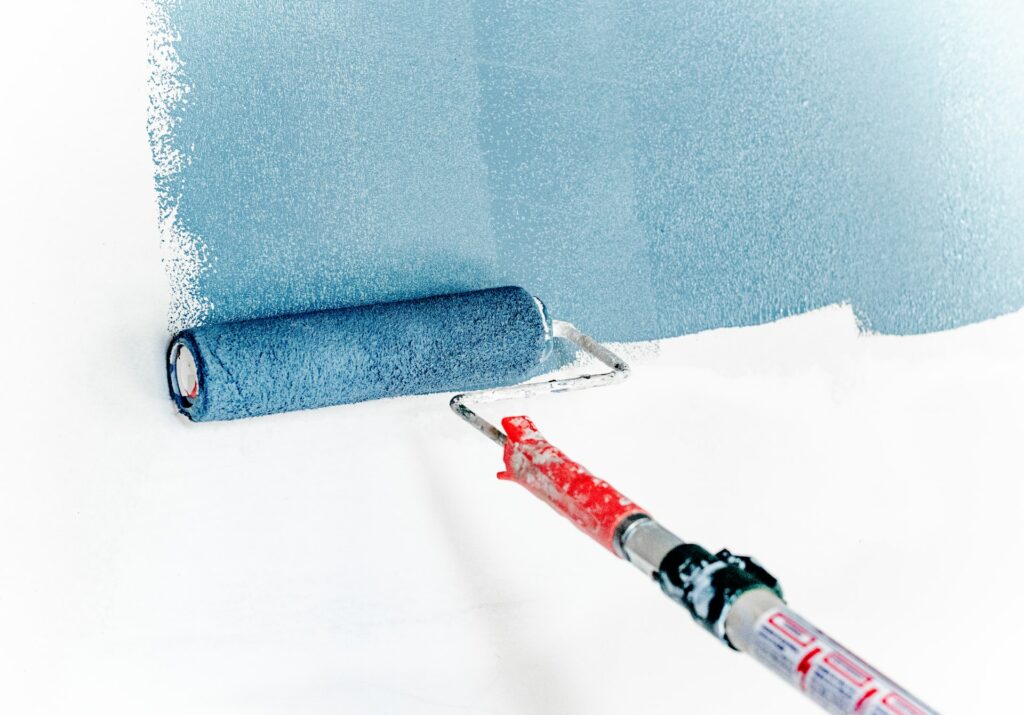
Step 6: Apply Semi-Gloss Latex Paint

Start by painting the inside edges and opening of the face frames, the outer cabinet sides, and finally, the front face frame. This allows you to work quickly in the less significant areas and allows you to see and fix any drips or smudges on the most visible areas.
Next, paint the cabinet doors and drawer front, along with any separate wood pieces and moldings. If these parts have raised or routed features, make sure to flow the paint into cracks and corners but don’t let it accumulate in these spots. Remember, always apply paint in thin, light coats while covering all areas. Thin coats leave minor visible brushstrokes and dry quickly. Further, don’t lay the finish on thickly and don’t overwork the brush.
Allow at least four hours between coats to let the paint try. When dry, lightly resand all surfaces to prepare them for the next coat, then wipe away all dust with a tack cloth, and repaint. Two coats of quality paint are usually necessary. Still, you may want to add a third layer because kitchen cabinets take lots of trial from cooking heat and everyday activities, and wood surfaces need all the protection they can get.


