
When it comes to making your home more energy-efficient, one of the most impactful steps you can take is insulating your attic. Proper insulation helps regulate temperature, reduce energy consumption, and save on utility bills. While hiring professionals is an option, many homeowners opt for DIY attic insulation to save costs and engage in a hands-on home improvement project. In this article, we’ll provide a comprehensive guide to help you navigate the process of DIY attic insulation successfully.
The Benefits of DIY Attic Insulation
DIY attic insulation not only contributes to a more comfortable living environment but also offers substantial long-term savings. By preventing heat loss during the colder months and minimizing heat gain in the warmer months, insulation keeps your home’s temperature consistent, reducing the strain on your heating and cooling systems.
DIY Attic Insulation: Step-by-Step Guide
Step 1: Assess Your Attic
Before you begin, assess the current state of your attic. Look for gaps, cracks, and areas with insufficient insulation. Measure the square footage of your attic to determine the amount of insulation material you’ll need.
Step 2: Gather Materials
Collect all the necessary materials, including insulation material (fiberglass, cellulose, or spray foam), protective gear (gloves, goggles, mask), a utility knife, a staple gun, and a ruler.
Step 3: Prepare the Attic
Clear the attic space of any debris, dust, and clutter. Ensure proper ventilation by installing attic vents if needed. Seal any gaps or cracks in the attic floor to prevent air leakage.
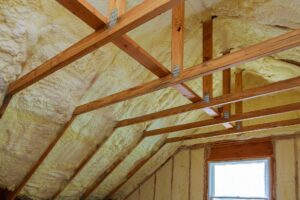
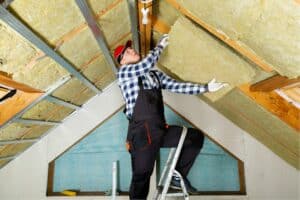
Step 4: Install Insulation
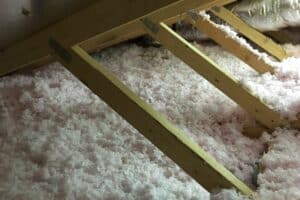
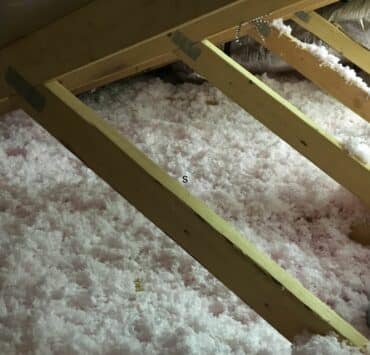
Start by laying insulation material along the attic floor, ensuring it reaches the edges and corners. Use a utility knife to cut insulation to fit around obstacles such as vents and wiring. For optimal results, add multiple layers of insulation.
Step 5: Insulate Attic Access Points
Don’t forget to insulate the attic access points, such as the attic door or hatch. Use weatherstripping and insulation materials to prevent heat transfer through these openings.
Step 6: Seal Gaps and Cracks
Seal gaps, cracks, and joints with caulking or foam sealant. This step prevents air leakage and enhances the overall effectiveness of the insulation.
Step 7: Ensure Proper Ventilation
Maintain proper attic ventilation by ensuring that soffit vents are clear of insulation. Install baffles to prevent insulation from blocking airflow.
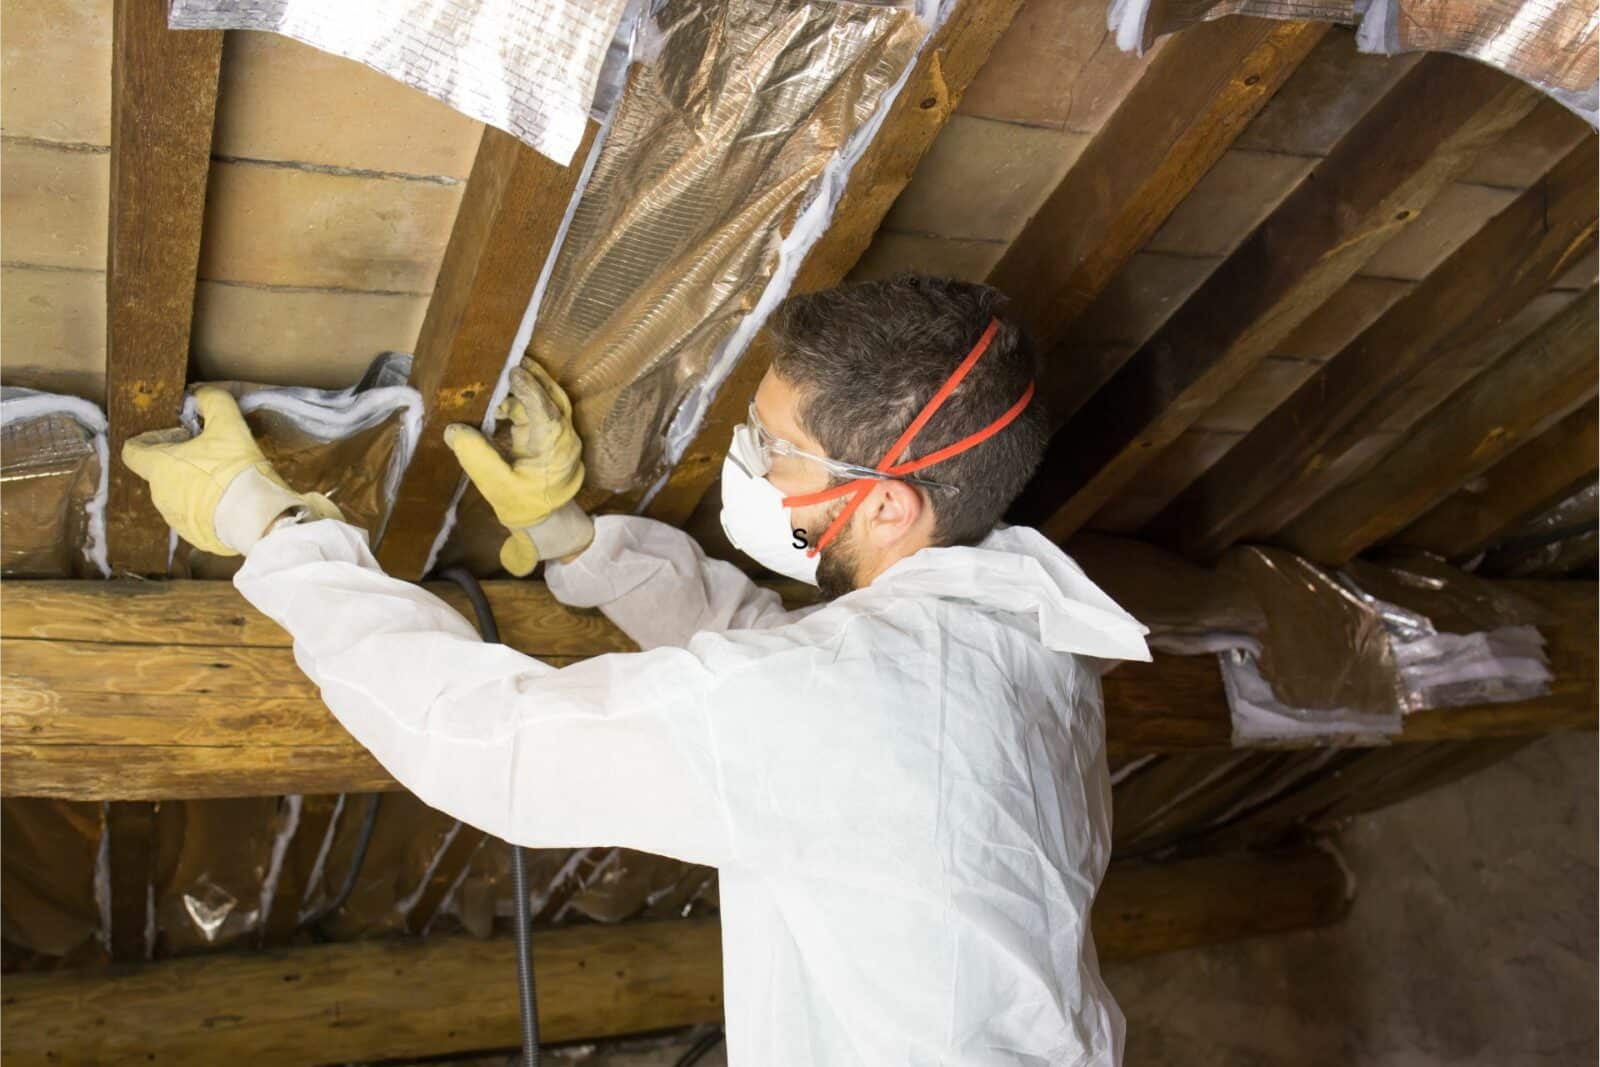
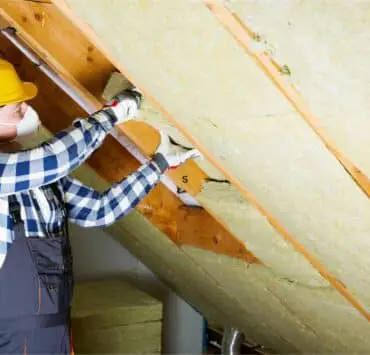
Step 8: Wear Protective Gear
Throughout the insulation process, prioritize safety by wearing gloves, goggles, and a mask. Insulation materials can cause skin and respiratory irritation, so protective gear is essential.
Step 9: Dispose of Waste Properly
Dispose of any waste materials, such as excess insulation or packaging, according to local regulations. Keep the work area clean and organized.
DIY Attic Insulation Tips and Best Practices
- Choose the Right Insulation: Select insulation material that suits your attic’s needs and climate conditions. Fiberglass, cellulose, and spray foam each have their advantages.
- Prioritize Air Sealing: Properly sealing gaps and cracks is crucial for effective insulation. Air leaks can significantly reduce the efficiency of your insulation efforts.
- Measure Properly: Accurate measurements ensure you purchase the right amount of insulation material. Extra insulation can enhance energy efficiency, but too much may compress existing insulation.
- Consider Energy Efficiency: Opt for insulation with a high R-value, which indicates better thermal resistance. This is especially important if you live in an area with extreme temperatures.
- Check for Local Regulations: Some areas have specific building codes and regulations for insulation. Ensure your DIY project complies with local guidelines.
Frequently Asked Questions (FAQs)
Q: Can I install insulation over existing insulation?
A: Yes, adding new insulation over existing material is possible and can improve energy efficiency. However, ensure proper ventilation and avoid compressing the existing insulation.
Q: Which insulation material is best for DIY projects?
A: Fiberglass and cellulose are commonly used for DIY attic insulation. Consider the R-value, cost, and ease of installation when making your choice.
Q: Is DIY attic insulation cost-effective?
A: Yes, DIY insulation can be cost-effective, saving on labor costs. However, it’s important to weigh the cost of materials against potential energy savings.
Q: How do I know if I’ve added enough insulation?
A: Consult the Department of Energy’s insulation recommendations based on your climate zone. Aim for the recommended R-value to ensure optimal energy efficiency.
Q: Can I insulate my attic if it’s used for storage?
A: Yes, you can insulate an attic used for storage. Use raised platforms or boards to create a raised floor above the insulation, leaving space for storage.
Q: Is attic insulation a one-time project?
A: While insulation generally lasts for many years, it’s essential to periodically check for damage, settling, or moisture issues that might require additional insulation or repairs.
Conclusion: Empower Yourself with DIY Attic Insulation
Embarking on a DIY attic insulation project can be a rewarding endeavor that enhances your home’s energy efficiency and comfort. By following a well-defined process, wearing proper protective gear, and adhering to best practices, you can achieve insulation success and enjoy the benefits for years to come. As you improve your home’s insulation, you’ll not only reduce energy consumption but also contribute to a more sustainable and comfortable living environment.
Remember, DIY attic insulation is an investment in your home’s future, providing both immediate and long-term returns in terms of energy savings and increased home value.

