
When it comes to upgrading your home’s insulation, sometimes a fresh start is necessary. Attic insulation removal is a crucial step in improving energy efficiency, indoor air quality, and overall comfort. Whether you’re planning to replace outdated insulation or addressing mold and moisture issues, proper attic insulation removal is essential. In this article, we’ll provide you with a detailed guide to safely and effectively remove attic insulation.
The Importance of Attic Insulation Removal
Attic insulation removal serves various purposes, including preparing for new insulation installation, addressing contaminants like mold and pests, and improving the overall health and energy efficiency of your home. Removing old insulation can create a clean canvas for upgrades and renovations.
Attic Insulation Removal: Step-by-Step Guide
Step 1: Prepare the Workspace
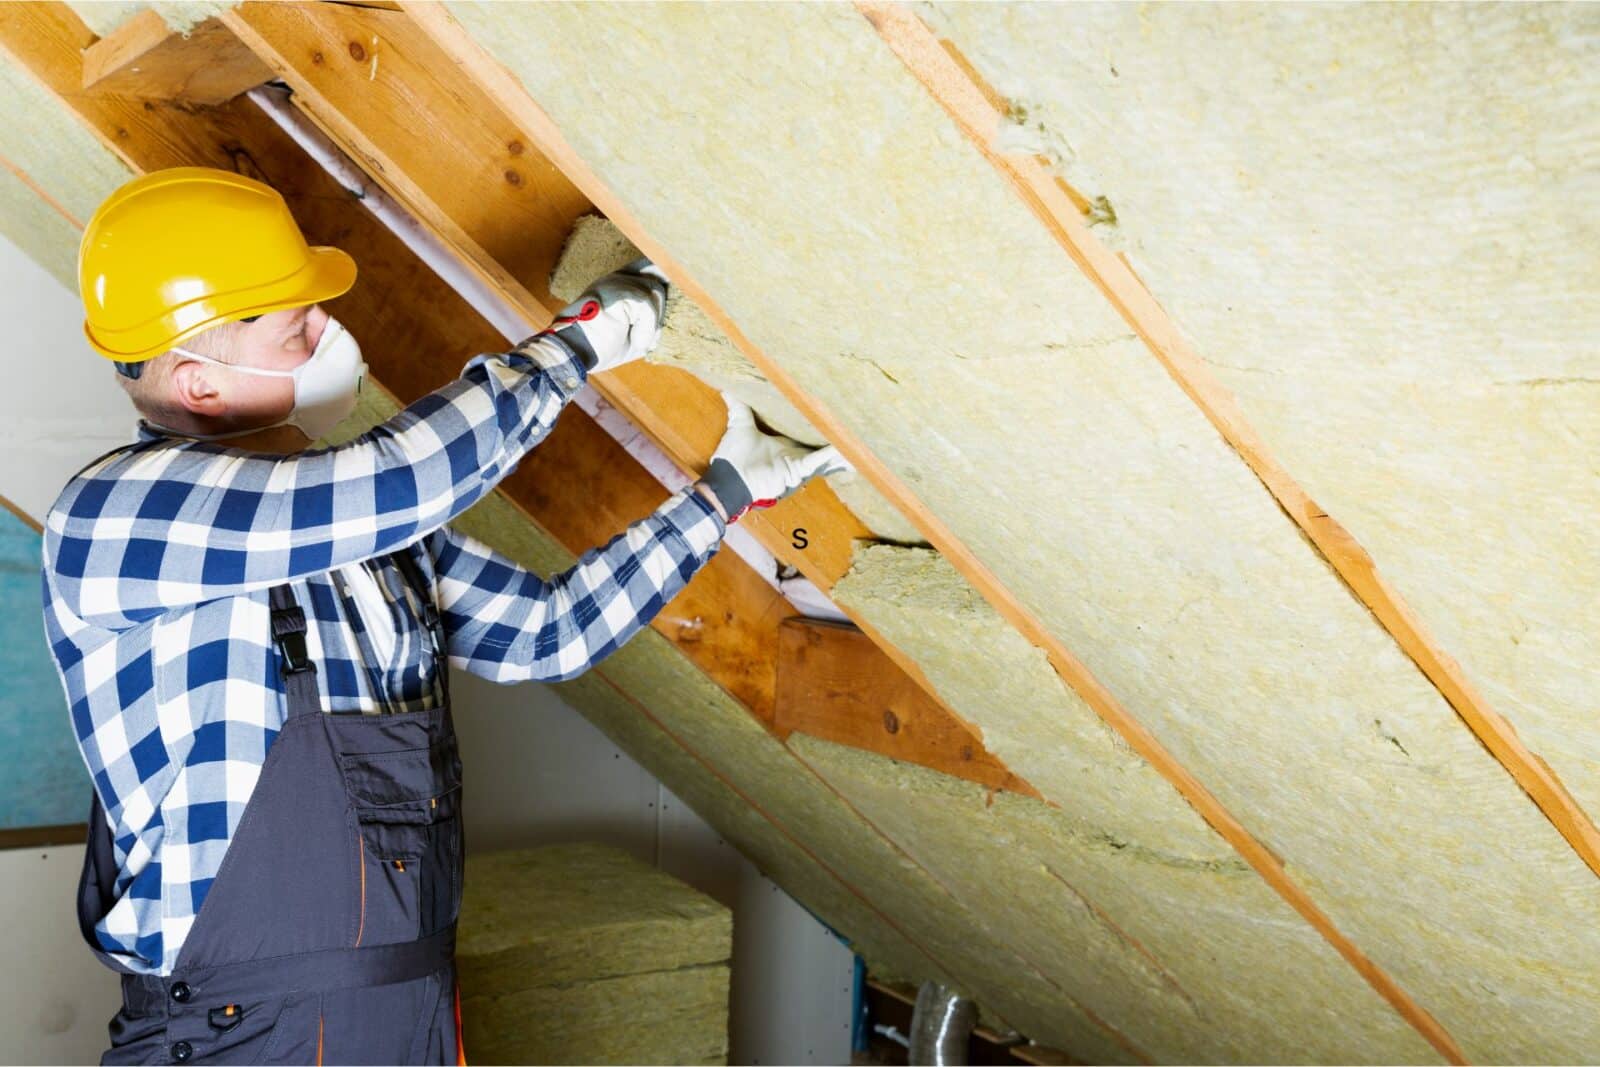
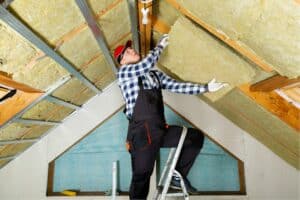
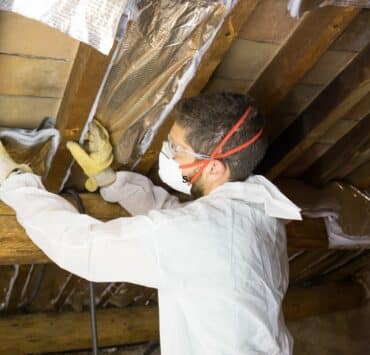
Before you start, ensure you have the necessary tools and protective gear, including gloves, goggles, a mask, and a disposable coverall. Lay down plastic sheets to protect the floor from debris.
Step 2: Evaluate the Insulation
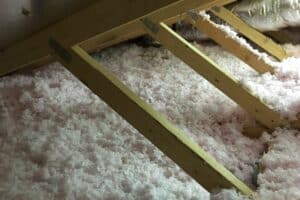
Inspect the insulation for signs of damage, mold, pests, or moisture. Identify areas that require focused attention and determine if the insulation contains hazardous materials like asbestos.
Step 3: Asbestos Testing (If Needed)
If your home was built before the 1980s, asbestos-containing insulation might be present. Before proceeding, conduct asbestos testing to ensure your safety. If asbestos is detected, hire professionals for removal.
Step 4: Remove Contaminated Insulation
If you find mold, pests, or other contaminants, carefully remove the affected insulation. Use a vacuum equipped with a HEPA filter to capture dust and debris. Double-bag contaminated insulation and dispose of it according to local regulations.
Step 5: Extract Dry Insulation
For non-contaminated dry insulation removal, use a specialized insulation removal vacuum or a high-powered industrial vacuum. Work systematically and methodically to avoid damaging the attic structure.
Step 6: Clean and Disinfect
After insulation removal, thoroughly clean and disinfect the attic space. Use an antimicrobial solution to prevent mold growth and eliminate odors.
Step 7: Check for Air Leaks
While the attic is empty, inspect for air leaks, gaps, and cracks. Seal these areas to prevent heat loss and air infiltration.
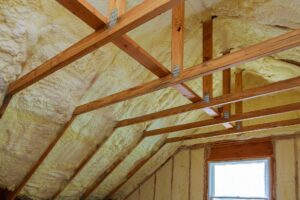
Step 8: Consider New Insulation
After removal and cleaning, assess if you need to install new insulation. This is an excellent opportunity to upgrade to more energy-efficient insulation materials.
Attic Insulation Removal Tips and Best Practices
- Prioritize Safety: Wear appropriate protective gear and follow safety guidelines, especially when dealing with contaminants like mold or asbestos.
- Inspect Attic Structure: Before removal, inspect the attic for weak spots, structural damage, or signs of pests. Address any issues before proceeding.
- Proper Disposal: Dispose of hazardous materials, contaminated insulation, and debris according to local regulations. Follow guidelines to prevent environmental harm.
- Consider Professional Help: If the insulation contains hazardous materials or contaminants, or if the removal process seems complex, consider hiring professionals to ensure safety and efficiency.
Frequently Asked Questions (FAQs)
Q: Can I remove attic insulation myself?
A: Yes, you can remove attic insulation yourself, but it’s important to follow safety guidelines and take appropriate precautions.
Q: How do I know if my insulation contains asbestos?
A: If your home was built before the 1980s, it’s possible that insulation contains asbestos. Conduct asbestos testing to determine its presence.

Q: Is attic insulation removal necessary before adding new insulation?
A: Removing old insulation is recommended before adding new insulation to ensure proper air sealing, eliminate contaminants, and improve energy efficiency.
Q: Can I reuse old insulation?
A: Reusing old insulation is generally not recommended due to potential contamination, damage, and reduced effectiveness. It’s best to install new insulation.
Q: How often should I remove attic insulation?
A: Attic insulation removal is typically done when there are issues such as contamination, damage, or the need for insulation upgrades. There’s no set schedule for removal.
Q: What if I encounter mold during removal?
A: If you encounter mold, it’s important to address the issue promptly. Remove the moldy insulation, clean the area, and take steps to prevent future mold growth.
Conclusion: A Fresh Start for Your Attic
Attic insulation removal is a crucial step in maintaining a healthy and energy-efficient home. Whether you’re upgrading insulation or addressing contaminants, proper removal ensures a clean slate for new improvements. By following safety guidelines, prioritizing cleanliness, and considering professional assistance when needed, you can confidently embark on an attic insulation removal project that enhances your home’s overall comfort and efficiency.
Remember, a well-executed attic insulation removal sets the stage for a brighter, healthier, and more energy-efficient living environment.


