
Installing an attic bathroom can be a great way to add convenience and functionality to your home. However, it requires careful planning and execution. Here’s a step-by-step guide on how to install an attic bathroom:
1. Assess Feasibility
Begin by determining if your attic is suitable for a bathroom installation. Consider factors like available space, ceiling height, and access to plumbing and ventilation.
2. Obtain Permits
Check with your local building department to obtain the necessary permits for adding a bathroom to your attic. This ensures compliance with building codes and regulations.
3. Plan the Layout
Create a detailed layout of the bathroom, including the placement of fixtures, such as the toilet, sink, shower, or bathtub. Consider the location of existing plumbing lines for efficient installation.
4. Ensure Adequate Support
Verify that the attic floor can support the weight of bathroom fixtures and occupants. Reinforce the floor structure if necessary to ensure safety and stability.
5. Install Plumbing and Electrical
Run plumbing lines to the attic to connect the bathroom fixtures. Hire a licensed plumber to handle this aspect. Similarly, hire an electrician to install the necessary wiring and outlets for lighting, fans, and other electrical components.
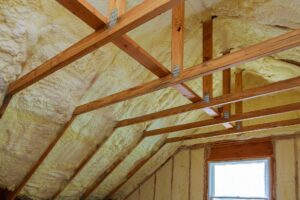
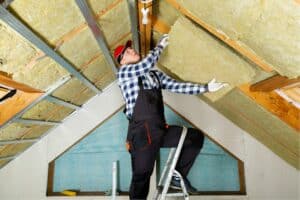
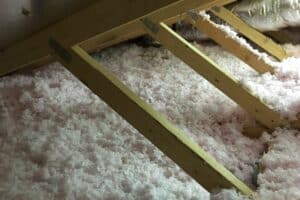
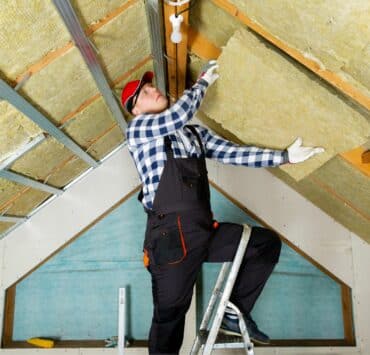
6. Build Walls and Ceiling
Construct walls and ceilings using appropriate materials like drywall. Ensure proper insulation and moisture barrier to prevent any damage from humidity.
7. Ventilation
Proper ventilation is crucial for an attic bathroom to prevent mold and moisture buildup. Install a bathroom exhaust fan that vents outside to maintain indoor air quality.
8. Install Fixtures
Set up and secure bathroom fixtures, including the toilet, sink, shower, or bathtub. Connect them to the plumbing lines carefully.
9. Flooring
Choose a suitable and waterproof flooring option for the bathroom. Tile or vinyl are common choices that can withstand the humidity.

10. Paint and Finishing Touches
Paint the walls and ceiling with moisture-resistant paint. Add finishing touches, such as bathroom accessories and mirrors.
11. Test and Inspect
Test all fixtures and ensure they are working correctly. Inspect for any leaks or issues and make necessary adjustments.
12. Obtain Final Inspection
Contact your local building department for a final inspection to ensure compliance with building codes and regulations.
Conclusion
Installing an attic bathroom can be a rewarding project that adds value and convenience to your home. By following these steps and hiring professionals when necessary, you can successfully create a functional and comfortable bathroom in your attic.


