

Countertop installation is a transformative process that can enhance the aesthetic and functionality of your kitchen or bathroom. Whether you opt for granite, quartz, or another material, understanding the installation process is crucial to achieving a successful outcome.

Steps for DIY Countertop Installation
1. Gather Materials and Tools
Before beginning the installation, ensure you have all the necessary materials and tools:
- Countertop slabs
- Adhesive or construction glue
- Screws and brackets
- Caulk and caulking gun
- Level
- Measuring tape
- Circular saw with diamond blade
- Clamps
- Safety gear (gloves, goggles)
2. Measure and Cut the Countertop
- Measure Accurately: Measure your existing cabinets and the space where the countertop will be installed. Ensure to include cutouts for sinks and appliances.
- Cut the Countertop: Using a circular saw with a diamond blade, carefully cut the countertop slabs according to your measurements. Make sure to wear safety gear during this process.
3. Prepare the Surface
- Level the Cabinets: Ensure the base cabinets are level and securely fastened. Use shims to adjust any uneven areas.
- Clean the Area: Clear the installation area of any debris and cover nearby surfaces to protect them from dust and damage.
4. Dry Fit the Countertop
- Test the Fit: Place the countertop slabs on the cabinets without adhesive to check the fit. Make any necessary adjustments to ensure a perfect fit.
5. Apply Adhesive and Install the Countertop
- Apply Adhesive: Apply a high-quality adhesive to the top of the cabinets.
- Place the Countertop: Carefully place the countertop slabs onto the adhesive. Use clamps to hold the slabs in place while the adhesive sets.
- Ensure Level: Check that the countertop is level and make adjustments as needed.
6. Join the Seams
- Use Epoxy: For countertops that require seams, join them with an epoxy that matches the color of your countertop. Use a clamp to hold the seams together until the epoxy sets.
7. Secure the Countertop
- Install Brackets: Secure the countertop to the cabinets using screws and brackets. This step ensures the countertop remains stable and in place.
8. Apply Finishing Touches
- Caulk the Edges: Apply caulk around the edges where the countertop meets the wall to create a seamless look.
- Seal the Surface: Depending on the material of your countertop, apply a sealant to protect it from stains and moisture.
9. Reinstall Fixtures
- Reconnect Plumbing: If you removed any plumbing fixtures, reinstall them once the countertop is securely in place.
- Check for Adjustments: Ensure all fixtures and appliances fit properly with the new countertop.
DIY countertop installation can be a fun project during your kitchen remodeling. By following these steps, you can achieve a professional-looking finish that enhances the beauty and functionality of your kitchen or bathroom. If you encounter challenges or feel unsure at any step, do not hesitate to consult professional installers.

Pros and Cons of DIY Countertop Installation
Pros
1. Cost Savings: One of the most significant advantages of DIY countertop installation is the potential cost savings. By avoiding labor costs, you can allocate more of your budget towards higher-quality materials or other aspects of your renovation project.
2. Personal Satisfaction: Completing a DIY project can be incredibly rewarding. The sense of accomplishment that comes from successfully installing your own countertops can add a personal touch to your home and boost your confidence in handling future projects.
3. Customization and Control: DIY installation allows you complete control over the project. You can customize every detail to your liking and work at your own pace without having to coordinate schedules with contractors.
Cons
1. Required Skills and Tools: Installing countertops requires specialized tools and skills. Without the proper equipment and experience, the risk of making mistakes increases significantly. Errors during installation can lead to costly repairs or the need to replace materials.
2. Time-Consuming: DIY countertop installation can be very time-consuming. The process involves careful planning, precise measurements, and meticulous execution. For those without experience, what might take professionals a few hours can stretch into days.
3. Potential for Errors: Mistakes during DIY installation can be costly. Incorrect measurements or improper installation techniques can result in poor fit, damage to the countertops, or even structural issues. These errors can diminish the quality and longevity of your countertops.
4. Safety Concerns: Handling heavy and sharp materials like granite or quartz can be hazardous. Without the right safety precautions and equipment, DIY installers risk injury. Professionals are trained to handle these materials safely, reducing the risk of accidents.
5. Lack of Warranty: Professional installers often provide warranties on their work, ensuring that any issues arising from the installation will be addressed at no extra cost. DIY installations typically do not come with such guarantees, leaving you responsible for any problems that occur.

Professional Countertop Installation
Preparation
1. Initial Consultation:
Before starting the installation, consult with a professional to discuss your preferences and needs. This step involves taking measurements, selecting materials, and planning the layout. A thorough consultation ensures that all details are considered, from material choice to the final design.
2. Area Preparation:
Ensure the base cabinets are level and securely fastened. Clear the installation area of any debris and protect nearby surfaces from dust and damage. This step is essential for creating a stable foundation for your new countertops.
Installation Process
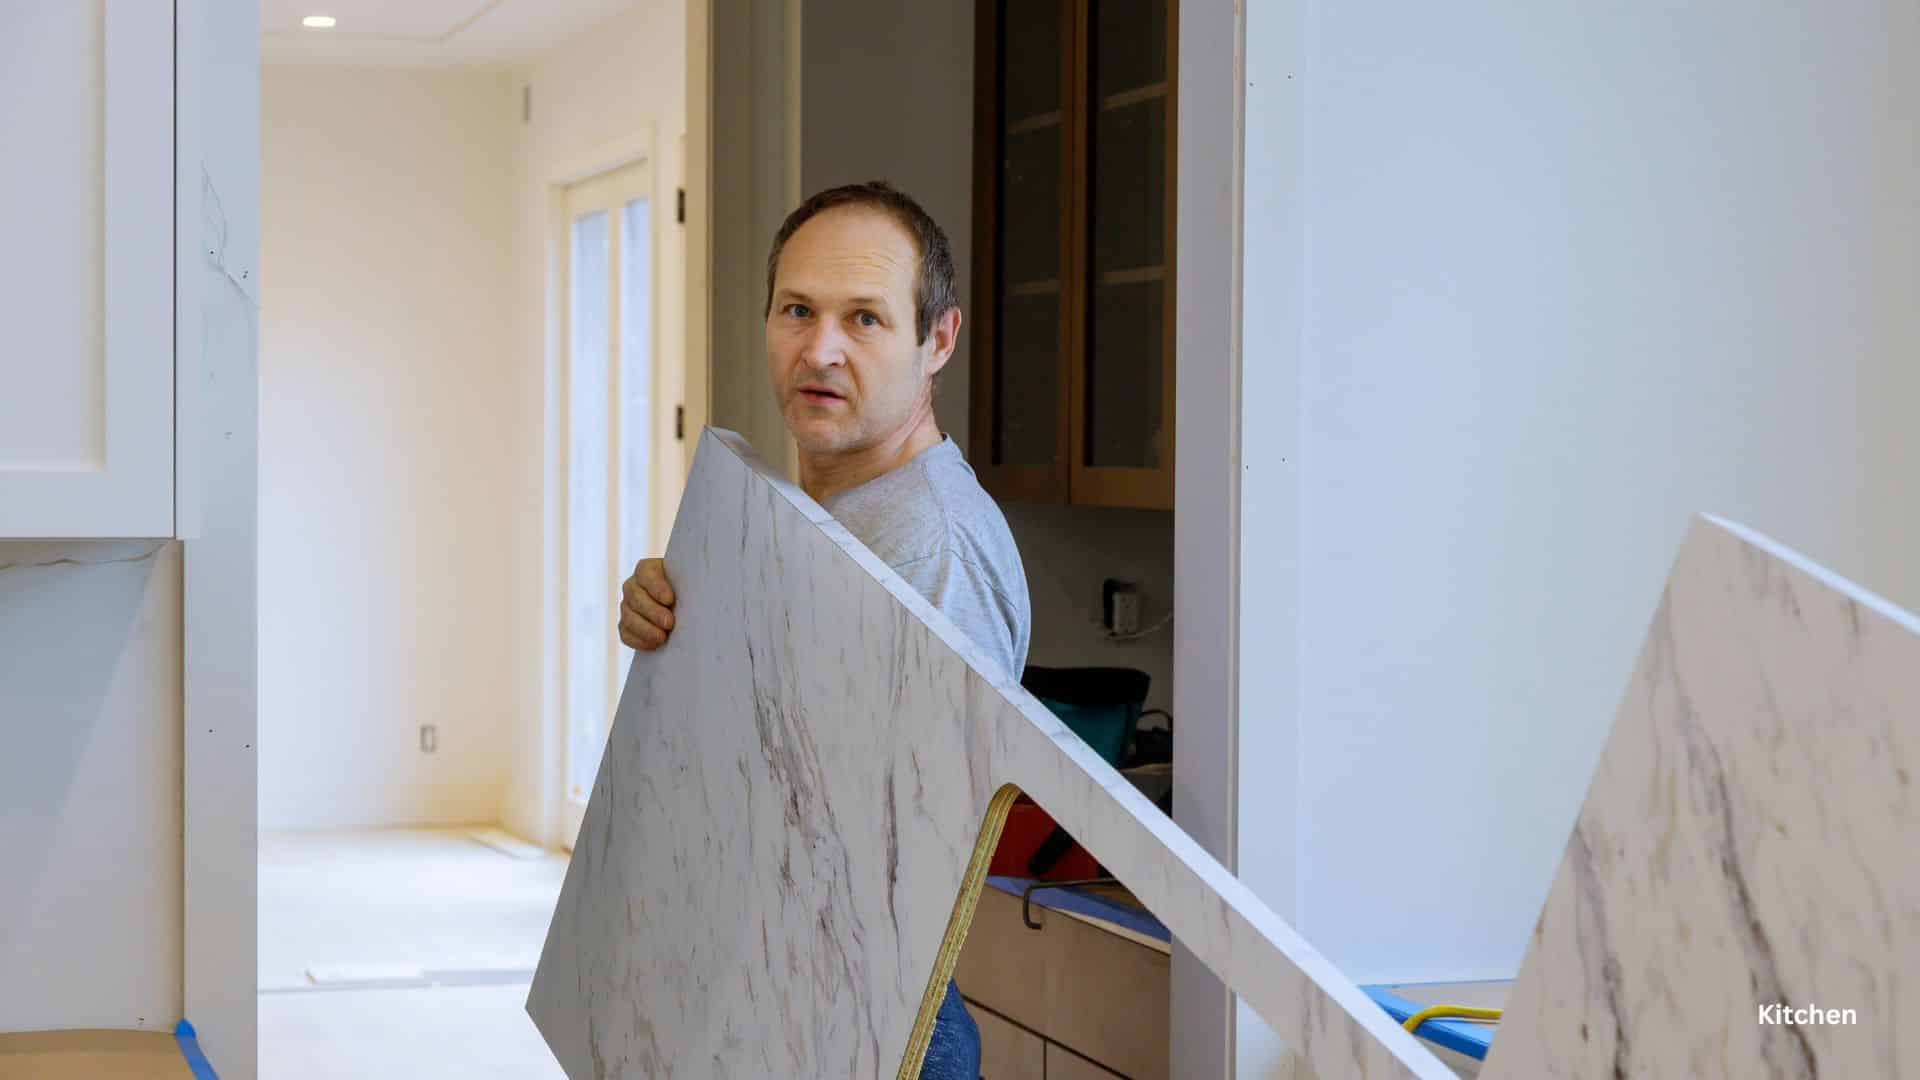
3. Fabrication:
The fabrication process involves cutting the countertop material to fit your kitchen’s dimensions. Professionals use precision tools, such as diamond blade saws, to make accurate cuts, including allowances for sink cutouts and edges. This step is best handled by experienced installers to avoid costly mistakes.
4. Installation:
Place the countertop slabs onto the prepared cabinets. Apply a high-quality adhesive and use clamps to hold the slabs in place while the adhesive sets. Ensure the slabs are level and make necessary adjustments to achieve a seamless fit. This step includes joining seams with epoxy and using attachment blocks to secure the countertops to the cabinets.
5. Finishing Touches:
After the countertops are securely in place, apply a sealant to protect the surface from stains and moisture. Fill any gaps between the countertop and the wall with caulk. Reinstall plumbing fixtures and ensure everything is properly connected. This step completes the installation process, leaving you with a beautiful, durable countertop.

Pros and Cons of Professional Countertop Installation
Pros
1. Expertise and Precision: Professional installers bring a high level of expertise and precision to the job. Their experience ensures that every cut and placement is exact, resulting in a flawless fit and finish. This expertise is especially important for materials that require specialized tools and techniques, such as granite or quartz.
2. Time Efficiency: Professionals can complete the installation much faster than a DIY attempt. Their familiarity with the process and access to proper tools allow them to work efficiently, minimizing disruption to your home. This means your kitchen or bathroom can be back in use sooner.

3. Safety and Durability: Professional installers follow industry standards and safety protocols, ensuring that your countertops are securely installed. This attention to detail enhances the longevity and durability of your countertops, preventing issues that could arise from improper installation.
4. Warranty and Guarantees: Many professional installation services offer warranties on their work. This provides peace of mind that any issues arising from the installation will be addressed at no extra cost. Warranties ensure that you are protected against potential problems and defects.
5. Comprehensive Services: Professional installers often provide comprehensive services that go beyond just the installation. This can include removal and disposal of old countertops, plumbing reconnections, and detailed clean-up after the job is done. These additional services can save you time and hassle.
Cons
1. Higher Initial Cost: One of the main drawbacks of hiring professionals is the higher initial cost. Professional services can be expensive, especially for high-end materials and complex installations. However, this cost often includes the benefits of expertise, efficiency, and a warranty.
2. Scheduling and Availability: Hiring a professional means you have to work around their schedule, which might not always align with your own. Depending on the demand and their availability, you might have to wait longer to get the installation done.
3. Less Control Over the Process: When you hire professionals, you relinquish some control over the project. While this can be a relief for those who prefer not to handle the details, it might be a downside for homeowners who want to be involved in every aspect of their renovation.

Common Questions About Countertop Installation
1. What is the labor cost to install countertops?
The labor cost to install countertops can vary widely depending on the material, complexity of the project, and your location. On average, professional installation ranges from $10 to $30 per square foot. This cost includes measuring, cutting, and fitting the countertops, as well as any additional services like removing old countertops and reconnecting plumbing fixtures. More complex installations or premium materials might increase the labor cost.
2. How long does it take to install countertops?
The duration of countertop installation depends on several factors, including the size and complexity of the project and the type of material used. Typically, professional installers can complete the process in a few hours to a day. For smaller and simpler kitchens, the installation might take 2 to 3 hours, while larger and more complex kitchens could take 6 to 7 hours. This estimate includes preparation, cutting, fitting, and finishing touches.
3. Can I install countertops myself?
Yes, installing countertops yourself is possible, but it is not recommended unless you have experience and the necessary tools. DIY installation requires precise measurements, specialized tools, and skills to handle materials like granite or quartz safely. Mistakes during installation can lead to costly errors and potential damage. For most homeowners, hiring a professional ensures a higher quality and more durable result.


