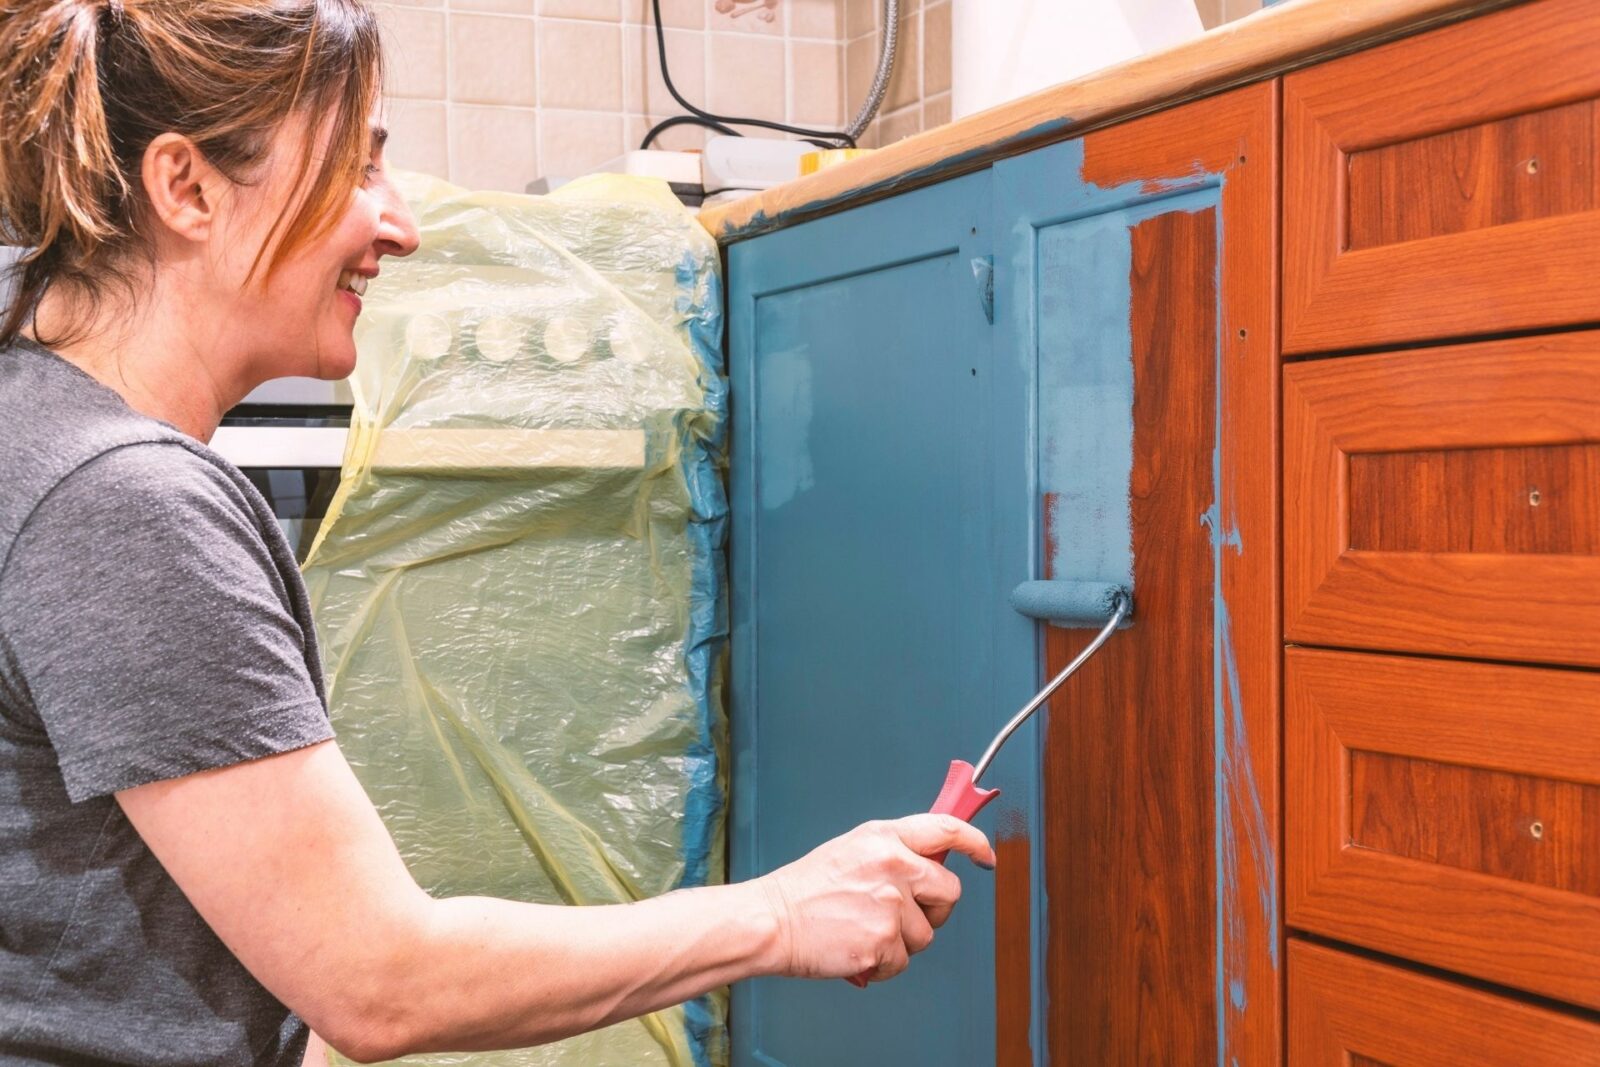
Painting kitchen cabinets is a cost-effective way to rejuvenate your kitchen without the expense of a full renovation. With the right tools, materials, and techniques, you can achieve a professional finish that breathes new life into your space.
Painting Kitchen Cabinets
Tools and Materials You’ll Need
-
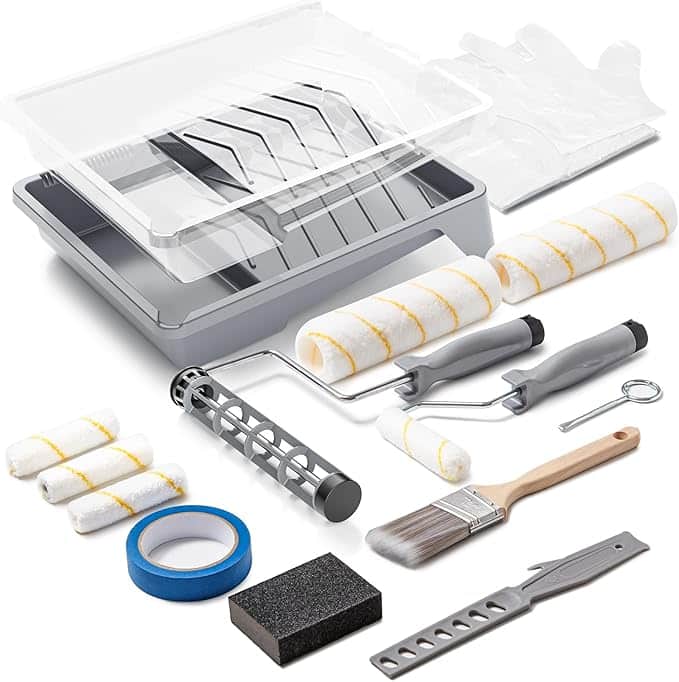
Sanding Tools: Use a sanding block or an electric sander with 120- to 220-grit sandpaper to create a smooth surface for better paint adhesion.
-
Cleaning Supplies: A degreaser or a solution like Trisodium Phosphate (TSP) effectively removes grease and grime from cabinet surfaces.
-
Primer: Selecting the appropriate primer is crucial. Water-based primers are suitable for water-based paints, while oil-based primers pair well with oil-based paints.
-
Paint: Opt for high-quality paint designed for cabinetry. Water-based acrylic enamel paints are durable and easy to clean, making them ideal for kitchens.
-
Application Tools: A high-quality synthetic-fiber paintbrush (1.5 to 2 inches wide) and a 4-inch foam roller ensure a smooth finish.
Preparation Steps
-
Clear and Protect the Area: Empty your cabinets and remove appliances from the vicinity. Cover countertops, floors, and appliances with drop cloths to protect them from paint splatters.
-
Remove Cabinet Doors and Hardware: Detach doors, drawers, and hardware, labeling each piece to ensure correct reassembly.
-
Clean All Surfaces: Thoroughly clean cabinet surfaces with a degreaser to remove any grease or grime, ensuring better paint adhesion.
-
Sand the Surfaces: Lightly sand all surfaces to create a slightly rough texture, or “key,” for the primer to adhere to.
-
Fill Imperfections: Use wood filler to repair any holes, dents, or dings. Once dry, sand the filled areas smooth.
Priming the Cabinets
Apply a suitable primer to all surfaces to ensure better paint adhesion and a uniform finish. Allow the primer to dry completely before proceeding.
Painting Process
-
Stir and Prepare the Paint: Thoroughly stir the paint to ensure an even color and consistency.
-
Apply the Paint: Using your brush and roller, apply the paint in thin, even coats, following the wood grain. Start with the backs of the cabinet doors, then proceed to the fronts and frames.
-
Allow to Dry and Recoat: Let each coat dry thoroughly before applying the next. Typically, two to three coats are sufficient for a durable finish.
Reassembly
Once the final coat is completely dry, reattach the hardware and reinstall the cabinet doors and drawers. Ensure all components are securely fastened and aligned.
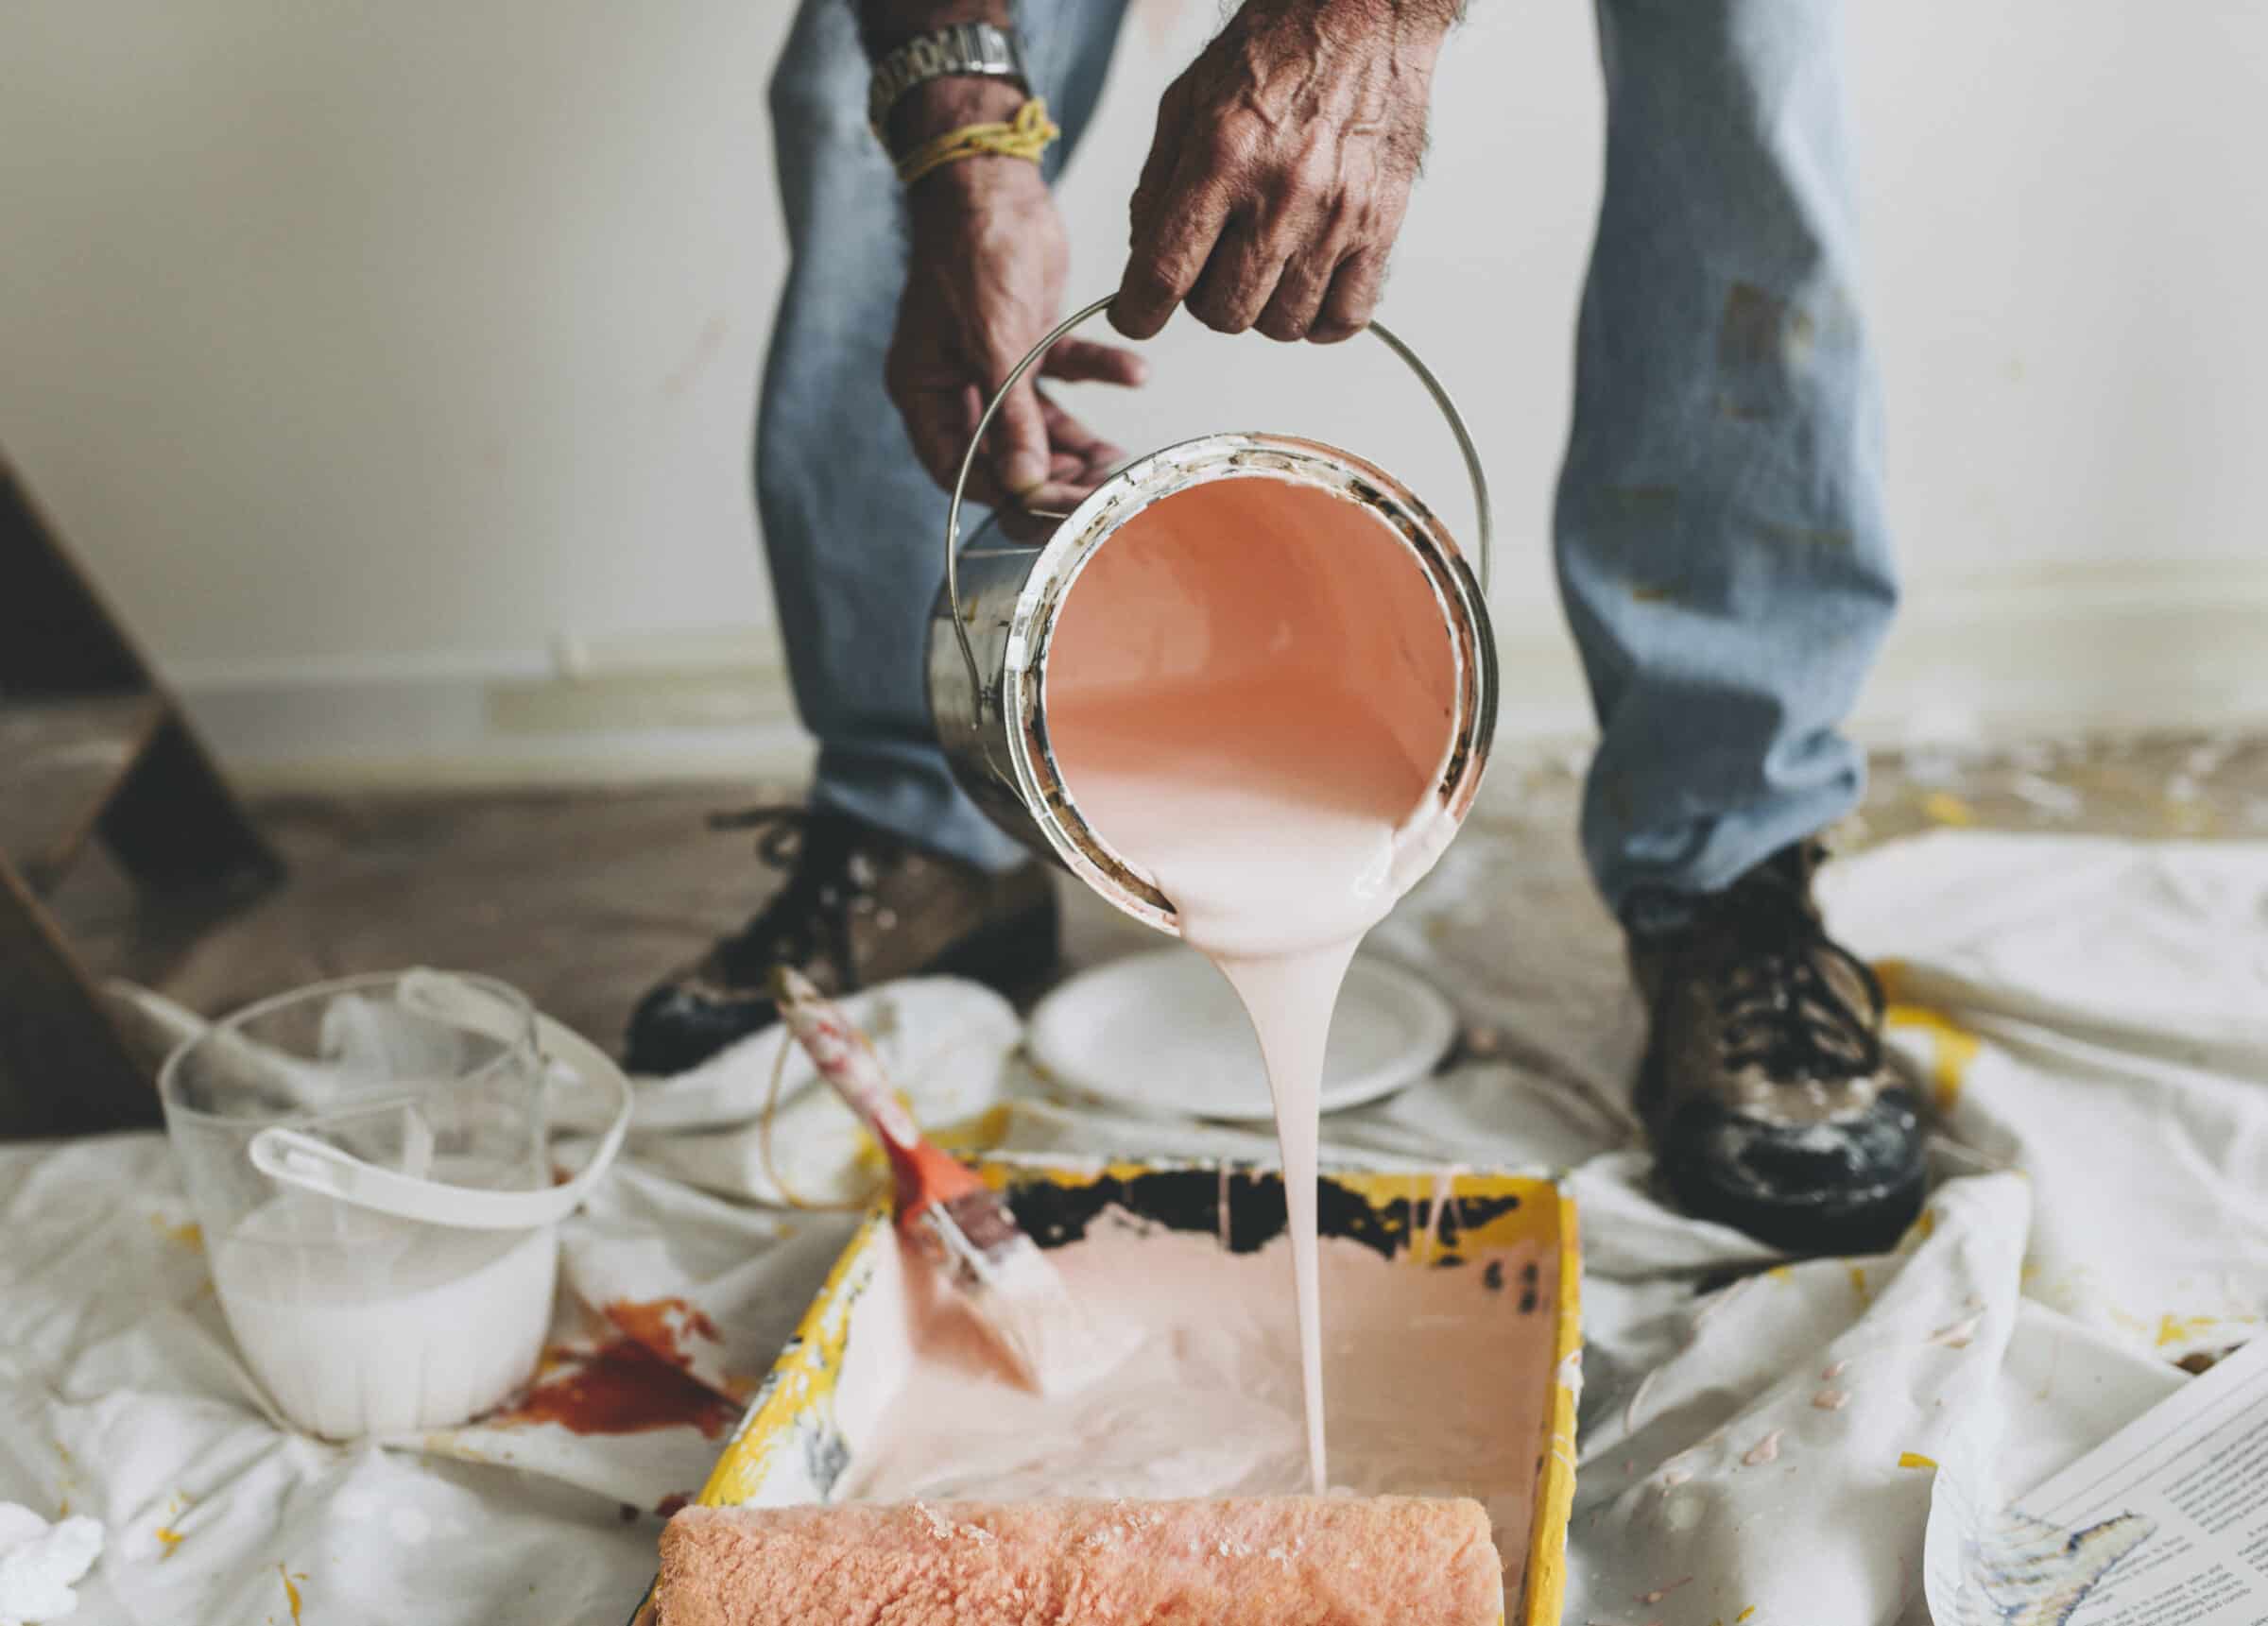
Painting kitchen cabinets is an accessible DIY project that can dramatically transform your kitchen’s appearance. By meticulously following each step—from preparation to reassembly—you can achieve a professional and lasting finish. This process not only enhances the aesthetic appeal of your kitchen but also adds value to your home.
