
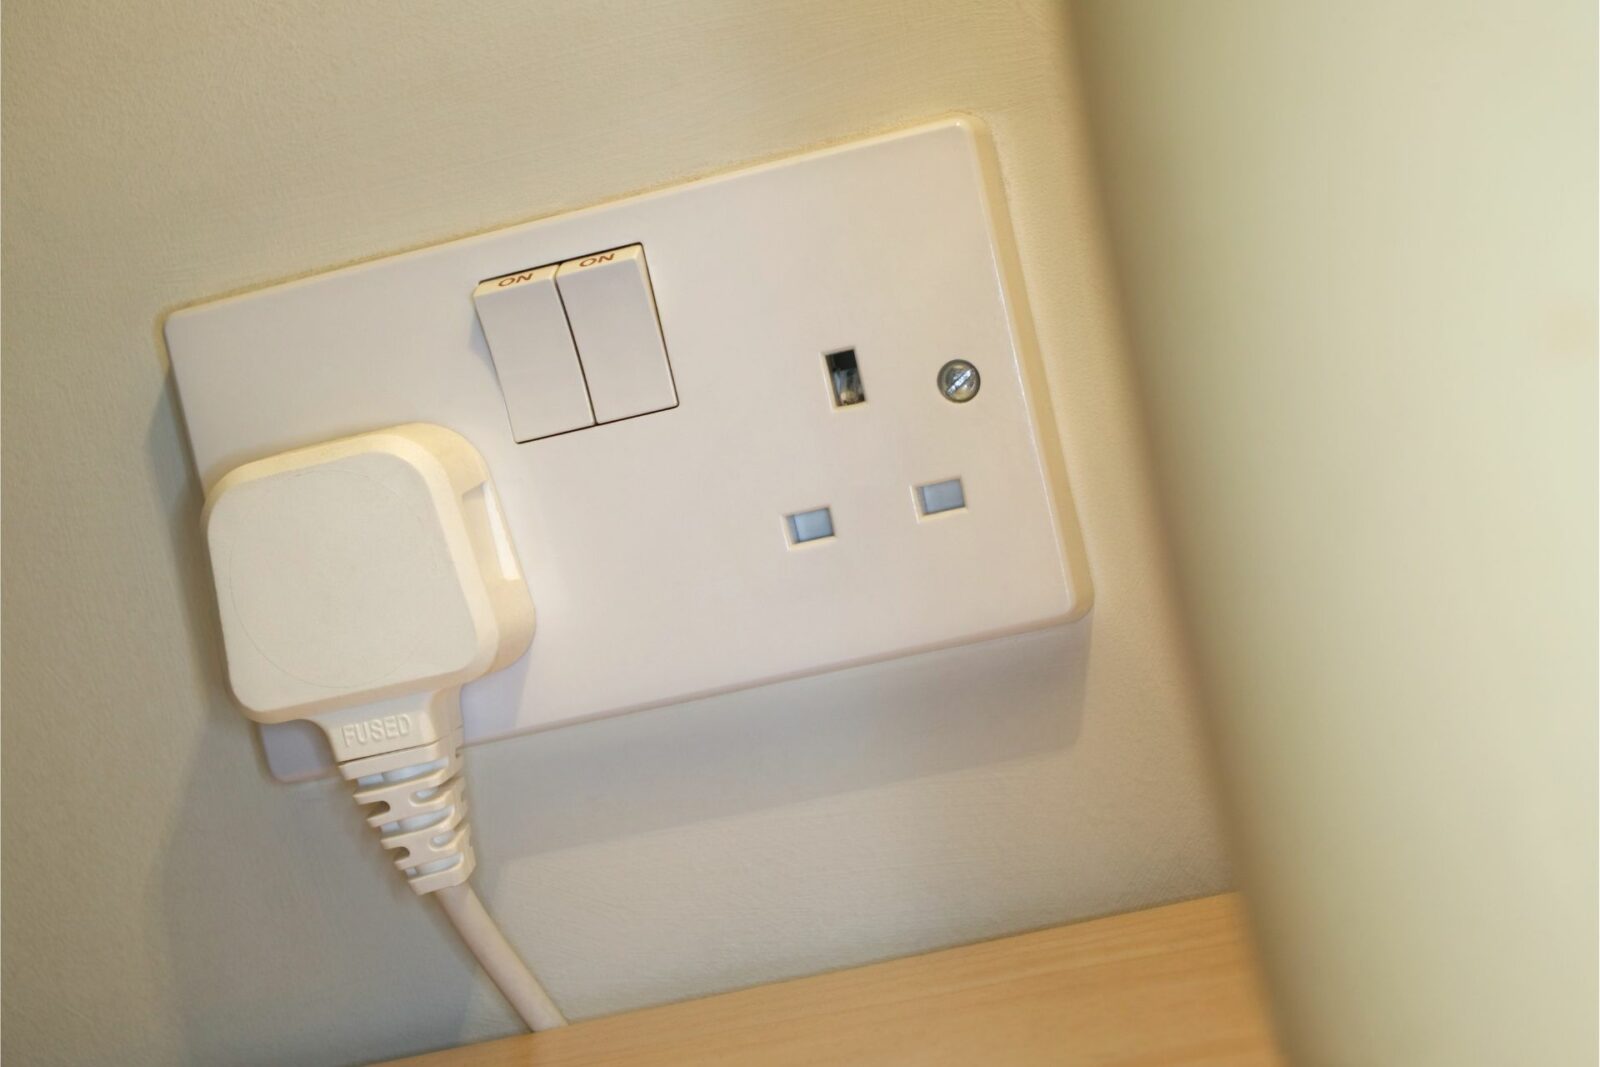
New electrical outlet installation is a practical skill that can save homeowners time and money. While many people wonder if they can install a new outlet themselves, it’s essential to consider the cost, the ease of installation, and potential risks. On average, it costs about $100-$200 to install a new electrical plug. However, the actual process of installing a new outlet plug is relatively straightforward, especially if you follow a detailed guide. But, it’s crucial to remember that incorrect installation can lead to hazards like electrical fires or shocks. Typically, an electrician can install an outlet in less than an hour, but doing it yourself can take longer, depending on your experience.
Why You Should Consider Installing a New Electrical Outlet?
Enhanced Convenience
New electrical outlet installation offers increased convenience by providing additional power sources in convenient locations. No more stretching cords across rooms or overloading existing outlets with power strips.
Improved Safety
Upgrading to new electrical outlets with built-in safety features, like Ground Fault Circuit Interrupters (GFCIs), can help protect your family from shocks and prevent electrical fires.
Boost Your Home’s Value
Adding new electrical outlets or upgrading old ones can increase your home’s value, making it more attractive to potential buyers.
Step-by-Step Guide to Installing a New Electrical Outlet:
Plan Your Installation
First, determine where you want the new electrical outlet and ensure it complies with your local building codes. Also, consider the type of outlet you need (e.g., GFCI or standard).
Gather Tools and Materials
To install a new electrical outlet, you’ll need a voltage tester, wire stripper, screwdriver, drill, fish tape or coat hanger, and the necessary electrical components like the outlet, box, and faceplate.
Turn Off Power
Before starting any work, turn off the power to the circuit at the main breaker panel. Use a voltage tester to confirm the power is off.
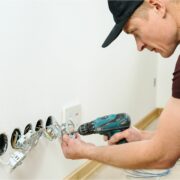
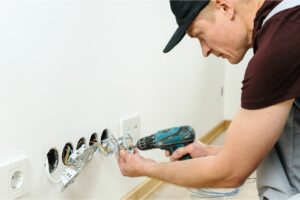
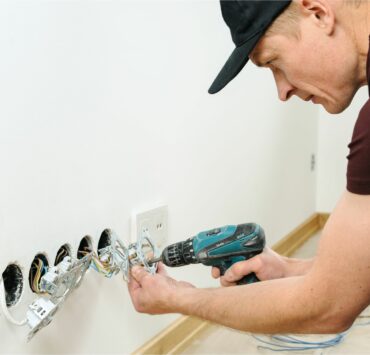
Install the Electrical Box
Cut a hole in the wall for the electrical box, following the manufacturer’s instructions. Secure the box in place, ensuring it’s flush with the wall.
Run the Wiring
Feed the appropriate electrical cable through the wall to the new outlet location using fish tape or a coat hanger. Connect the cable to the existing circuit, either at an existing outlet or at the breaker panel.
Connect the Outlet
Strip the wires and connect them to the new outlet, following the manufacturer’s wiring diagram. Attach the ground wire to the green screw, the white (neutral) wire to the silver screw, and the black (hot) wire to the brass screw.
Secure the Outlet and Faceplate
Carefully tuck the wires into the electrical box, then secure the outlet to the box with screws. Attach the faceplate to complete the installation.
Test Your Work
Turn the power back on and use a voltage tester or plug in a small appliance to ensure the new outlet is functioning correctly.
Frequently Asked Questions
Q1: Can I install a new electrical outlet without a junction box?
A: No, a junction box is necessary to enclose and protect the electrical connections, prevent accidental contact with live wires, and reduce the risk of electrical fires.
Q2: Can I add more outlets to one circuit?
A: Yes, you can add more outlets to a single circuit, but be cautious not to exceed the maximum load for the circuit. Overloading a circuit can lead to tripping breakers or even electrical fires. Consult your local building codes for specific guidelines on the maximum number of outlets per circuit.
Q3: How far apart should electrical outlets be?
A: According to the National Electrical Code (NEC), electrical outlets should be installed at least every 12 feet along walls in living spaces, and no point along the wall should be more than 6 feet away from an outlet. This spacing is designed to minimize the use of extension cords and reduce potential hazards.
Q4: How high should electrical outlets be from the floor?
A: The NEC doesn’t specify a required height for standard outlets, but a common practice is to install them 12-16 inches above the floor. For specific applications or rooms, like kitchens and bathrooms, there may be specific height requirements. Always check your local building codes for guidance.
Q5: How do I know if my new electrical outlet is GFCI-protected?
A: GFCI outlets can be easily identified by their “Test” and “Reset” buttons. However, it’s important to note that a GFCI breaker can protect multiple standard outlets in the same circuit. To test if your outlet is GFCI-protected, plug in a GFCI tester and press the “Test” button. If the power turns off, the outlet is GFCI-protected.
Conclusion
New electrical outlet installation is a valuable skill that can make your home more convenient, safer, and even increase its value. With a careful approach, the right tools, and adherence to local building codes, you can successfully install a new electrical outlet in your home. However, if you’re unsure about any aspect of the process or encounter complications, it’s always best to consult a professional electrician to ensure the safety and functionality of your electrical system.
Related posts:
 How To Replace Electrical Outlet? A Simple Guide
 How Much Do LED Lights Cost And The Best Products
 The Benefits of a Solar Panel for Home: How to Incorporate Solar Energy in Your Home
 Your Ultimate Guide to Install Electrical Outlets: Tips, Tricks, and FAQs
 Whole-House Fan vs Attic Fan: Understanding the Key Differences
