
If you’ve ever wondered, “Can I install an electrical outlet myself?” or “How much should it cost to install an electrical outlet?”, you’ve come to the right place! Installing electrical outlets is a common task in home remodeling projects, but it can be daunting for those new to the world of DIY. In this article, we’ll cover the proper placement of electrical outlets, how to install an outlet from existing wiring, and the potential consequences of installing an electrical outlet wrong. So, let’s dive in and explore the ins and outs of how to install electrical outlets like a pro!
Tools and Materials You’ll Need
Before you get started, it’s essential to gather the necessary tools and materials for your project. To install electrical outlets, you’ll need the following:
- Screwdrivers (flathead and Phillips)
- Wire strippers
- Voltage tester
- Electrical tape
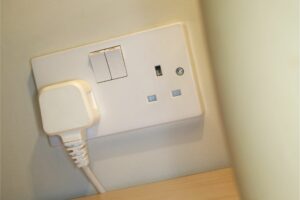
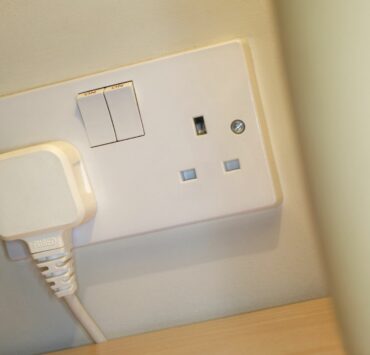
- Outlet box
- Outlet receptacle
- Wire connectors
- Wall plate
- Safety gear (gloves and goggles)
Understanding Outlet Types and Proper Placement
Different types of outlets are designed for specific purposes, so it’s crucial to choose the right one for your needs. Here’s a quick breakdown of the most common outlet types:
- Standard outlets (15A or 20A) – suitable for general-purpose use
- GFCI (Ground Fault Circuit Interrupter) outlets – required in areas prone to moisture, such as bathrooms and kitchens
- AFCI (Arc Fault Circuit Interrupter) outlets – used in bedrooms and living areas to protect against electrical fires
The National Electrical Code (NEC) dictates the proper placement of electrical outlets. Here are some general guidelines to follow:
- Outlets should be placed every 12 feet along walls in living areas and bedrooms.
- In kitchens, outlets should be installed every 4 feet along countertops.
- Bathrooms should have at least one GFCI outlet within 3 feet of the sink.
- All outdoor outlets must be GFCI protected.
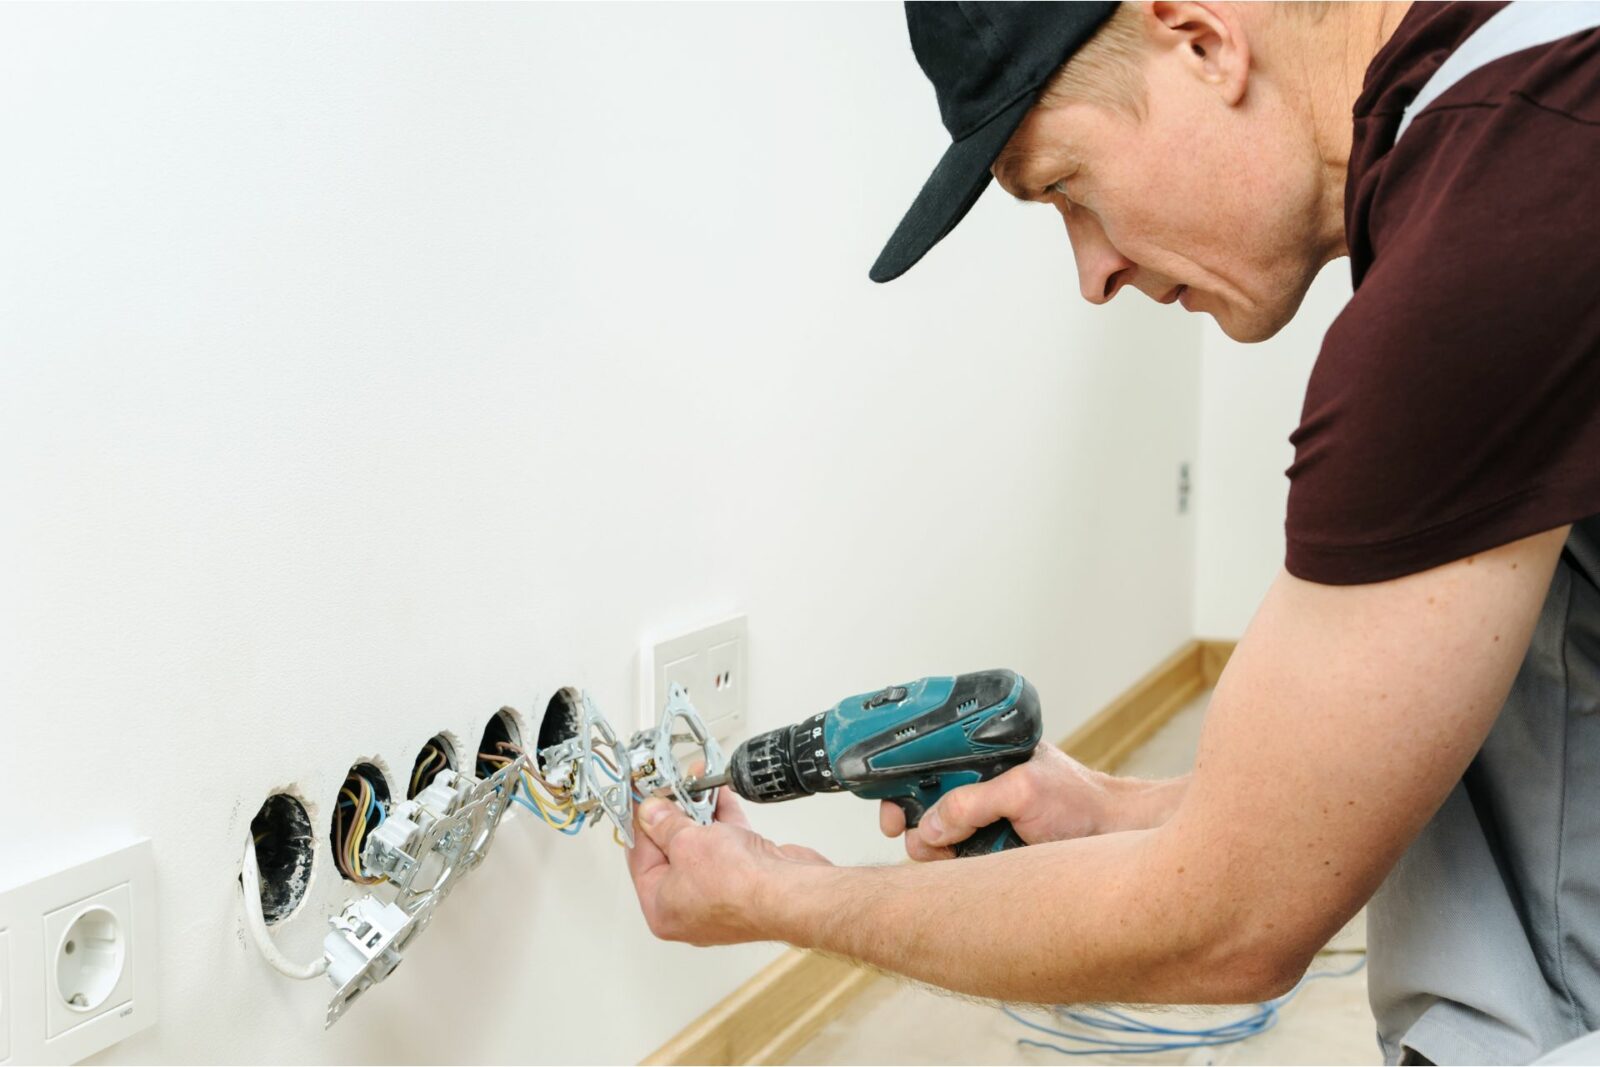
How to Install an Electrical Outlet from Existing Wiring
Now that you know the basics, let’s dive into the process of installing an electrical outlet from existing wiring. Follow these steps to ensure a safe and successful installation:
- Turn off the power: Before starting, switch off the circuit breaker supplying power to the wiring you’ll be working with.
- Test for voltage: Use a voltage tester to confirm that there’s no electricity in the wires.
- Prepare the outlet box: If you’re installing a new outlet box, secure it to the wall or stud, ensuring it’s flush with the wall’s surface.
- Strip the wires: Use wire strippers to remove about 1/2-inch of insulation from the ends of the wires.
- Attach the wires: Connect the stripped wires to the corresponding terminals on the outlet receptacle, tightening the screws securely.
- Install the receptacle: Gently push the receptacle into the outlet box and attach it with screws.
- Attach the wall plate: Place the wall plate over the receptacle and secure it with screws.
The Consequences of Installing an Electrical Outlet Wrong
Incorrectly installing an electrical outlet can have serious consequences, such as electrical shocks, fires, or damage to your appliances. Some common mistakes and their potential outcomes include:
- Reversing the wires: Connecting the hot (black) and neutral (white) wires incorrectly can create a shock hazard and damage electronic devices.
- Overloading a circuit: Adding too many outlets to a single circuit can lead to overheating and potentially cause a fire.
- Failing to install a GFCI outlet in wet areas: Neglecting to use GFCI outlets in bathrooms, kitchens, or outdoors can result in electrical shocks due to moisture exposure.
- Ignoring local codes: Disregarding local building codes can result in fines or penalties and may even void your homeowner’s insurance.
To avoid these issues, it’s essential to follow proper installation procedures, consult local building codes, and seek professional assistance if you’re unsure about any aspect of the process.
Frequently Asked Questions
Now let’s take a look at some common questions related to installing electrical outlets.
Q: Can I install an electrical outlet myself?
A: Yes, you can install an electrical outlet yourself if you have basic electrical knowledge and follow proper safety precautions. However, if you’re unsure or uncomfortable with any part of the process, it’s best to consult a licensed electrician.
Q: How much should it cost to install an electrical outlet?
A: The cost to install an electrical outlet can vary depending on factors such as labor rates and materials used. On average, a professional electrician may charge between $100 and $200 per outlet. DIY installations can be more cost-effective, with materials typically ranging from $10 to $50 per outlet.
Q: What is the proper placement of electrical outlets?
A: The National Electrical Code (NEC) provides guidelines for the placement of electrical outlets, such as spacing them every 12 feet along walls in living areas, every 4 feet along kitchen countertops, and within 3 feet of bathroom sinks.
Q: How do you install an outlet from existing wiring?
A: To install an outlet from existing wiring, follow these steps: turn off the power, test for voltage, prepare the outlet box, strip the wires, attach the wires to the outlet receptacle, install the receptacle, and attach the wall plate.
Q: What happens if you install an electrical outlet wrong?
A: Incorrectly installing an electrical outlet can result in electrical shocks, fires, damage to appliances, or even void your homeowner’s insurance. It’s crucial to follow proper installation procedures and consult local building codes.
Conclusion
By following the steps outlined in this article and adhering to safety precautions, you’ll be well on your way to successfully install electrical outlets in your home. Remember that the key to a successful project is understanding the proper placement of outlets, choosing the right type of outlet for your needs, and following local building codes. So, grab your tools, put on your safety gear, and get ready to install electrical outlets like a pro! And, of course, if you’re ever unsure about any part of the process, don’t hesitate to consult a licensed electrician. Happy remodeling!
Related posts:
 Cost To Install Recessed Lighting – What To Expect?
 How Much Do LED Lights Cost And The Best Products
 The Benefits of a Solar Panel for Home: How to Incorporate Solar Energy in Your Home
 Master the Art of New Electrical Outlet Installation – A Comprehensive Guide
 Whole-House Fan vs Attic Fan: Understanding the Key Differences
