Now Reading
Mastering Metal Roof Installation: A Comprehensive Guide to Elevate Your Home’s Protection

Mastering Metal Roof Installation: A Comprehensive Guide to Elevate Your Home’s Protection

metal roof installation

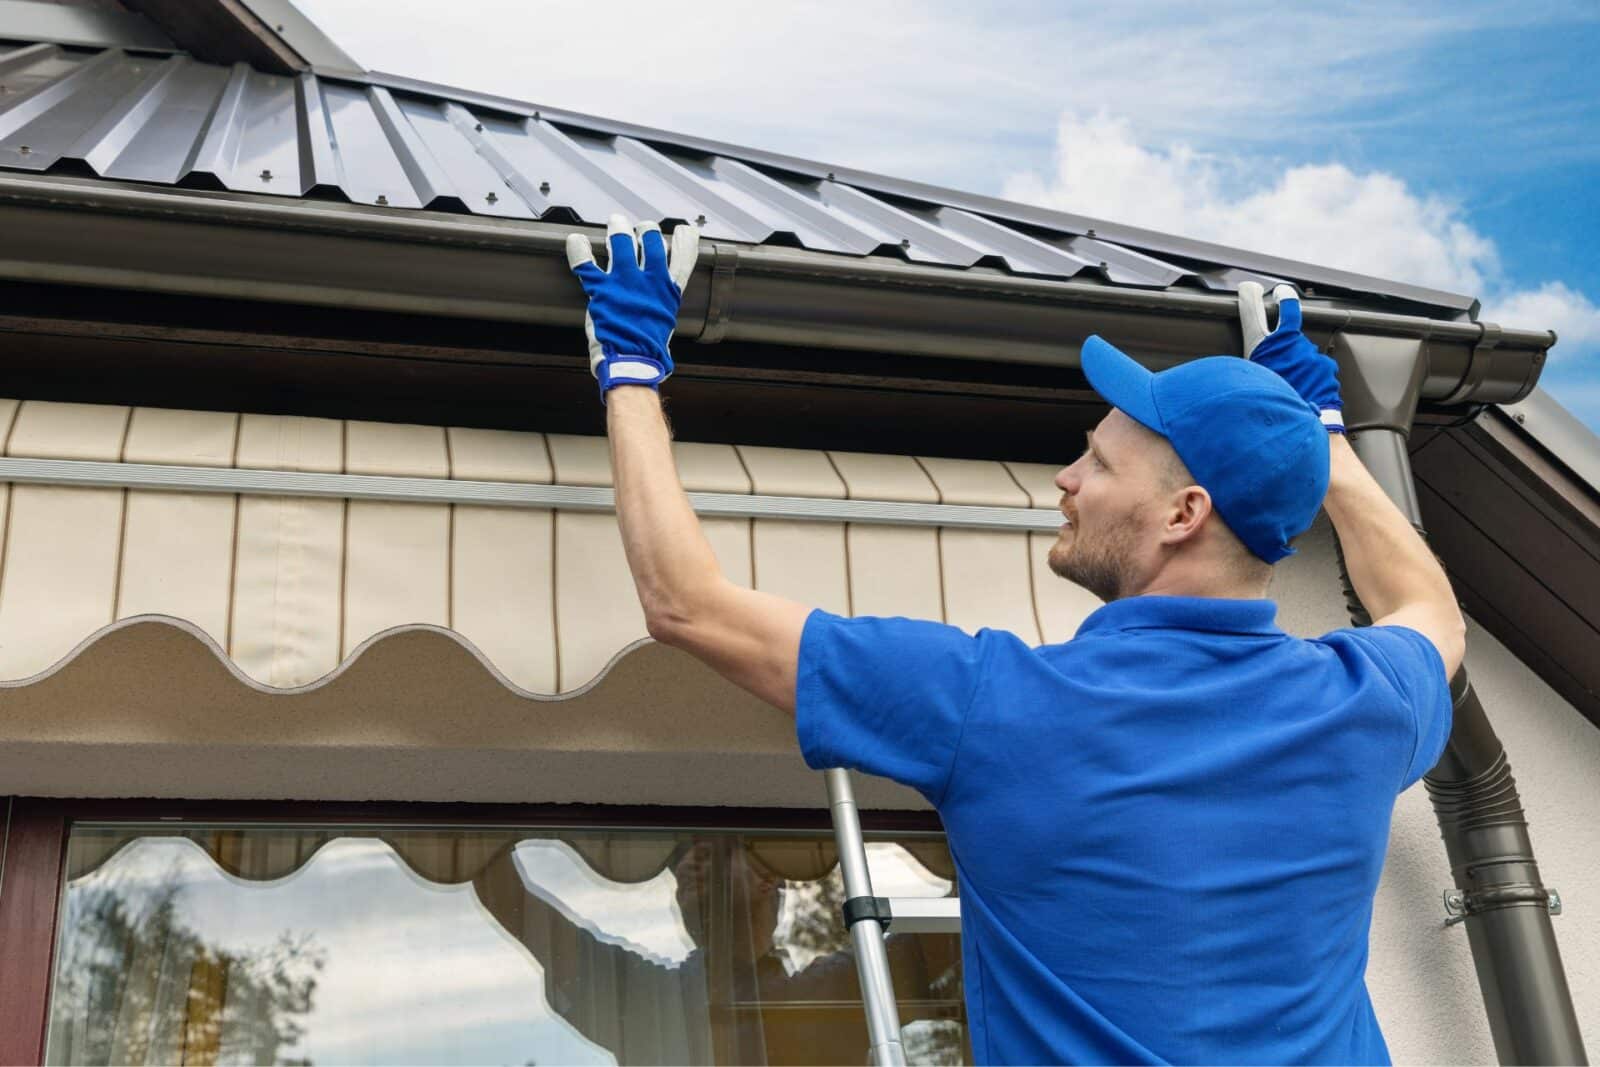
Metal Roof Installation Details

Duration: Full day

Overall Duration: Multiple days

Expertise Level: Advanced

Estimated Project Expenses: DIY Installation ($2,000 to $5,000)

Professional Installation ($5,000 to $12,000) 

While nothing surpasses the longevity of metal roofing, enduring up to 50 years, embarking on a DIY installation can be quite laborious. Opting for self-installation can significantly reduce costs, but it comes with safety and building code considerations.

Be prepared to invest a few days in the installation process, and having assistance is advisable. Given the variety of metal roofing types, thorough research is essential before finalizing your choice of metal panels.

Choosing the Right Time for Metal Roof Installation

If your roof has endured multiple damages in recent years, it might be wise to consider switching to metal roofing. Known for its resilience and low maintenance requirements, metal roofing can withstand various elements.

See Also
siding design ideas

Despite potential drawbacks like noise during thunderstorms and less appealing aesthetics, the durability ensures you won’t need frequent replacements. Plan your installation during a clear weather window, free from any rain forecasts.

Working with metal at elevated heights demands safety precautions. Ensure you have safety goggles, gloves, and a safety harness while on the roof. Be vigilant for wires and tree branches.

Consult with building code officials before starting the project, as specific regulations apply to adding metal roofing.

Tools and Materials Checklist Tools

Tools

  • Work gloves
  • Work boots
  • Fall prevention tools
  • Circular saw
  • Tape measure
  • Chalk line and reel
  • Drill
  • Screw gun
  • Claw hammer
  • Electric stapler
  • Ladder
  • Knee pads
  • Tin snips
  • Utility knife
  • Roof jacks
  • Roofing harness
  • Locking sheet metal tool
  • Pry bar

Materials

  • Panels
  • Underlayment
  • Closure strips
  • Sealant tape
  • Flashing
  • Roofing screws
  • Wood screws
  • Silicone sealant

Step-by-Step Guide for Installing Metal Roofing

  1. Measure Your Roof

    • Measure the length, width, and rise of one section of your roof.
    • Use the rise number to calculate the slope (rise divided by run).
    • Calculate the slope factor and multiply it by the area measurement for each section.
    • Add an extra 10% for waste.
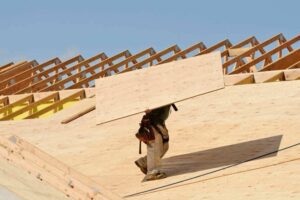
  2. Remove or Begin Placing Metal Roof Over Existing Roof

    • Check building codes for the allowed number of roofing layers.
    • Consult with a building inspector.
    • If replacing, tear off the existing roof in clear weather.
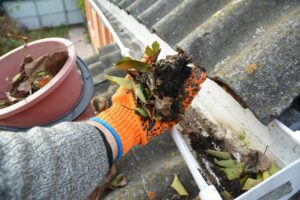
  3. Fix Any Roof Damage

    • Inspect the roof frame, sheathing, insulation, and ventilation with the roof removed.
  4. Place the Moisture Barrier

    • Lay down roofing felt paper and secure it in place with staples or nails.
  5. Install Drip Edges and Closure Strips

    • Install drip edges along eaves and rake, securing with galvanized roofing nails.
    • Use sealant tape and closure strips, overlapping joints as needed.
  6. Install Metal Roofing Panels

    • Start at the eaves, overlapping edges correctly.
    • Follow manufacturer guidelines for screw placement.
    • Add silicone sealant on the underside of panel edges for a watertight seal.
    • Cut panels using tin snips or a circular saw.
  7. Add Ridge Cap

    • Install ridge caps, choosing vented or solid closure strips based on ventilation needs.
    • Ensure even laps on both sides of the roof.
    • Apply sealant tape along the ridge and follow manufacturer guidelines for screw placement and overlapping.

Note: Adhere strictly to manufacturer instructions and local building codes, especially in hurricane-prone areas.