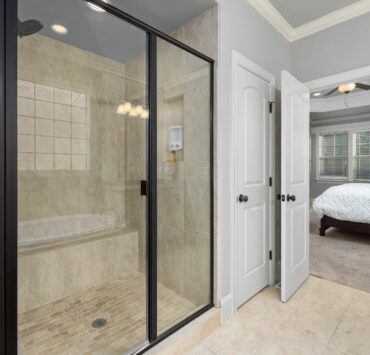
When it comes to tiling around windows, the conventional method is to use trim to cover the edges of the tiles. However, some homeowners prefer to skip this step for a cleaner, more streamlined look. In this blog post, we’ll cover how to tile around a window without trim, the benefits of doing so, why tile trim is needed, and alternative options to consider.
Benefits of Not Using a Trim on Your Window
A Modern Look
Without a trim, your tiled window will have a sleek and modern look that can elevate the overall design of your space.
Easy Maintenance
With no trim, cleaning your tiled window becomes much easier as there are no corners or edges to collect dirt and grime.
More Natural Light
Tiling without trim can help maximize the amount of natural light entering your space, as there is no obstruction around the window.
How to Tile Around a Window Without Trim
Tiling around a window without trim requires a bit more precision and planning than the traditional method. Here are the steps to follow:
Measure the Space Around the Window
Measure the height and width of the space where you’ll be tiling. You’ll need to calculate the exact number of tiles you’ll need to fill the area, taking into account the size of the tiles you’re using.
Plan the Layout
Plan how you want the tiles to be laid out around the window. Consider whether you want a specific pattern or if you want the tiles to be aligned with the window frame.
Install the Tiles
Install the tiles using a tile adhesive, starting at the bottom of the window and working your way up. Use tile spacers to keep an even gap between the tiles.
Cut Tiles to Fit
As you reach the edges of the window, you’ll likely need to cut some tiles to fit. Use a tile cutter or wet saw to cut the tiles to the appropriate size.
Grout the Tiles
Once the tiles are installed, allow them to dry for at least 24 hours. Then, apply grout to fill in the gaps between the tiles, wiping away excess with a grout float.
Why is Tile Trim Needed?
Tile trim is used to cover the edges of tiles, providing a clean, finished look. It also protects the edges of the tiles from chipping or cracking. Trim can be made from a variety of materials, including metal, plastic, or wood.
While tile trim is not strictly necessary, it can be helpful in certain situations. For example, if the edges of your tiles are uneven, trim can help cover up those imperfections. It can also be used to create a transition between two different tile types or to create a decorative border around the tiles.
What Can I Use Instead of Tile Trim?
If you don’t want to use tile trim, there are several alternative options to consider:
- Bullnose Tiles: Bullnose tiles are tiles that have one or more rounded edges, providing a finished look without the need for trim. They can be used around the edges of a tiled area or to create a border.
- Metal Strips: Metal strips can be used to cover the edges of tiles, providing a clean, modern look. They come in a variety of finishes, including stainless steel, brushed nickel, and chrome.
- Wood Molding: Wood molding can be used to cover the edges of tiles and add a decorative element to your tiled area. Choose a wood species and finish that complements your tile.
In conclusion, tiling around a window without trim can create a sleek, modern look in your home. While it does require a bit more planning and precision, the end result can be well worth it. If you decide to skip the trim


