
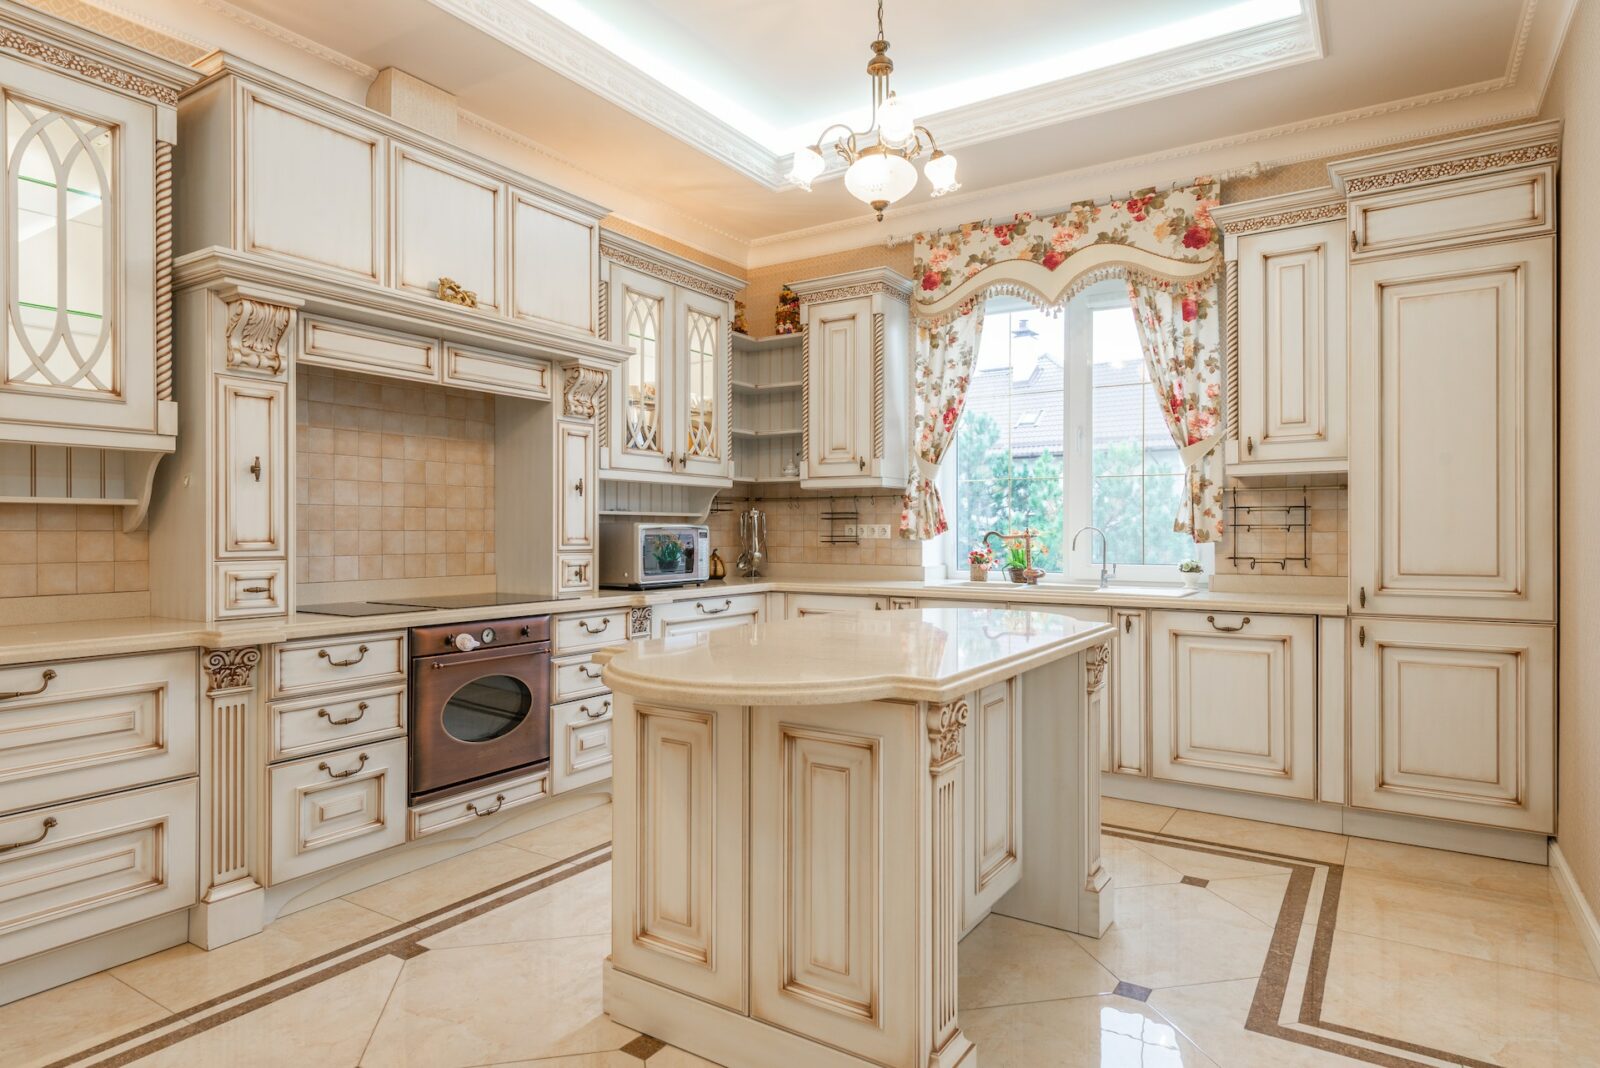
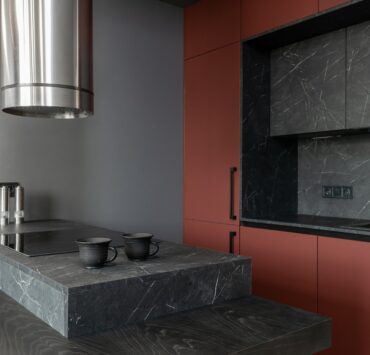
If you want to save time and effort on updating your kitchen, a fresh paint job is a great option. For those who want to keep work minimal and looking for how to paint kitchen cabinets without sanding, follow our tips below.
[ez-toc]When You Can Skip The Sanding Process
Sanding down kitchen cabinets usually go hand-in-hand with a fresh paint job. Sanding creates an even and grippy surface for paint to adhere to. This in turn, will give your kitchen cabinets an even coat of paint that looks professionally done.
With that said, many want to paint their kitchen cabinets as a simple DIY weekend job. In that case, there are instances where you can skip the sanding process without a quality paint job.
For instance, if your cabinet doors are even and smooth to the touch, you have a good chance of getting in a quality paint job sans sanding. To help ensure a smooth paint finish, you can rub down the cabinets with mineral spirits and a rough sponge. This is a quick and easy process that preps the surface for paint similar to how sanding would. Smooth cabinets prepped with mineral spirits should create a surface paint can adhere to.
Another indicator that you can skip the sanding process is when your kitchen cabinets are smooth and not glossed. A glossy finish makes your cabinet surfaces too slippery to work with. If gloss is the only issue you’re dealing with, you can still skip sanding and de-gloss otherwise smooth kitchen cabinets before painting them. Thoroughly clean and de-gloss the surface of the cabinets with a mixture of water and mild detergent. You can also use a dedicated de-glossing agent specifically designed for kitchen cabinet paint.
Prepping Kitchen Cabinets For Painting Sans Sanding
If your kitchen cabinets check the marks for painting without having to go through the mayhem of sanding them down, follow these steps.
- Clean The Cabinets
To prepare the cabinets for painting, use soap and water to thoroughly clean the doors, drawer fronts, and surfaces of the cabinets. Paying particular attention to any areas that may be greasy or dirty.
Wipe the cabinets down with a clean cloth to remove any dirt or debris. Make sure that the cabinets are completely dry before proceeding with the painting process. The idea is to make the surface as grippy as possible for a fresh coat of paint.
- Map Out Your Drawers And Cabinets
To keep track of the cabinet doors and drawer fronts during the painting process, create a diagram of the cabinets and label each one with a number. Once the doors, fronts, handles and knobs have been removed, attach the corresponding number to each piece using tape. This will help you to easily match all the hardware to their respective cabinets when it is time to reassemble them.
Once all the hardware is numbered accordingly, remove the drawer fronts, knobs and handles.
- De-Gloss The Cabinets
To de-gloss the cabinets before painting, put on gloves and use a scouring pad to apply a deglossing agent. Rub it onto the surface of the cabinets, going in the direction of the grain.
Wipe the cabinets down with a wet rag to remove any excess deglosser and to ensure that the surface is thoroughly cleaned. Next, switch to a clean, dry rag and wipe the cabinets down again to remove any remaining moisture.
To prepare cabinets for painting using mineral spirits, clean the cabinets as you would before deglossing. Once the cabinets are clean, use a lint-free cloth to apply a liberal amount of mineral spirits to the surface of the cabinets. Be sure to apply the mineral spirits in the direction of the grain to avoid damaging the wood.
Allow the mineral spirits to sit on the cabinets for several minutes to allow it to soften and remove any remaining dirt, grime, or finish. Then, use a clean, dry cloth to wipe the cabinets down, removing any excess mineral spirits and any dirt or debris that has been loosened by the solvent.
Allow the cabinets to dry completely before proceeding with the painting process.
On a side note, use caution when working with mineral spirits, as it is a highly flammable solvent. Follow the manufacturer’s instructions and take appropriate safety precautions, such as wearing gloves and working in a well-ventilated area.

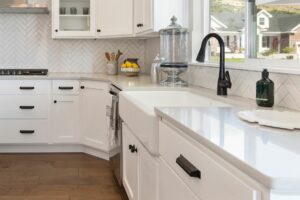
Your cabinets should now be matte, grippy and ready to be painted.
- Protect Your Kitchen
Use masking tape and plastic sheeting or drop cloths to protect your kitchen from paint. Start by applying masking tape to the edges of the surfaces you want to protect, such as along the baseboards and around any fixtures or appliances.
Next, cover the surfaces with plastic sheeting or drop cloths, securing them in place with the masking tape. Tuck the plastic or cloths under any edges or corners to ensure that no paint gets onto the surfaces you are protecting.
Repeat this process for each area of the kitchen that you want to mask off.
- Paint The Cabinets
Once the cabinets are prepared, apply a coat of primer to the surface to help the paint adhere and to provide a smooth base for the paint. When the primer has dried, you can apply your desired paint color using a brush, roller, or sprayer.
Always refer to the manufacturer’s instructions for the paint and primer you are using, and allow the paint to dry completely before reattaching the hardware and reassembling the cabinets.
- Re-Assemble Your Kitchen
Give your paint a full 24 hours to dry before reinstalling all the hardware. When everything is correctly in place, you can remove all the masking tape and plastic sheeting used to protect your kitchen.
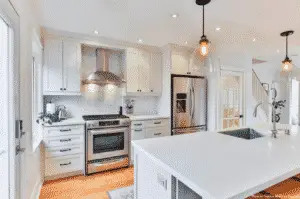
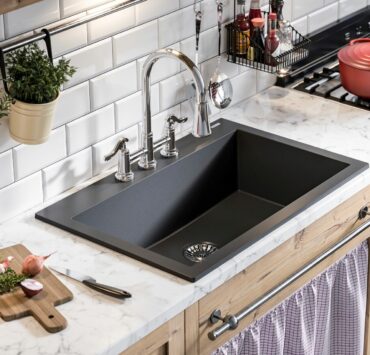
When you’ve got freshly painted kitchen cabinets, consider it the perfect time to give your kitchen a full refresh. Pair your newly painted kitchen cabinets with a fully cleaned kitchen. Air it out, mop, vacuum, and sterilize your kitchen to your content. At the end of the day, you’ll have a clean and upgraded kitchen to look forward to.


