
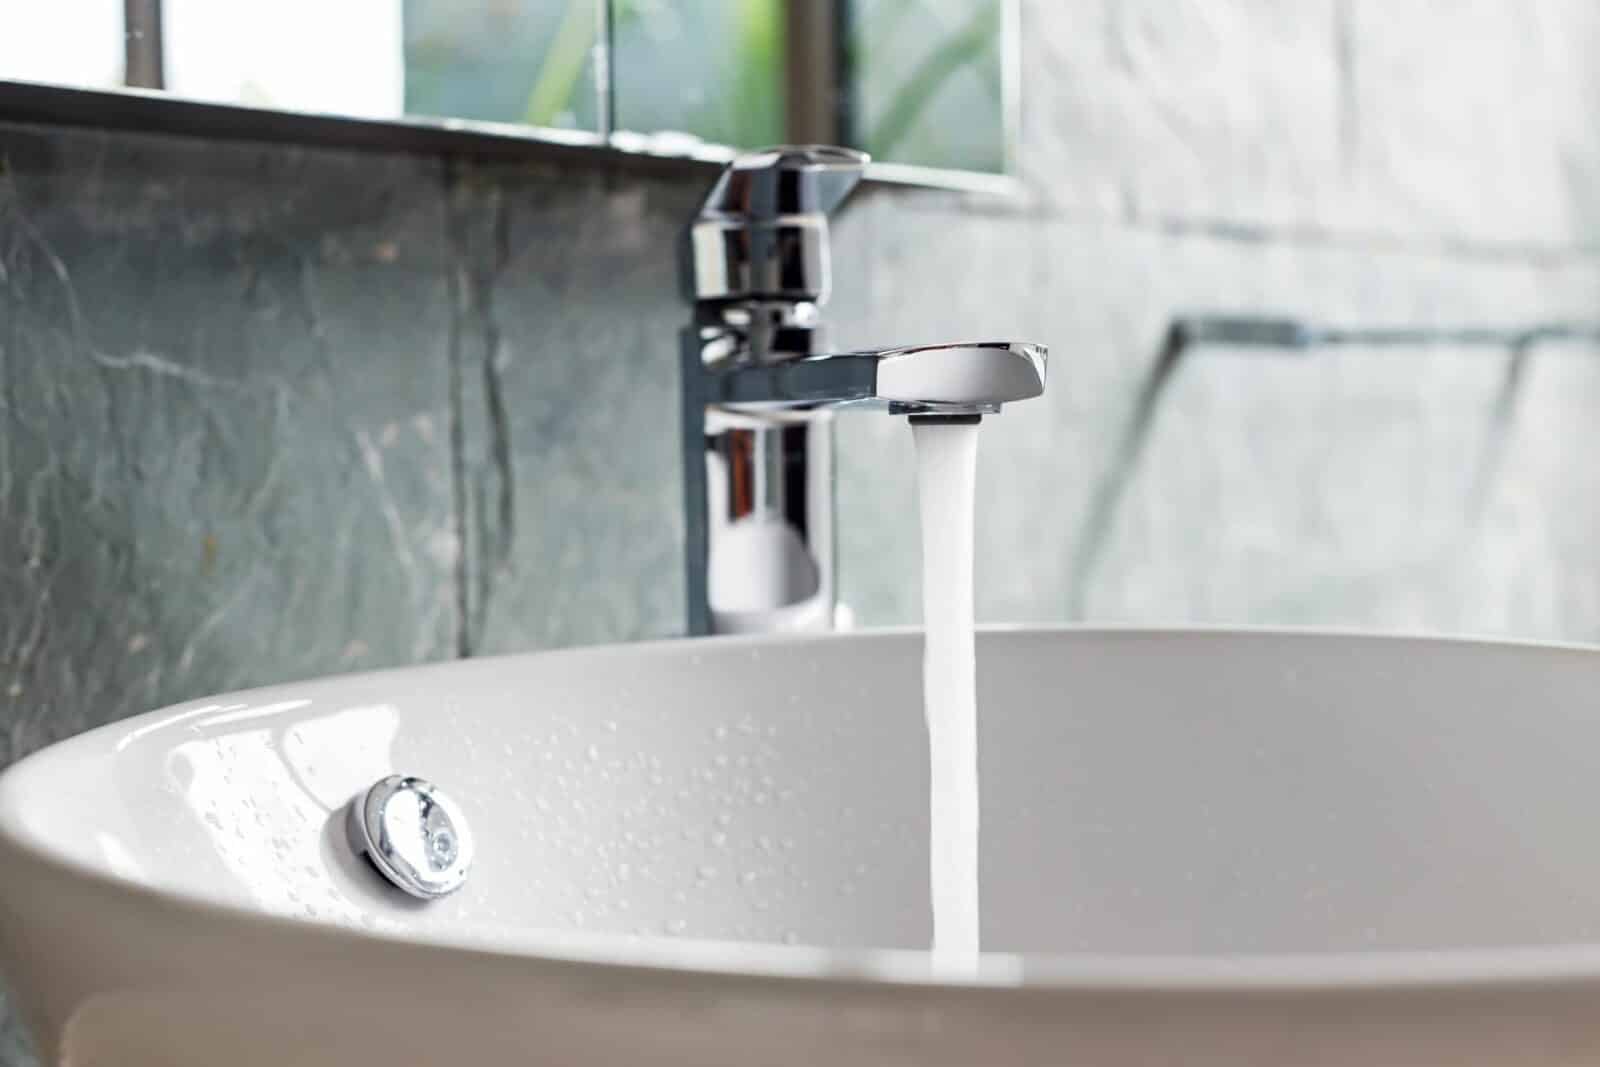
Is your bathroom faucet leaking, outdated, or just not fitting your style anymore? It might be time for a bathroom faucet upgrade. The good news is that replacing a bathroom faucet can be a manageable DIY project, even for those with limited plumbing experience. In this step-by-step guide, we’ll walk you through how to replace bathroom faucet to help you give your bathroom a fresh and functional look.
Here’s How to Replace Bathroom Faucet
Tools and Materials You’ll Need-
Before you start, it’s essential to gather all the necessary tools and materials to ensure a smooth replacement process:
- New Faucet: Choose a faucet that matches your bathroom decor and fits your sink.
- Adjustable Wrench: This versatile tool will help you remove the old faucet and secure the new one.
- Basin Wrench: This specialized tool is handy for reaching tight spaces under the sink.
- Plumber’s Tape: Use this to seal connections and prevent leaks.
- Bucket or Towels: Have these on hand to catch any water that might spill during the process.
- Screwdriver: You may need this to remove screws or fasteners.
Now that you have your tools and materials ready, let’s dive into the steps:
Step 1: Turn Off the Water Supply
Locate the water shut-off valves beneath the sink. Turn both the hot and cold water supplies off by turning the valves clockwise until they are fully closed. If your sink lacks shut-off valves, you may need to shut off the main water supply to your home temporarily.
Step 2: Remove the Old Faucet
- Disconnect Supply Lines: Use the adjustable wrench to disconnect the hot and cold water supply lines from the old faucet. Place a bucket or towels underneath to catch any water that may drip during this step.
- Remove Fasteners: Look for screws or fasteners securing the old faucet to the sink. Use the appropriate tools to remove them.
- Detach the Faucet: Carefully lift the old faucet off the sink, taking care not to damage the sink’s surface.
Step 3: Clean the Sink Surface
Clean the area where the old faucet was installed to remove any debris or residue. Ensure the surface is dry and ready for the new faucet.
Step 4: Install the New Faucet
- Apply Plumber’s Tape: Wrap plumber’s tape clockwise around the threads of the faucet connections. This tape helps create a watertight seal.
- Position the New Faucet: Carefully place the new faucet into the mounting holes on the sink. Make sure it’s aligned correctly.
- Secure the Faucet: From underneath the sink, use the basin wrench to tighten the nuts onto the faucet tailpieces. Ensure that the faucet is stable and doesn’t wobble.
Step 5: Connect the Supply Lines
Reconnect the hot and cold water supply lines to the corresponding connections on the new faucet. Use the adjustable wrench to tighten the connections snugly, but be careful not to overtighten and damage the threads.
Step 6: Turn On the Water Supply
Turn the water supply back on by reopening the shut-off valves beneath the sink. Check for any leaks around the faucet and supply line connections. If you notice any leaks, gently tighten the connections until they stop.
Step 7: Test Your New Faucet
Turn on the faucet and let the water flow to check for proper functionality. Ensure that both hot and cold water run smoothly, and there are no unusual sounds or leaks.
Congratulations! You’ve successfully replaced your bathroom faucet, giving your bathroom a fresh, updated look. Enjoy your newly upgraded space, and revel in the satisfaction of a DIY job well done.
FAQs on How to Replace Bathroom Faucet
Q: Can I replace my bathroom faucet if I have limited plumbing experience?
A: Yes, you can! This guide is designed to help both beginners and those with some plumbing knowledge replace their bathroom faucets.
Q: How do I choose the right faucet for my bathroom sink?-
A: Consider factors like the sink type, faucet style, and finish to ensure a perfect match with your bathroom’s aesthetics and functionality.
Q: Do I need to turn off the main water supply to replace a bathroom faucet?
A: If your sink has shut-off valves, you can use them. However, if there are no shut-off valves, it’s advisable to turn off the main water supply temporarily.

Q: What should I do if I encounter stubborn nuts or fasteners while removing the old faucet?
A: Apply penetrating oil to loosen stubborn nuts or fasteners. Give it some time to work, and then try again.
Q: Is plumber’s tape necessary when installing a new faucet?
A: Yes, using plumber’s tape on the threads is essential to create a watertight seal and prevent leaks.
Q: Can I replace a bathroom faucet with a different style and size?
A: You can, but it’s important to ensure the new faucet fits the mounting holes on your sink and aligns with your plumbing connections.
Q: How can I check for leaks after installing the new faucet?-
A: Turn on the faucet and closely inspect all connections for any signs of leaks. If you notice any leaks, gently tighten the affected connections.


