
Are you looking for how to build an indoor vertical garden while maximizing limited room? Look no further! This space-saving solution is perfect for those with limited floor space, as it allows you to grow a variety of plants on your walls. So, let’s dive in and start building your indoor vertical oasis!
-
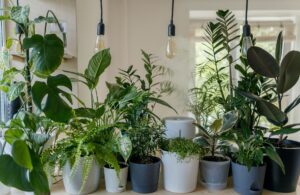
Choose the Right Location and Type of Vertical Garden
Before you start building your vertical garden, consider the location and type of system that best suits your space and needs. Here are some popular types of indoor vertical gardens:
Wall-Mounted Planters
Simple containers or pockets attached directly to the wall.
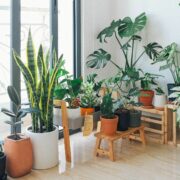
Freestanding Vertical Gardens
Shelving or rack systems that hold multiple containers.
Living Walls
Fully integrated systems where plants are grown directly on a wall-mounted structure, with irrigation and drainage built in.
When choosing your location, consider factors like natural light, temperature, and humidity, as well as the overall design and layout of your space.
-
Gather Your Supplies
To build your indoor vertical garden, you’ll need the following supplies:
Vertical garden system
Choose a wall-mounted planter, freestanding vertical garden, or living wall system, depending on your preference and space.
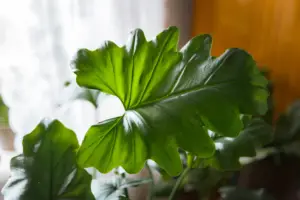
Plants
Select a variety of plants with similar light, temperature, and humidity preferences. Choose plants with shallow root systems, such as ferns, succulents, and herbs.
Potting mix
Use a lightweight, well-draining potting mix specifically formulated for indoor plants.
Containers (optional)
If using a freestanding system, you’ll need individual pots or containers with drainage holes.
Hardware
Gather wall anchors, screws, or brackets appropriate for your wall type and vertical garden system.
Tools
You’ll need a drill, level, measuring tape, and other basic tools for installation.
Install Your Vertical Garden System
Now that you’ve gathered your supplies, it’s time to install your vertical garden system. Follow these general steps, adapting them to your specific system:
Measure and Mark
Determine the appropriate height and width for your vertical garden, keeping in mind the size of your plants and system. Mark the wall with a pencil where you plan to install your system.
Install Hardware
Install wall anchors, screws, or brackets as needed, following the manufacturer’s instructions for your specific system. Use a level to ensure everything is straight and secure.
Attach your System
Attach your wall-mounted planters, freestanding vertical garden, or living wall system to the installed hardware. Double-check that everything is secure and level.
-
Plant Your Vertical Garden
With your system installed, it’s time to add your plants. Follow these general planting guidelines:
Prepare your Containers (If Applicable)
If using individual pots or containers, add a layer of drainage material, such as small pebbles or broken pottery, to the bottom of each container. Fill the containers about halfway with potting mix.
Plant your Plants
Remove your plants from their nursery pots and gently loosen the roots. Place each plant in its new container or planting pocket, ensuring the top of the root ball is level with the soil surface. Fill in the gaps with more potting mix, and gently press the soil down to eliminate air pockets.
Water your Plants
Thoroughly water each plant, allowing the excess water to drain out of the drainage holes. Make sure the soil is evenly moist but not soggy.
Place your Plants
Arrange your plants in your vertical garden system, keeping in mind their light and temperature preferences. Consider placing larger or trailing plants at the top and smaller or compact plants at the bottom for visual balance and optimal growth.
-
Establish a Care Routine
To keep your indoor vertical garden thriving, establish a consistent care routine. Here are some essential care tips:
Watering
Water your plants according to their specific needs, as some prefer to dry out slightly between waterings while others need consistent moisture. Watering a vertical garden can be trickier than a traditional one, so be mindful of runoff and potential mess.
Fertilizing
Feed your plants with a balanced, water-soluble fertilizer every 4-6 weeks during the growing season (spring and summer). Reduce the frequency to every 8-10 weeks during the dormant season (fall and winter).
Pruning and Grooming
Regularly trim dead or yellowing leaves and spent blooms to maintain the plant’s health and appearance. Pruning also encourages bushier growth in some plants and prevents overcrowding in your vertical garden.
Pest Control
Inspect your plants regularly for signs of pests, such as aphids, mealybugs, or spider mites. If you spot an infestation, treat it promptly with insecticidal soap or neem oil.
-
Customize and Expand Your Indoor Vertical Garden
As you become more comfortable with maintaining your indoor vertical garden, consider customizing and expanding your green space. Here are some ideas to inspire you:
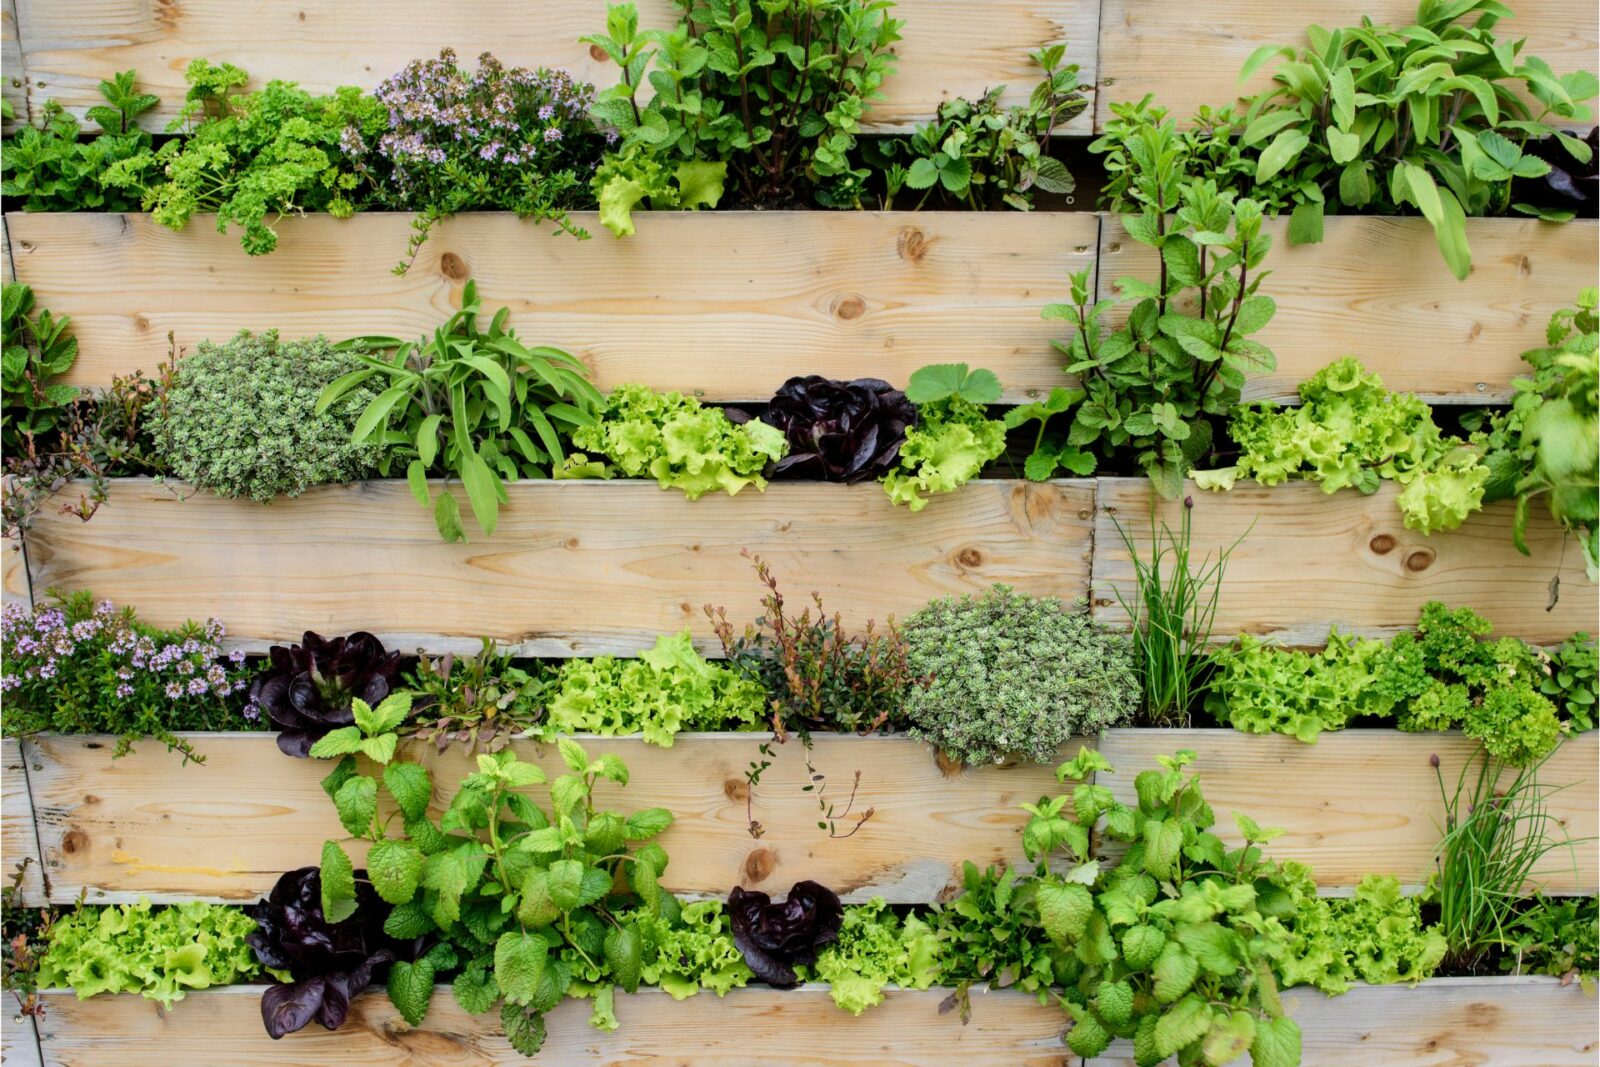
DIY Vertical Garden Systems
Create custom systems using reclaimed materials like pallets, gutters, or PVC pipes to match your interior design style and maximize your space.
Combine Multiple Systems
Mix and match different types of vertical gardens to create a visually appealing and diverse green space.
Introduce Edible Plants
Incorporate herbs, leafy greens, or even small fruiting plants like strawberries or cherry tomatoes into your vertical garden for a fresh and functional addition to your space.
Experiment with Plant Variety
Try adding new and unique plants to your vertical garden for added visual interest and to expand your indoor gardening skills.
Conclusion
Building an indoor vertical garden is a rewarding and space-saving way to bring the beauty of nature into your home. By following the steps outlined in this guide and experimenting with different plants and systems, you’ll be well on your way to creating a stunning and functional indoor green space. Happy gardening!


